I was planning on writing up this post once I had completely finished the area I've been working on. However, I have been forced out of action for at least a week following an unfortunate incident that could have been easily avoided if I hadn't become complacent and developed some bad workshop habits. Consider the following digression a cautionary tale if you also happen to work with power tools; always wear eye protection even for the quickest and smallest of jobs!
This past Monday was a bank holiday in the UK, but I spent half of it in Bristol Eye Hospital getting a tiny piece of steel removed from my right eye that had embedded itself just off-centre of my pupil. I had assumed over the previous couple of days that I had a touch of conjunctivitis until I developed hyper-sensitivity to light and my iris became unresponsive (it was stuck at its smallest aperture and wouldn't expand regardless of the amount of light in my immediate environment). Turns out that the metal had started to rust and infection was beginning to set in around the foreign body. The method used to remove the metal and eliminate all traces of rust from my eyeball involved a rapidly vibrating needle. The instrument resembled an electric toothbrush with a sewing needle where the brush head should be. It really was as fun as it sounds, here is my poorly eye after the procedure:
Lesson learned, I will now invested in a full-face shield. Right, back to the main topic...
In between other tasks I have been progressively patching up the drivers side rear stud line where the wing attaches. This was in a poor state due to years of moisture getting trapped between the wing beading and the rear quarter panel. The pitting was very heavy in places and on close inspection there were a few pesky pinholes where it had completely rusted through. I decided the best way to make the stud line solid again was to let in good metal and eliminate the pitted areas, rather than simply slapping body filler over it and hoping for the best. I will let the following photos do the talking:
I noticed that on some of the studs warping had occurred if there happened to be pitting in close proximity, thinning the metal and distorting the surrounding area. These will also need to be replaced, but I will tackle them one at a time to preserve accurate alignment along the stud line:
Despite making a suitable patch for the first nut I eventually opted not to weld it in just yet as I wanted to continue repairing the areas between the studs first. So, moving swiftly on:
And on to the next one:
Note that I have not welded up the end sections of each patch. This will allow me to easily remove the studs later by cutting just the tops and bottoms.
Well, that is it for now. More stud line action to come once my irritated eye has healed!
Thought I would throw out a bite-sized update in lieu of a more substantial post, as my garage time has been rather short of late...
As you may notice in the peripheral of the photos below (the last couple in particular), I have been laboriously cleaning up all the plug welds from around the edge of the pans recently. However, it is taking me quite a bit of time to do, so to break up the monotony I thought I would repair one of the little retaining tabs that fasten the brake pipe in place alongside the chassis tunnel. These were originally spot welded on and not really designed to withstand a lot of fatigue. So, it was no surprise that one of these pieces came off earlier on in the resto. Making a fresh one seemed to be the best way forward. I flattened the old original piece in a vice so I could take a few dimensions which I jotted down. I then cut a piece of fresh steel of the same thickness (old tab on the left, newly cut tab on the right):

Drilled an 8mm hole for plugging and bent up the bottom to allow for the brake pipe to slide underneath. This will eventually be bent back around the brake pipe once positioned. Gave it a lick of zinc primer:
To ensure a flush fit to the tunnel I gently curved the upper part of the piece by hand to match the contour of the tunnel. I then lined it up:
Finished off by plug welding into place, dressed the weld and coated with zinc primer (the usual process):
I needed to recreate the pedal reinforcement plate the I absent mindedly cut though thinking that it was part of an old crusty patch repair. Using a piece of 5mm flat bar I transferred the dimensions from the drawing I created and used the remains of the original to double check accuracy. After some trimming and grinding I had the basic shape sorted:
Once I had located the exact position of the mount holes I began drilling them out on the pillar drill, firstly with a pilot hole:
I then moved up to the 6.80mm tapping bit that I ordered online specifically for this task:
Then added the treads using an M8 x 1.25 tap to match the original. It really pays to go slow here and use tapping compound:
I needed to add more material to the top of the naps hat flange so that the overall thickness approached that of the pedal reinforcement plate (wish I would have thought of this at the time I was repairing this section). To do this I clamped some copper underneath the section and progressively added weld to the top, which I later ground flush:
To assist with getting good weld penetration I chaffered the edges of the pedal reinforcement plate and set a 1mm root gap at the bottom (with corresponding 1mm root face):
Offered up, fitting finessed and ready for welding:
I practiced on some scraps first as I have never welded steel this thick and I really only had one shot of getting it right. Welder settings needed to be cranked up and I also fitted my welder with thicker 0.8mm wire. Blew a couple of fuses whilst experimenting with the setup! This is the finished product after a wire brush and zinc priming:
Top side sanded flush along the weld seams and ready for final fitting of the floor pan half. Fitted a couple of new M8 8.8 bolts for good measure:
Happy with that!
A little repair patch that I fabricated:
Liberally sprayed the inside of the flanges with some zinc rich weld through primer:
The piece offered up and clamped in place ready for welding:
Started with a few spaced out tack welds and then continued to fill the spaces in-between until it was a solid weld:
Welds ground down and dressed with a quick lick of primer just to keep things fresh. Not bad if I do say so myself:
A turning point has been reached as things are now very slowing starting to go back together! Because this blog post documents the first significant metalwork repair on the car, I have opted to covered it in step-by-step detail (don't worry, im not going to be as obsessive about describing every single minor repair in the future!). I shall publish this task in several parts as I progress, just to make it more digestible.
Enough of the intro, lets jump into the action....
Repairing the Naps hat from the previous 'balls-up' has been weighing on my mind ever since the incident. You may recall from this previous post that I had ended up with a rather large gap between the old metalwork and the repair section due to poor judgment on my part. Since that time I have attempted to make various repair sections, but the arbitrary angles have caused nothing but frustration and poor alignment. I needed to simply things and approach this from a different angle (pun not intended). So, I decided to recut the remaining naps hat at a 90 degree angle to the diagonally sloping top edge. Here is the proposed angle marked with gaffer tape:
Checking for accuracy using a set square;
Once cut and neatened up I was confident that I had an angle that I could trust. It was a known quantity:
The main reason that I failed initially was that I had not focused on keeping the bottom edge of the repair straight and true. So, I figured that making a jig was the way to go this time. Essentially, I joined 2 pieces of scrap box section together using spot welds on one side and beads on the other. With the beads ground down and a lick of primer added I had a nice flat area:
I then made a paper template stencil with the bolt holes carefully mapped out to match the factory dimensions (with additional cross-hairs to visually assist with alignment). Also marked out some guides for aligning the jig with the chassis tunnel:
A quick spray of red primer to contrast against the grey:
....and the jig was good to go:
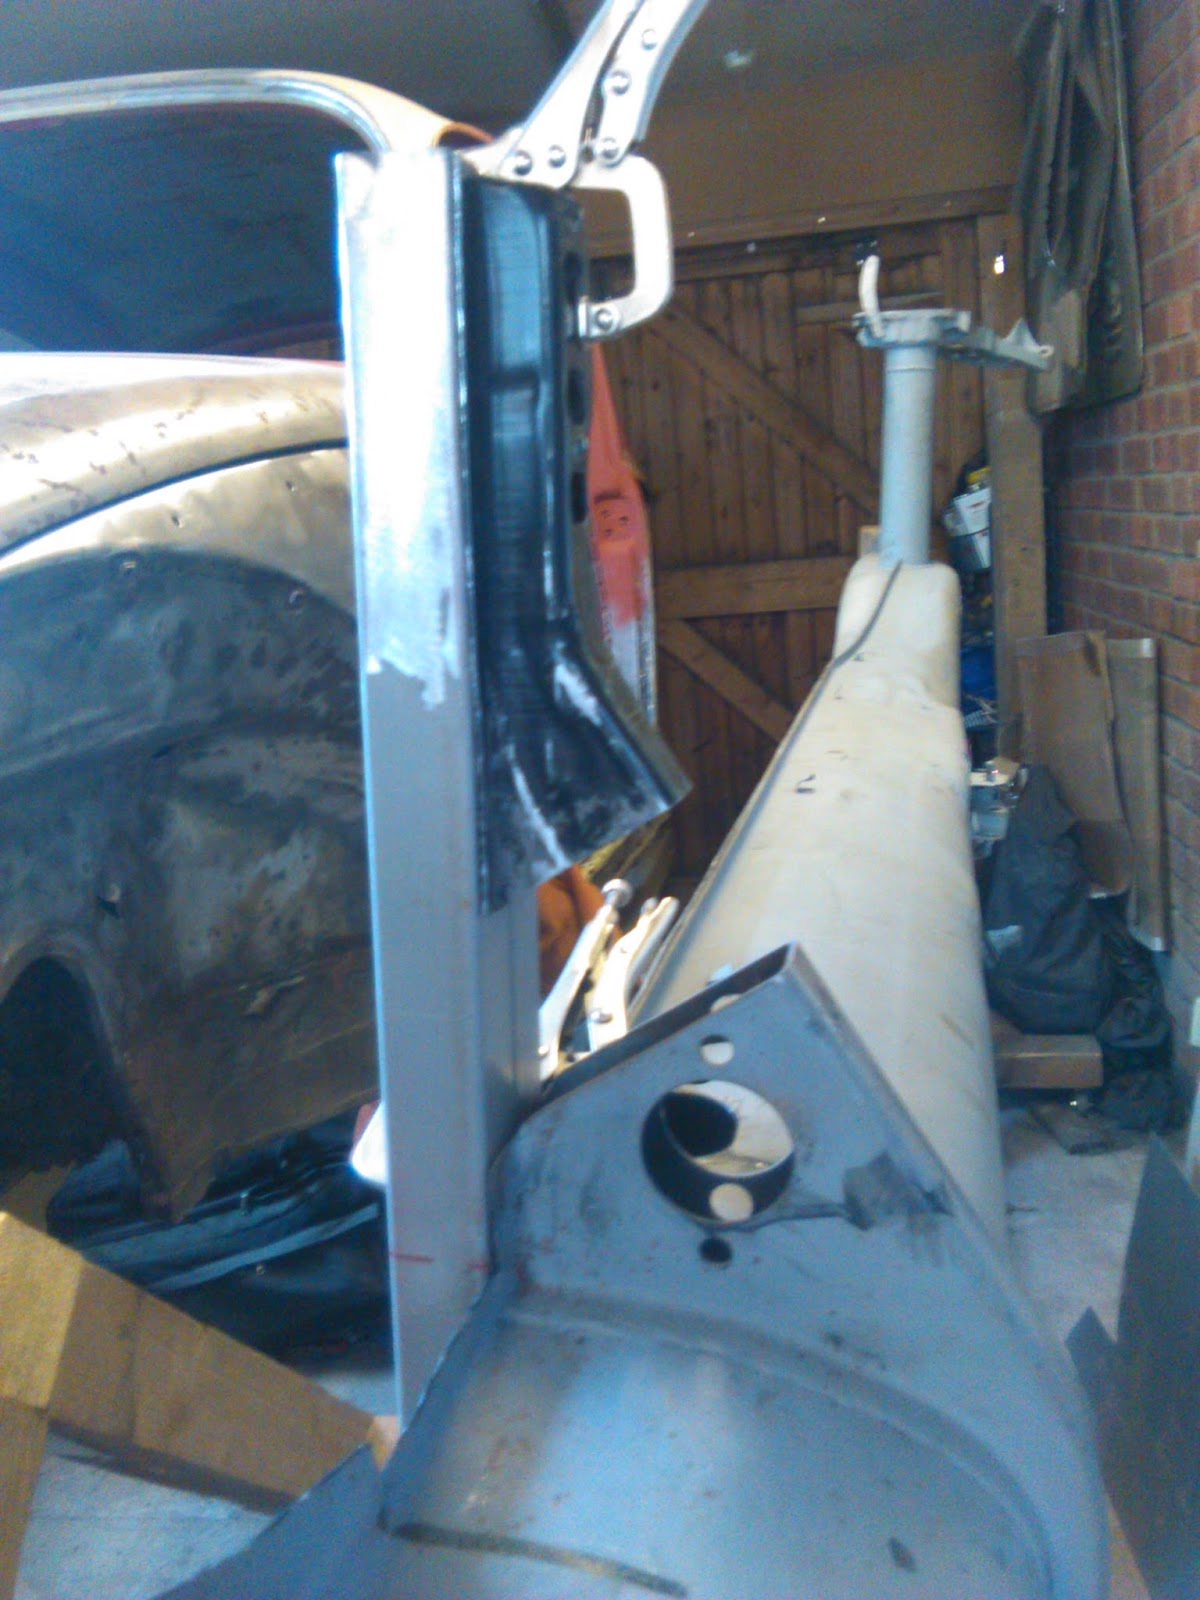
With the jig clamped into place on the chassis, I was provided with a solid foundation to work from. I trimmed up the end of the repro panel (again at 90 degrees to the sloping diagonal) and positioned it on the jig, clamping it into place. This allowed me to accurately assess the missing gap that I needed to fabricate:
Once measured up I cut out the repair section from fresh 2mm thick steel. Before bending the patch into shape, I knocked up a diy former to ensure that the outer profile of the piece would accurately match the original. I then put the whole lot into a vice and when I was sure everything was lined up correctly I proceeded to progressively tap the piece over with a rubber mallet:
This created a good 90 degree bend with a suitable bend radius:
The fabricated piece all clamped up, aligned and ready for the welding to commence:
After countless hours playing with the settings on my new welder to ensure adequate penetration, I was finally confident to make the first tack weld of this resto - a significant milestone:
All of the tacks in place just prior to filling
in the spaces in-between with a series of stich welds. To mitigate any heat warping, I filled up my
compressors and used the air gun to blast a jet of cool air onto the hot welds:
Once it was all fully welded up I carefully ground the welds down dressed the area to make the new section blend seamlessly. Also rough cut the excess away from the bottom edge of the new piece:
Lining up the end section cut from the repro panel:
and here it is all welded in:
....and ground down nice & flush:
Seeing this section coming together has been really motivating and has boosted my confidence no end. You know, I reckon I can do this!
Coming up in Part 2: I shall be cutting the bottom sections flush with the jig ready to accept newly fabricated flanges, drilling a few holes and more... Oooooh, the suspense!