My poorly eye is now free from all rusty particles and recovering well.
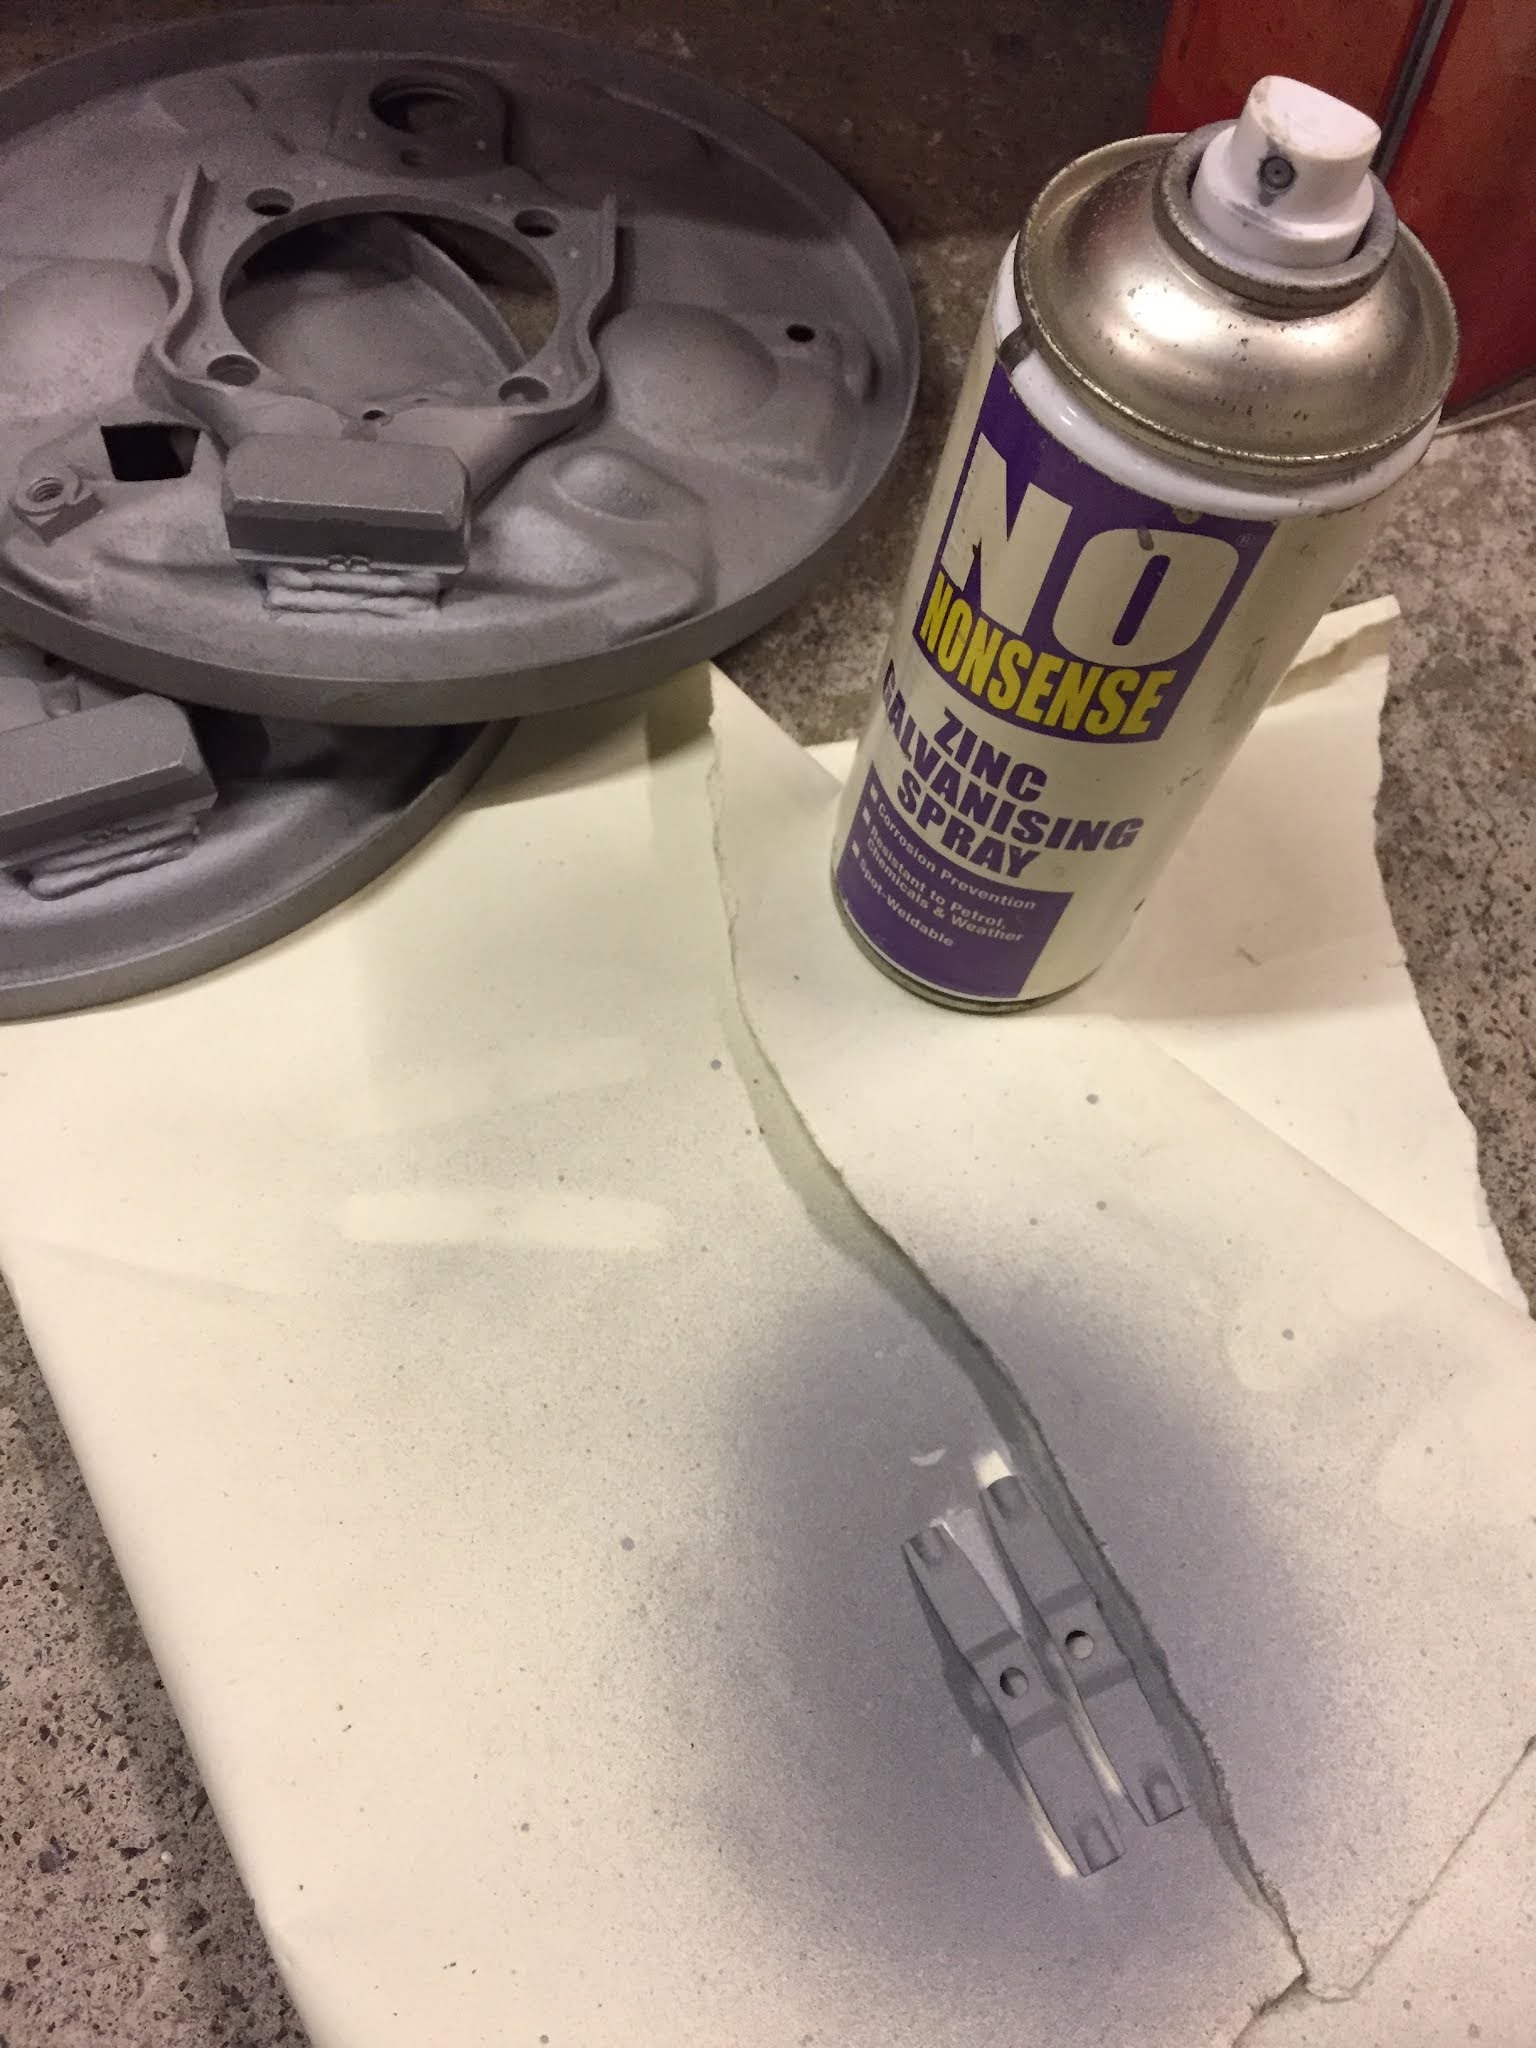
Back to it then... all recently sandblasted parts were cleaned up as per the usual process (described in previous posts). On this occasion I shall let the photos do the talking:
My poorly eye is now free from all rusty particles and recovering well.
Back to it then... all recently sandblasted parts were cleaned up as per the usual process (described in previous posts). On this occasion I shall let the photos do the talking:
As you may have gathered from the tabloid-worthy pun, I have once again found myself with a small piece of shrapnel embedded in my eye!
So, off to the eye hospital I went. The assessment swiftly concluded that I had a flake of metal just on the outside of my iris on my left eye. Anesthetic eyedrops administered, the doctor set about scrapping it out with a needle. It wasn't the vibrating one this time around, but still unpleasant nonetheless as you literally see everything:
Still have a follow up appointment tomorrow to pick out the remaining rust once the ointment helps move it all towards the surface. I appreciated the irony in the reason the doctor wrote on the appointment card 'rust removal':
Mounted the spring clips into the brake backing plates by lightly filing away one edge to allow them to slip under the crimped points:
Added some 'weld through' zinc primer in between the surfaces to help mitigate against rust developing in between:
I was then able to plug weld them into position:
Using the Dremmel I dressed the welds flat (hello stupid metal filing!) and then ran them back through the shot blast cabinet to clean and key ready for paint:
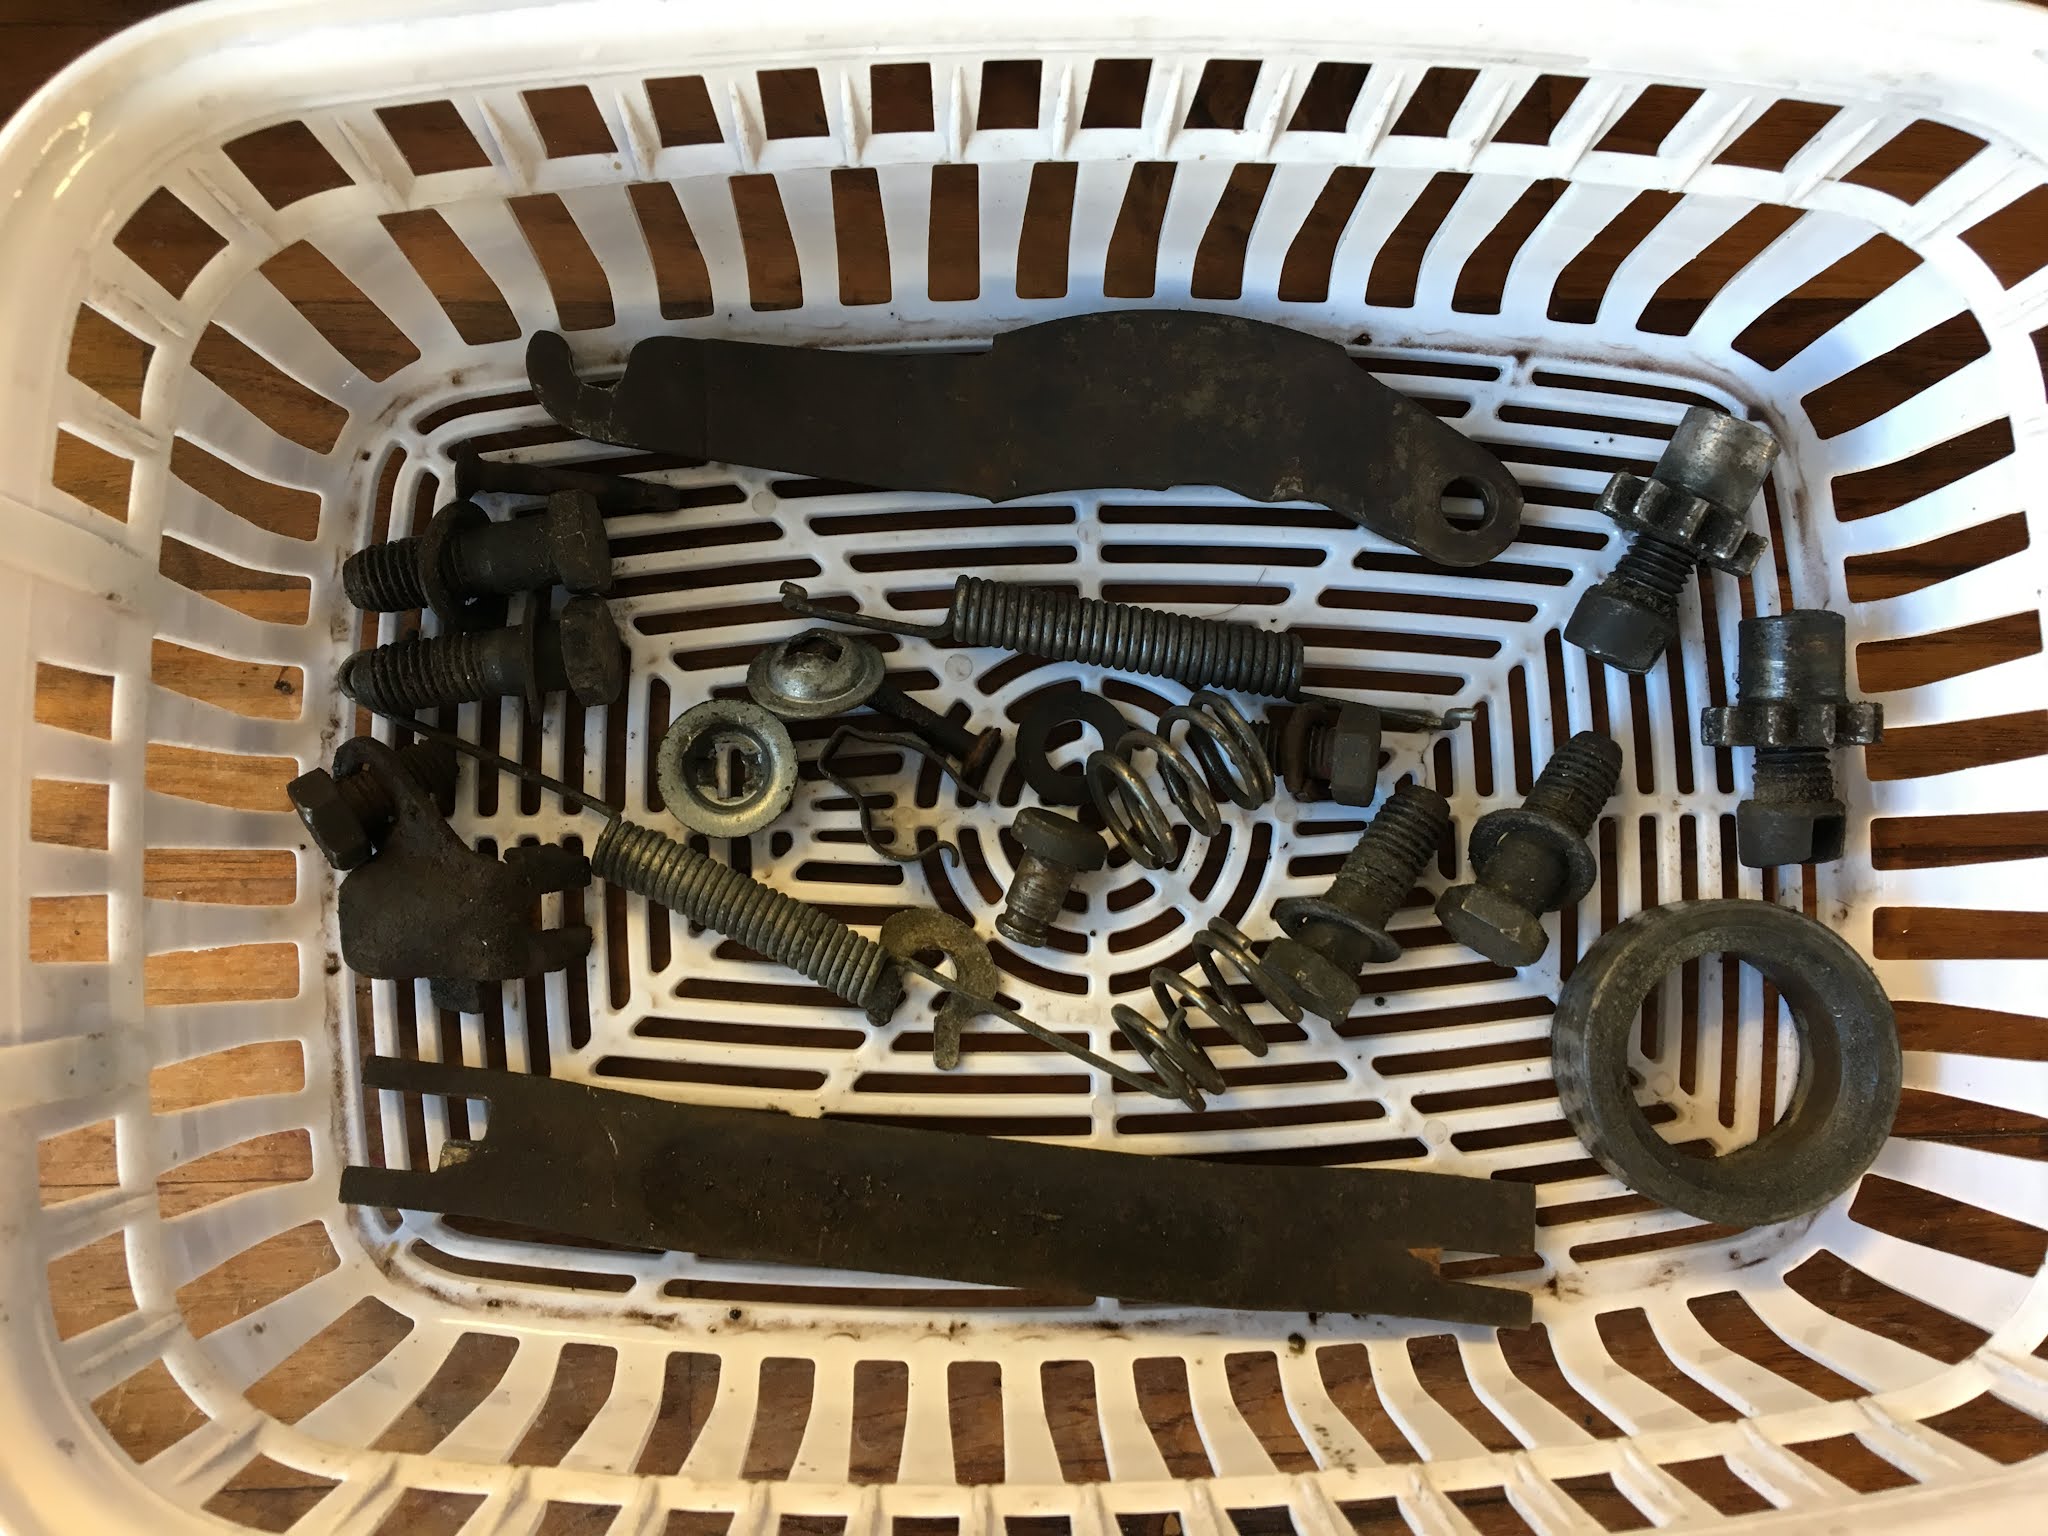
Dug out the crusty front brake parts and split out into individual components ready for cleaning:
Excavated the bits embedded within the compacted gunk inside the grease caps:
Gave everything a thorough clean with the ultrasonic cleaner:
Bearing thrust washers (top) and lock washers (bottom) were not in the best state:
These will be replaced along with the brake shoe retaining pins. However, everything else was in serviceable condition.
Whilst in blast-and-repaint mode (which, in part, is being driven by a race against the encrouching autumnal UK weather), I repositioned the chassis in the garage to get access to to the front of the framehead:

I also found other restoration threads that showed the mystery holes in the same place, so I was reassured that no action was required.
Masked up the holes and then blasted it all clean using the blasting drape to contain the mess:
Now to get this into paint before it rapidly rusts over again...
Ran the internal components of the rear brake drums through my ultrasonic cleaner (with the exception of the wheel cylinders and shoes, which will be replaced with new items). Used a dilution of UltraFX degreaser to help things along:
This was effective at getting the worst of the loose crud off and allowed me to to assess the serviceability of the individual parts. My conclusion was that most of the components could be reused; the pull-off springs, star adjusters and fasterners were in good order. I remember renewing some parts in yesteryear, so although they may be reasonably old I know that they haven't had that much road use. Other bits with light surface rust could be blasted and repainted as per standard:
Further dismantled the rear axle bearing covers by tapping out the oil seals and washers:
I could then mask the bearing covers in a uniquely 'creative' way; using recycled jar lids and felt-tip pen lids for the perfect fit:
...and gave them a blast along with a few other parts that were looking forlorn:
As predicted, I got all of the recently blased chassis parts into paint. It is worth noting that because these parts were blasted at different times, some flash rusting started to emerge in some of the areas with heavy pitting. It goes to show how fast atmospheric humidity gets to work on bare steel; 'rust never sleeps' is a truism of classic car ownership! I swiftly remedied this by throwing the parts back in the cabinet for a quick once over with the blast gun, so that everything was equally immaculate before paint. Followed up with a careful bit of re-masking on some key parts and I was good to go:
Pretty happy with the results this time round (plus, I got this portable spray booth for a bargain):
Whilst I am in the flow of praising my own craftsmanship, I will also highlight that the crisp factory stampings are still perfectly legible after a couple of liberal coats:
A little more chassis work progress over the past week; this time focusing on the scabby rear axle tubes. Cleaned the loose muck off manually:
Then masked off the areas which were to be left as bare steel using gaffer tape. This was to protect against abrasion when blasting the rest:
One down, one to go:
Both spotlessly clean and ready for paint;
I also cleaned up the the 'exposed-to-elements' bottom section of the steering column as there was significant rust pitting:
Sadly, my old trusty blue vacuum gave up the ghost with a high pitched squeal and dramatically coughed out a dense dust cloud all of the workshop. Damn, me and that suction box go way back! Not one to lament the passing of a domestic appliance, I duly replaced it with something a bit more suitable. Introducing my new dedicated shop vac:
Once everything was hooked up to the cabinet, blasting could finally resume. Here is one of the track rods I disassembled last week getting the royal treatment:
...and a new batch of parts now awaiting an obligatory coat of Mastic 121: