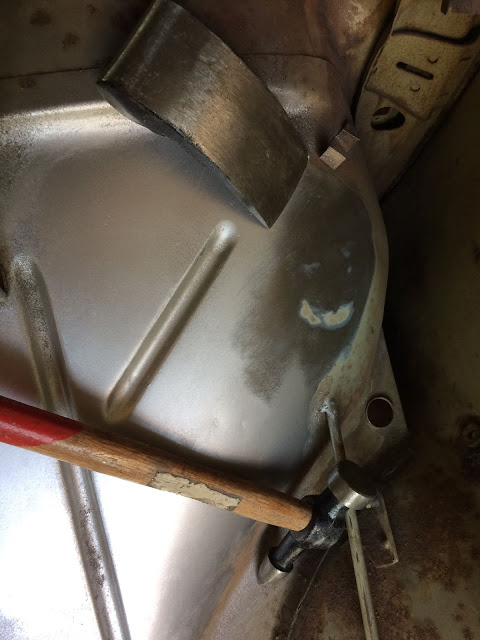
Whilst I carefully consider my approach for the next phase of this restoration, I have been occupying my idle hands by working out a few of the unsightly blemishes peppering the car. I've been treating these old battle scars using nothing more than the humble hammer and dolly. I've not had much experience in this field, but by taking it slow and steady I found that I was able to achieve satisfyingly decent results. Here are some 'before and afters' of a couple of the more visually prominent damages that I have bumped back into perfect shape:
Thats all for now (short and sweet), but I can assure you that the post will be a major one!
So, now that the large firewall panel has been sorted I can now join the smaller inner section of the bulkhead to it to form the finished article. The trail fit looked pretty decent, but the inner section needed a few tweaks to make it perfect. Firstly, the flange on the left side had an awkward step cut into it. No idea why, it was just how the Mexi panel came.To be honest, I probably could have just left it alone, but I that is just not my style. So I cut some steel sheet to fit the profile and clamped it up ready for welding. Note that I left it deliberately oversized to make it easier to weld without blowing through on the edges:
All welded:
Ground flush, shaped up and finished:
In preparation for plug welding I added 6-7mm holes around the edges of the panel, in exactly the same locations that the factory spot welds were. Clamped up and ready for plug welding:
The two sections are now permanently joined:
Good penetration on the reverse:
Dressed the welds and generally cleaned up the panel. Another section of this grand jigsaw puzzle sorted: