Sunday 16 December 2012

Kick panel cleanup

I am currently visiting my parents and sorting through a load of old junk that I dumped in their attic almost a decade ago when I left home. Anyway, I was thrilled yesterday when I came across a few old original parts that I had taken off of the bug and had almost forgotten about. 

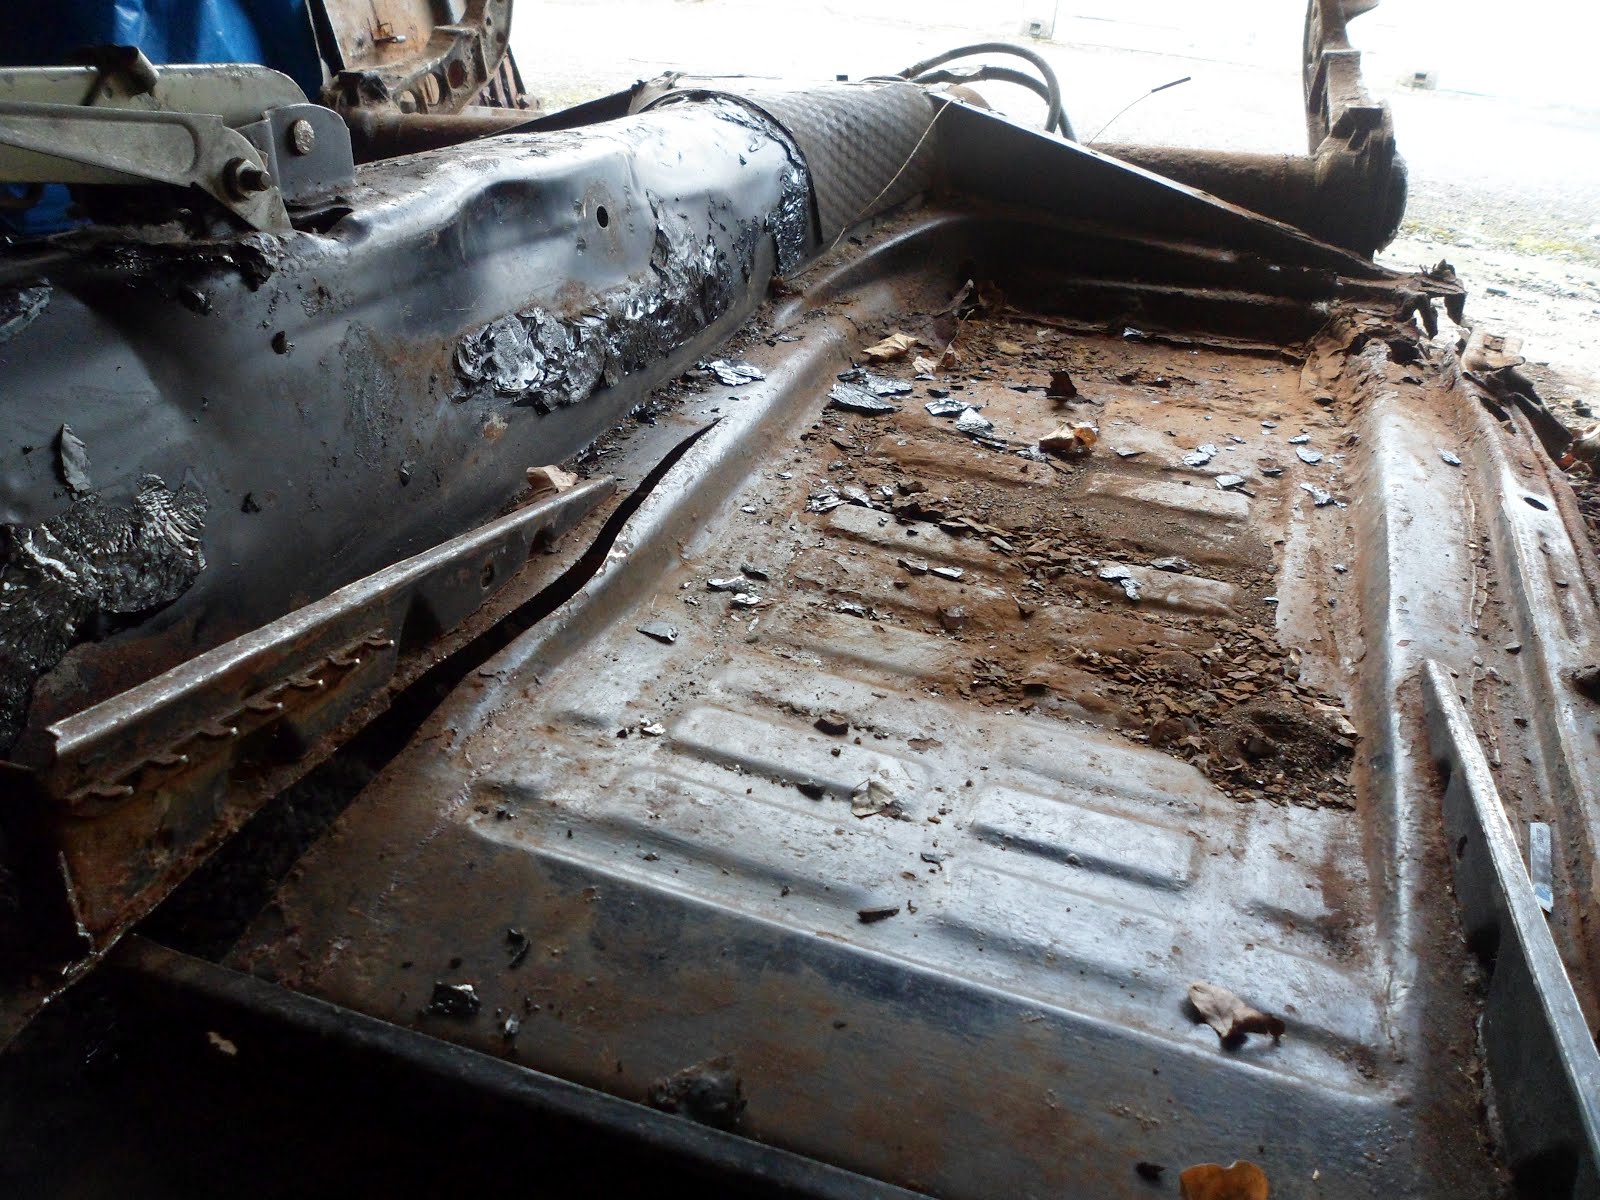
Here are the dirty old kick panels that go under the rear seat;


They were looking pretty shabby, but I knew that with a bit of elbow grease they would scrub up like new. So armed with an old toothbrush and a myriad of cleaning products (that I found under my parents kitchen sink) I set about the task with gusto. About an hour later I had one all cleaned up and ready for comparison:


As I was scrubbing away it occurred to me that these are the first parts of the car that have been restored. Small progress indeed, but progress nonetheless! Another hour and another part cleaned:


Monday 26 November 2012

Photo History of Gretchen


For those that might be interested; I have just added a new section to my blog entitled ‘Photo History of Gretchen’ (see the tap in the top navigation bar). As the name suggests, it is basically a photo-album of my bug back when she was still on the road. I shall periodically update the section as and when I come across any old photos of her. Ah, sweet nostalgic memories….

Tuesday 6 November 2012

How to: Uncover the history of your VW through the DVLA


If you live in the UK it is surprising straightforward to acquire a wealth of information about your car's history from the 'Driver and Vehicle Licensing Agency' because 'regulation 27 of the Road Vehicles Regulations 2002, provides for the release of information where a person shows reasonable cause to want it'. Just recently I wrote to them and within a couple of weeks I received an A4 envelope bursting at the seams with copies of old logbooks that went all the way back to when my bug was first registered! The best part is that it only cost a mere £5!  


The picture above shows just a small portion of the paperwork I was sent. I am now intending to write to the addresses of all previous owners in the hope that they still live there to find out if they are willing to share any personally history about my bug. Fingers crossed!

I have outlined my basic process below and anyone is welcome to use or adapt my wording in filling out their own applications. So, here is how I did it:
  • Firstly, you need to get yourself a V888 form from the DVLA. The form is fairly simple and self explanatory to fill out and can be downloaded here
  • Question 4: What information do you want and why? My answer:
    I would like to request the names and addresses of all the previous owners of my car and the dates/duration of ownership. I would also be keen to know the name and address of the dealership that initially sold the car to the first owner. Additionally, I would be interested in copies of old log books, Tax, V5c Changes etc, if they are available. The vehicle is currently undergoing an extensive restoration and for personal interest I am eager to research the history of my classic car.
  • Question 5: How are you going to use the information? My answer:
    I intend to write a polite letter to the previous owners and invite them to share information about the car’s history. I would love to see old photos, documents and stories, if the previous owners are willing to contribute. Basically, any piece of information that sheds a little more light on my car's background would be of great personal value and would help to build up a history file.
  • Now just seal up the paperwork and supporting documents along with a postal order/cheque and send it to: Vehicle Record Enquiries, DVLA, Swansea, SA99 1AJ

I encourage all you VW and classic car owners to get on the case with this and enrich the history of your wagon! If you do not live in the UK then I hope you can find a similar process in your country. Let me know how you get on and feel free to message me in the comments section if you have any questions or need help.

On another note: I must apologise for the lack of recent updates. I am currently looking to re-house this project in a garage with power. It's a long shot but If anyone knows of anything available in the Bristol (UK) area please let me know. The search continues…..

Wednesday 21 March 2012

Zertifikat

A little over a week ago I applied for Gretchen’s ‘birth certificate’ through the Volkswagen Auto Museum. I was delighted when I arrived back from work yesterday to find a large envelope from VW in my pigeon hole. Wasting no time I tore the envelope open (drum roll)…..


Probably the biggest surprise for me was that she was built in Belgium! This got me very curious because I had not come across this before and so I decided to do a quick search online, but I did not find any relevant information. So, if anyone reading this blog knows anything about Belgium built Beetles, please leave a comment and share your insight.  

Edit 05/12/12: I have found out a bit more about Belgium built beetles!

The Belgian company was called D'ieteren and the assembly plant was located in Vorst/Forest, which is an area in the south-western part of Brussels. D‘ieteren surrendered the plant at the end of 1970 after which full ownership transferred to Volkswagen and eventually became known as “Volkswagen Vosrt”. Between 1954 and 1975 the plant built 1,143,464 VW Beetles.
 
Here is an extract from an article on coachbuild.com:

“After WW II, Pierre D’ieteren managed to obtain the sales rights for VW and so they became the official Belgian distributor of that German manufacturer from 1948”. “D'ieteren bought a piece of land in 'Vorst' for the assembly of the Studebakers and soon this was followed by the assembly of Volkswagens”.

Today the factory is an Audi manufacturing plant and is known as “Audi Brussels”. More information can be found on the Audi Brussels wikipedia page: http://en.wikipedia.org/wiki/Audi_Brussels

Sunday 18 March 2012

Spring plates and hand brakes

Well, I finally finished cutting out the drivers side floor pan over the weekend:


I then turned my attention to the removal of the spring plates. I drenched the four bolts that secure the spring plate cover with WD40 then used my breaker bar to get the bolts turning.


With the cover off I could clearly see the end of the torsion bar with the splines located inside the spring plate:


And here is a close up with the rubber bushing removed:


I opted for the ‘jack and chain’ method to control the tension of the spring plate whilst I pried it off the torsion bar. If you are reading this post and considering doing the same; please be careful and always put your safety first! There is a lot of tension in the spring plates, so proceed with caution. O.k, so here is the set-up:


It basically involves looping a length of chain around the axle of a trolley jack:


…..and securing the ends to the top shock absorber mounting point with a sturdy bolt:


The jack can then be raised so that it makes contact with the spring plate and pushes it upwards and thus takes the pressure off of the shelf that it usually rests on. I then got a big flat headed screw driver and started prying. My spring plate did not require too much persuasion and was clear of the shelf within 5 minutes of prying. I slowly lowered the jack and the plate came to rest in this position:


It should be noted that on a stock VW that the spring plate would have dropped to a steeper angle, but my bug was slammed by the previous owner some 13 years ago and so the shallow angle was to be expected – as was the relative ease of getting the thing to come free in the first place. Next I made sure that my chassis was perfectly horizontal by placing a long spirit level on the tunnel and adding shims under the chassis where required:


Once I was assured that the car was level I measured the angle of the spring plate using an inclinometer. This is important to ensure that everything goes back together at the same angle that it came apart:


I then wiggled the spring plate off of the torsion bar being careful not to disengage it from the inner splines. With the spring plate off I located the top point of the torsion bar by balancing a socket piece on top of it and then made a small mark with permanent pen. In theory this should help me find the correct inner spline location during the rebuild:


It was then just a simple case of pulling the bar free from the inner splines and drawing it out:


All done and thankfully without any drama:


One thing that I forgot when I did the previous side was to mark the spring plate and torsion bar before pulling it apart to aid with the reinstallation:


With the spring plates off the chassis was looking very bare. The only bits still to remove were the handbrake and heater levers. So, a couple of spanner turns later they were off and bagged and tagged:


And here is the result at the end of the day. One chassis tunnel ready for sandblasting and minor repairs (I hope)


Friday 9 March 2012

Should last me a while (maybe!)

Thoroughly replenished my stock of metal cutting blades - don't want a repeat of last weekend's nonsense!

Monday 5 March 2012

Fun with tar board!

I managed to get down the garage for a quick session on Saturday afternoon. I was planning to cut out the passenger side floor pan. However, this seemed more difficult than I remember the drivers side being for some reason and I had soon snapped all of my metal cutting blades (despite having picked up a couple of new ones from the tool shop on the way over!). I managed to get about half way round the floor pan, so at least I don’t have too far to go next time:


Next I decided to turn my attention to removing the old tar board and seam sealer from the tunnel. I found using a fat chisel with wooden mallet to be an effective method and it would usually chip off in big chunks. Any residual tar could be taken off by gently scraping with the chisel held at a shallow angle:


What a satisfying mess:


So, not the most productive of weekends, but it sure felt good make a little headway after so long!