Showing posts with label tunnel. Show all posts

Friday, 12 July 2013

Bump n' Grind n' Prime

Nothing major to report this week, just been doing a lot of precision grinding to clean up the excess metal from around the bottom of the frame head. Those old seam welds certainly take some time to grind flat! I then wire wheeled the whole area back to bare metal using a combination of drill attachments. Here is the result of my careful labour:


A close-up of the front lip after grinding the welds down so that the steel is back to original thickness:

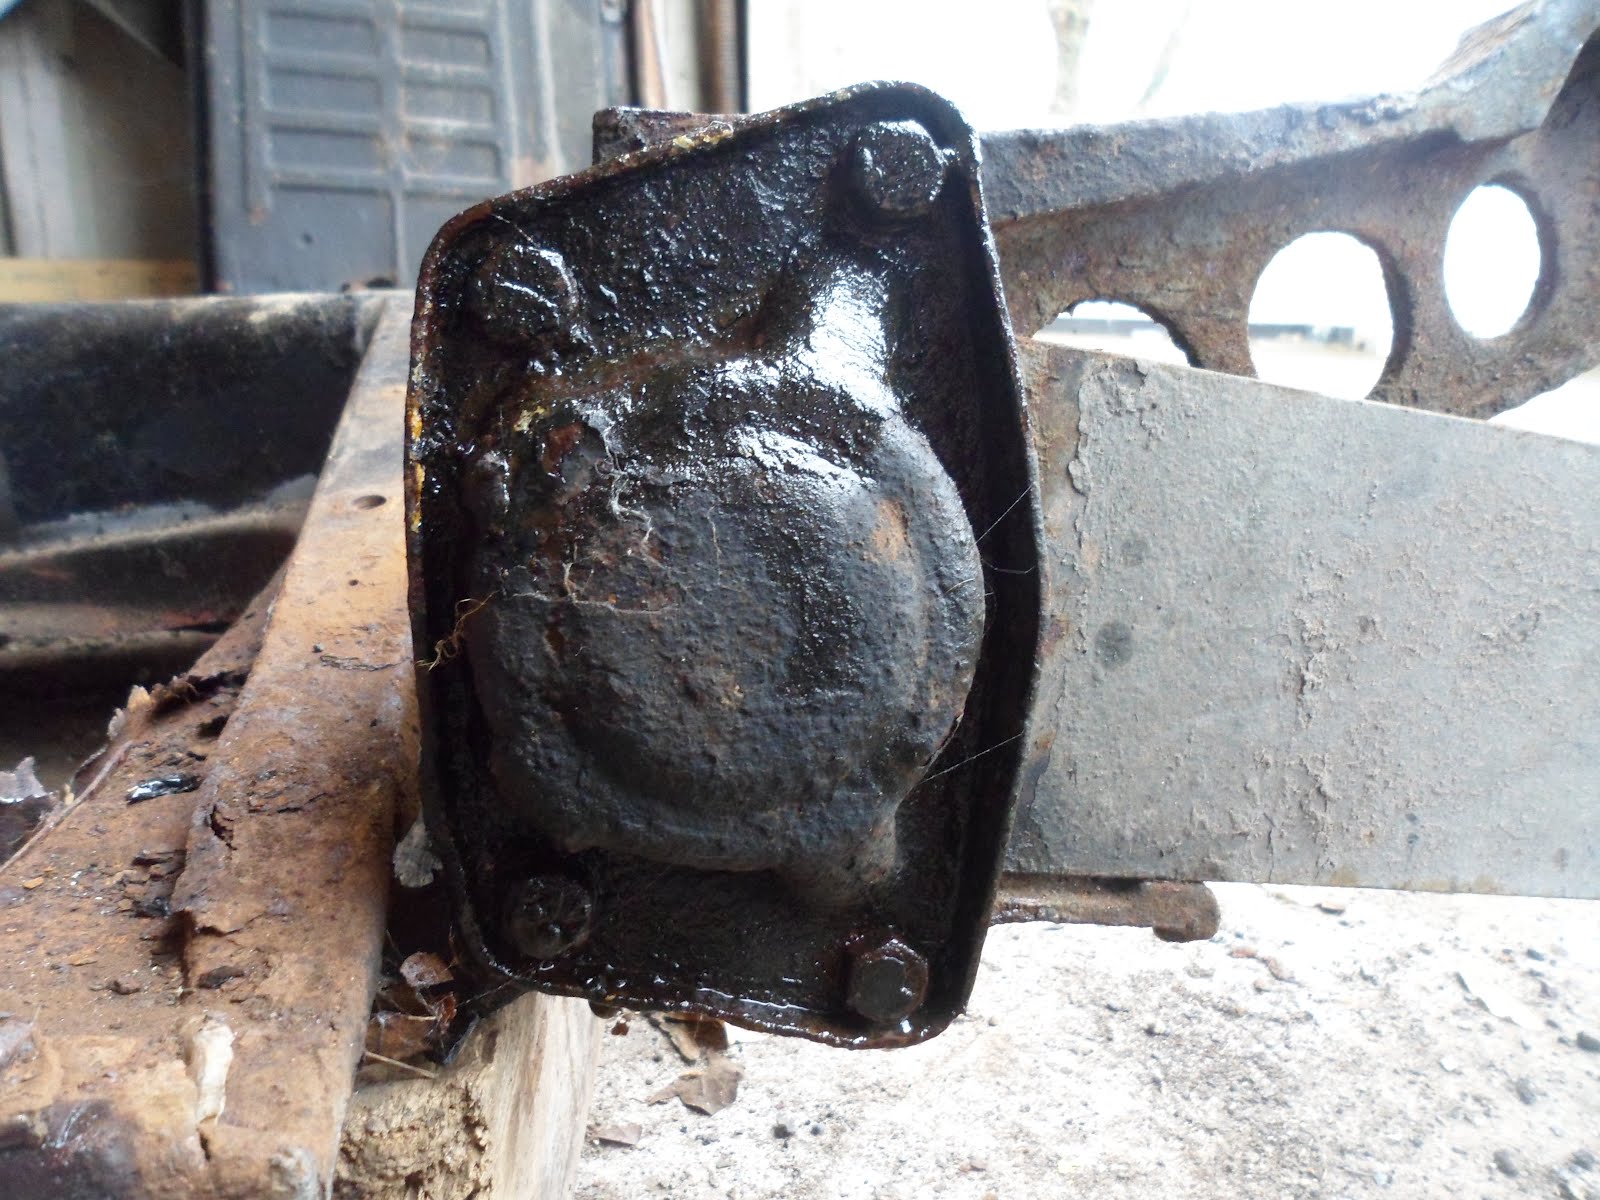
I grabbed an old spray can of metal primer off the shelf and gave it a liberal coat to prevent any surface rust creeping in whilst I strip and repair the rest of the chassis. I will eventually clean off this paint and replace with something more appropriate - It should do fine for now though:

Wednesday, 19 June 2013

Pan rotisserie (and other short stories)


Most of the past couple of weeks have been spent organising and equipping the new garage as well as clearing out the old one. I have now built a workbench, layed out a tool board, put up shelves etc. In between these tasks I have made time to continue cleaning up the chassis. I decided to start by removing the rough cut floor pan remnants away from the supporting lip that runs along either side of the tunnel. Initially I was using my air chisel, but found it to be quite severe and could easily damage areas of the old metal that I was keen to save. So, I opted to do it by hand using pry bars, long screwdrivers and hand chisels. I basically worked my way around the parimeter popping off the spot welds one by one:


In theory this should have been a quick win, but the reality was that it took 10 times as long owing to all the past botched repairs and inconveniently welded parts that had be stuck together in areas that should never have been joined. For example; one seat runner was welded to the tunnel rather than spot welded to floor pan.... and then there were repair plates that had been placed over severely rusted areas without the old rot being cut out first.... Anyway, little by little I made progress and took the excess metal off cleanly. 
 
Next up was a seized bolt that was holding the pedal mounts in place. I tried everything to get it turning – penetrating oil, heat, wire brushing – but the stubborn little thing did not want to budge! I felt the only way forward was to carefully drill it out. I started by centre punching the top of the nut and then drilled a small pilot hole. Using a wider drill bit I slowly widened the hole:


I then switched to my trusty electric saw and made a horizontal cut to get rid of the overhanging sides of the bolt:


When I got the cut flush I simply tapped the piece out:


It took some time a patience, but I was pleased with the outcome


The next task will be to wire brush the old paint, underseal and dirt off of the framehead and bottom plate so that I can assess how much metal work needs replacing. To make this impending task easier I decided to build a simple wooden pan rotisserie so that I could reposition and rotate the chassis as desired without breaking my back each time. I constructed the framework entirely from scrap timber that had been left by the previous occupant and thanks to the fact that I can now operate my power tools (electricity, beautiful electricity, I am loving all 240 volts of it!) I had it built in no time. The only problem I came accross was how to secure the rear frame horns to a pivot piece. The original bolts were simply not long enough to pass through a piece of wood and reach the internal threads. I looked about for equivalent bolts of the same diameter with a longer shaft, but they were either ridiculously expensive or had a different screw profile. I ultimately concluded that trying to force a modern bolt to fit could lead to the threads becoming deformed or weakened. My garage neighbor, Tony, then came up with a simple solution; take a thick length of dowell (slightly oversized), taper the end and screw it in so that it threads itself:

I was dubious at first, but decided to give it a go and was impessed with how sturdy it seemed. I added a piece in on the other side and cut the dowell to a desired length. I then gently tapped on the connecting wooden pivot piece using a rubber mallet. 


This joint should hold well for the duration of the pan restoration. 


Here is the finished product with braked swivel casters added and the pan mounted up:


Simple and effective! Now I am ready for the fun to begin....

Sunday, 18 March 2012

Spring plates and hand brakes

Well, I finally finished cutting out the drivers side floor pan over the weekend:


I then turned my attention to the removal of the spring plates. I drenched the four bolts that secure the spring plate cover with WD40 then used my breaker bar to get the bolts turning.


With the cover off I could clearly see the end of the torsion bar with the splines located inside the spring plate:


And here is a close up with the rubber bushing removed:


I opted for the ‘jack and chain’ method to control the tension of the spring plate whilst I pried it off the torsion bar. If you are reading this post and considering doing the same; please be careful and always put your safety first! There is a lot of tension in the spring plates, so proceed with caution. O.k, so here is the set-up:


It basically involves looping a length of chain around the axle of a trolley jack:


…..and securing the ends to the top shock absorber mounting point with a sturdy bolt:


The jack can then be raised so that it makes contact with the spring plate and pushes it upwards and thus takes the pressure off of the shelf that it usually rests on. I then got a big flat headed screw driver and started prying. My spring plate did not require too much persuasion and was clear of the shelf within 5 minutes of prying. I slowly lowered the jack and the plate came to rest in this position:


It should be noted that on a stock VW that the spring plate would have dropped to a steeper angle, but my bug was slammed by the previous owner some 13 years ago and so the shallow angle was to be expected – as was the relative ease of getting the thing to come free in the first place. Next I made sure that my chassis was perfectly horizontal by placing a long spirit level on the tunnel and adding shims under the chassis where required:


Once I was assured that the car was level I measured the angle of the spring plate using an inclinometer. This is important to ensure that everything goes back together at the same angle that it came apart:


I then wiggled the spring plate off of the torsion bar being careful not to disengage it from the inner splines. With the spring plate off I located the top point of the torsion bar by balancing a socket piece on top of it and then made a small mark with permanent pen. In theory this should help me find the correct inner spline location during the rebuild:


It was then just a simple case of pulling the bar free from the inner splines and drawing it out:


All done and thankfully without any drama:


One thing that I forgot when I did the previous side was to mark the spring plate and torsion bar before pulling it apart to aid with the reinstallation:


With the spring plates off the chassis was looking very bare. The only bits still to remove were the handbrake and heater levers. So, a couple of spanner turns later they were off and bagged and tagged:


And here is the result at the end of the day. One chassis tunnel ready for sandblasting and minor repairs (I hope)