Wednesday 28 July 2021

Front beam gets some love

Moving on in a non-linear fashion, I turned my focus to stripping and cleaning the front beam (truth be told; most of the sequence below has occurred at random intervals over the last few years and this is my attempt at tying everything together with my current progress)

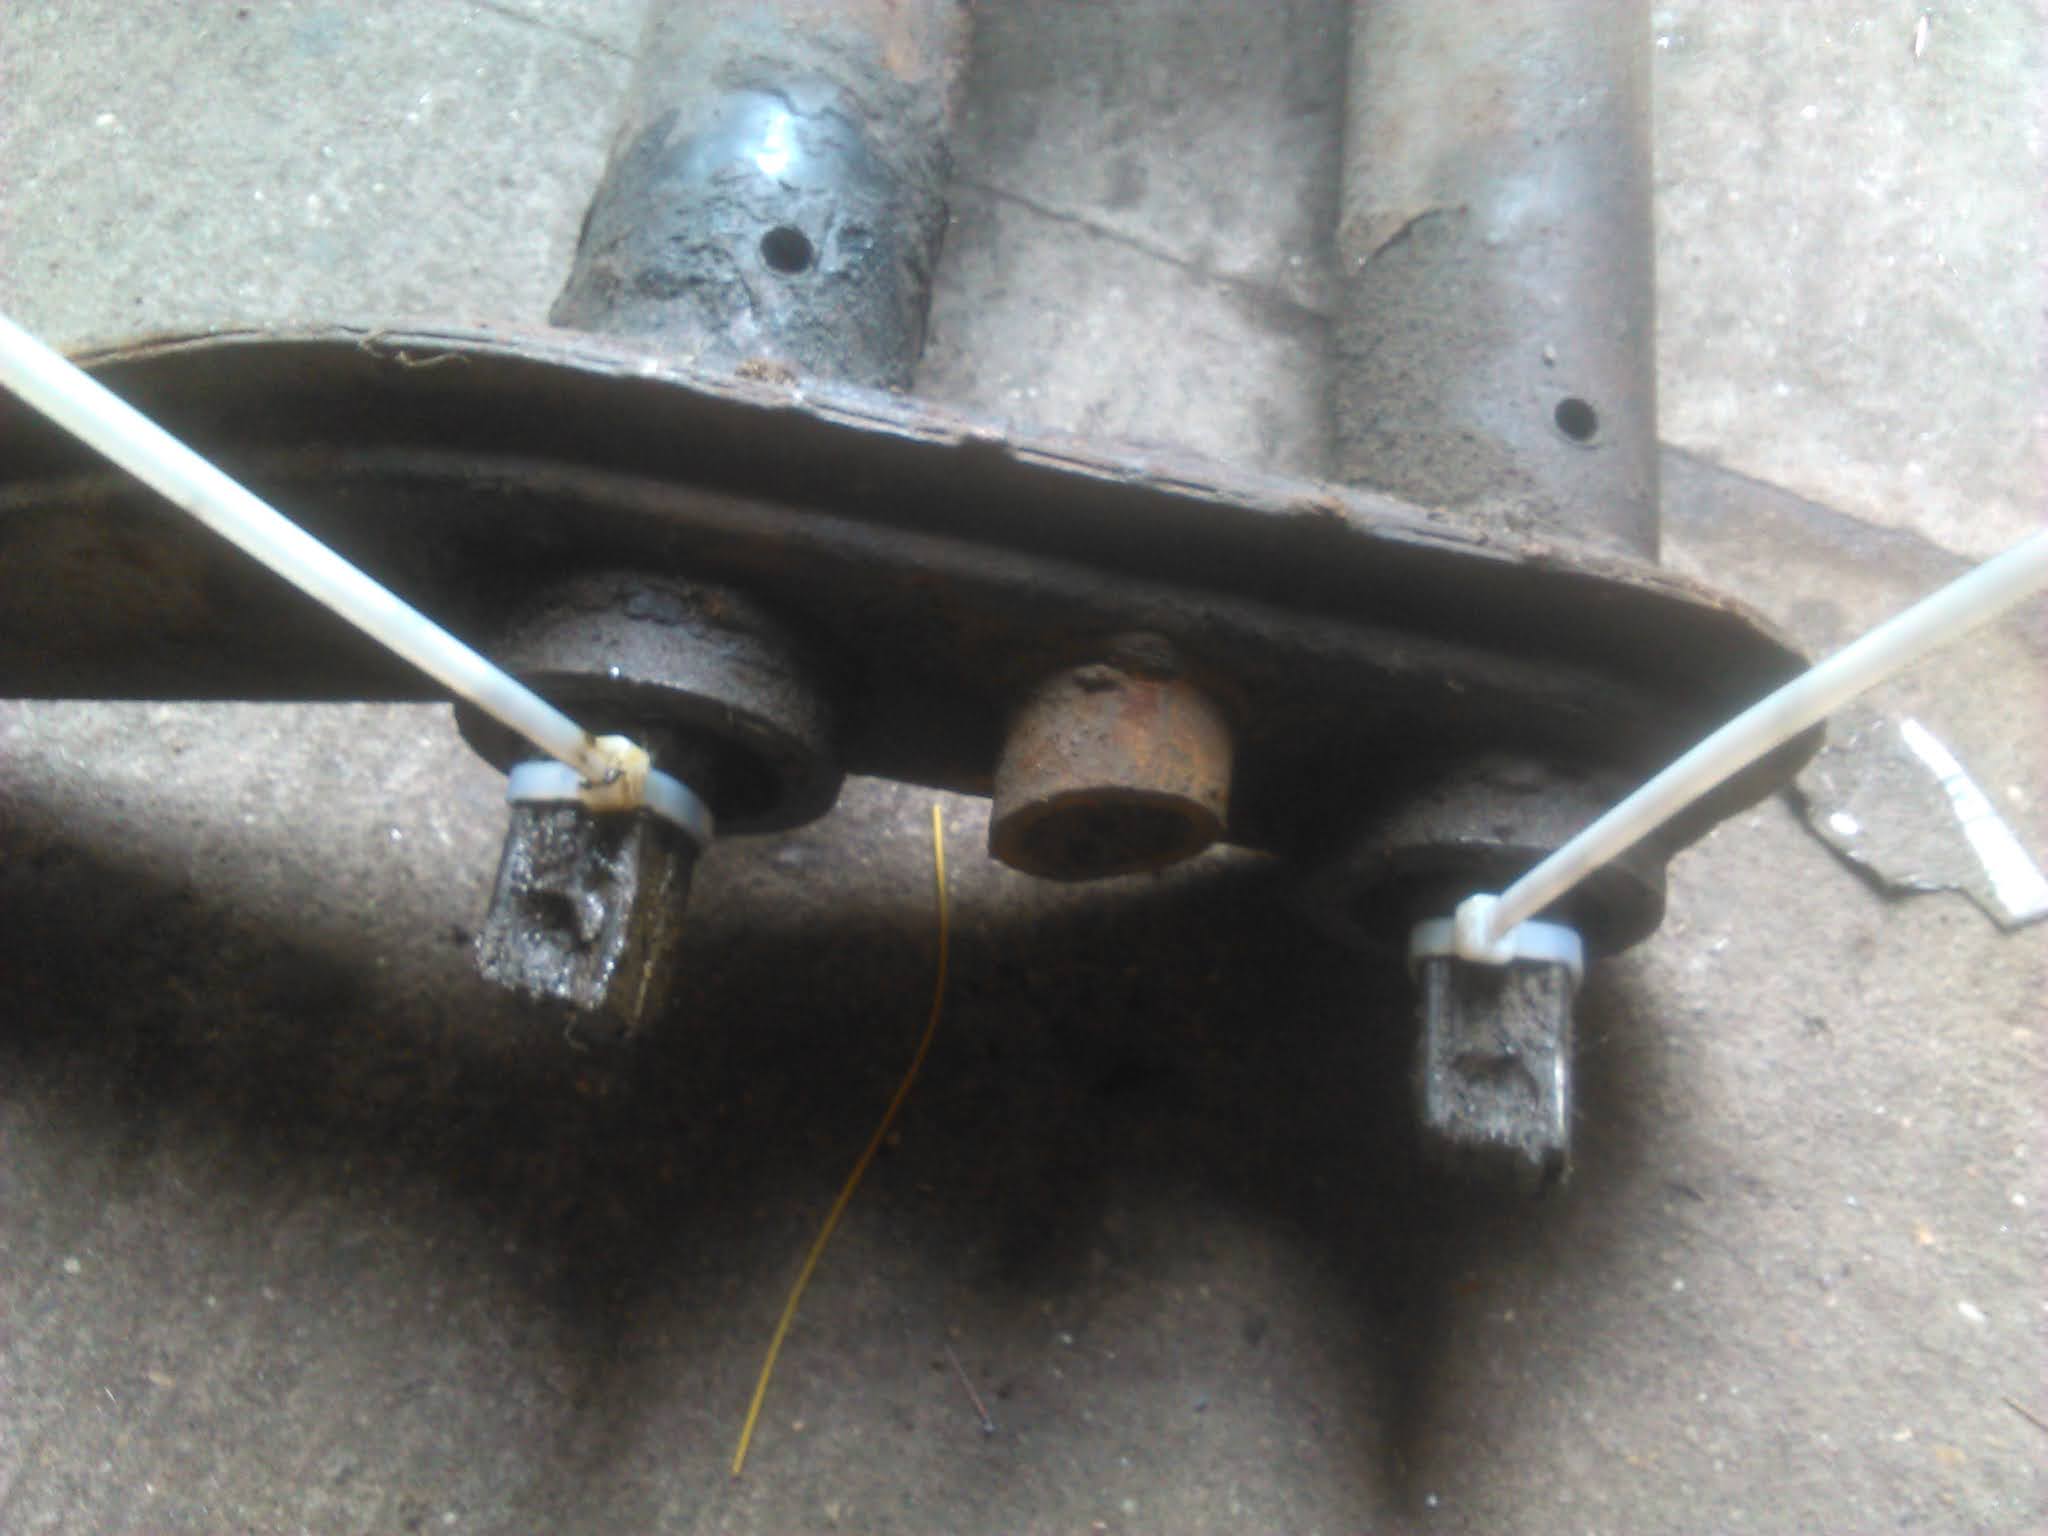
Firsty, I removed the spring leaves from the front beam. The beam has sway away adjusters installed and I had to wind the centre screws back in order to draw the leaves out. Before removal I added a few cable ties to the end to keep everything together:


Then it was just a case of withdrawing them with a suitably sized pair of mole grips:


Rather than cleaning the old grease off at this point, I simply wrapped them in cling film:


I then sealed up the ends of the beam to prevent dirt and crap getting in their as I wire wheeled the outside:


Nothing magical to show here, just takes time. Lots of time:


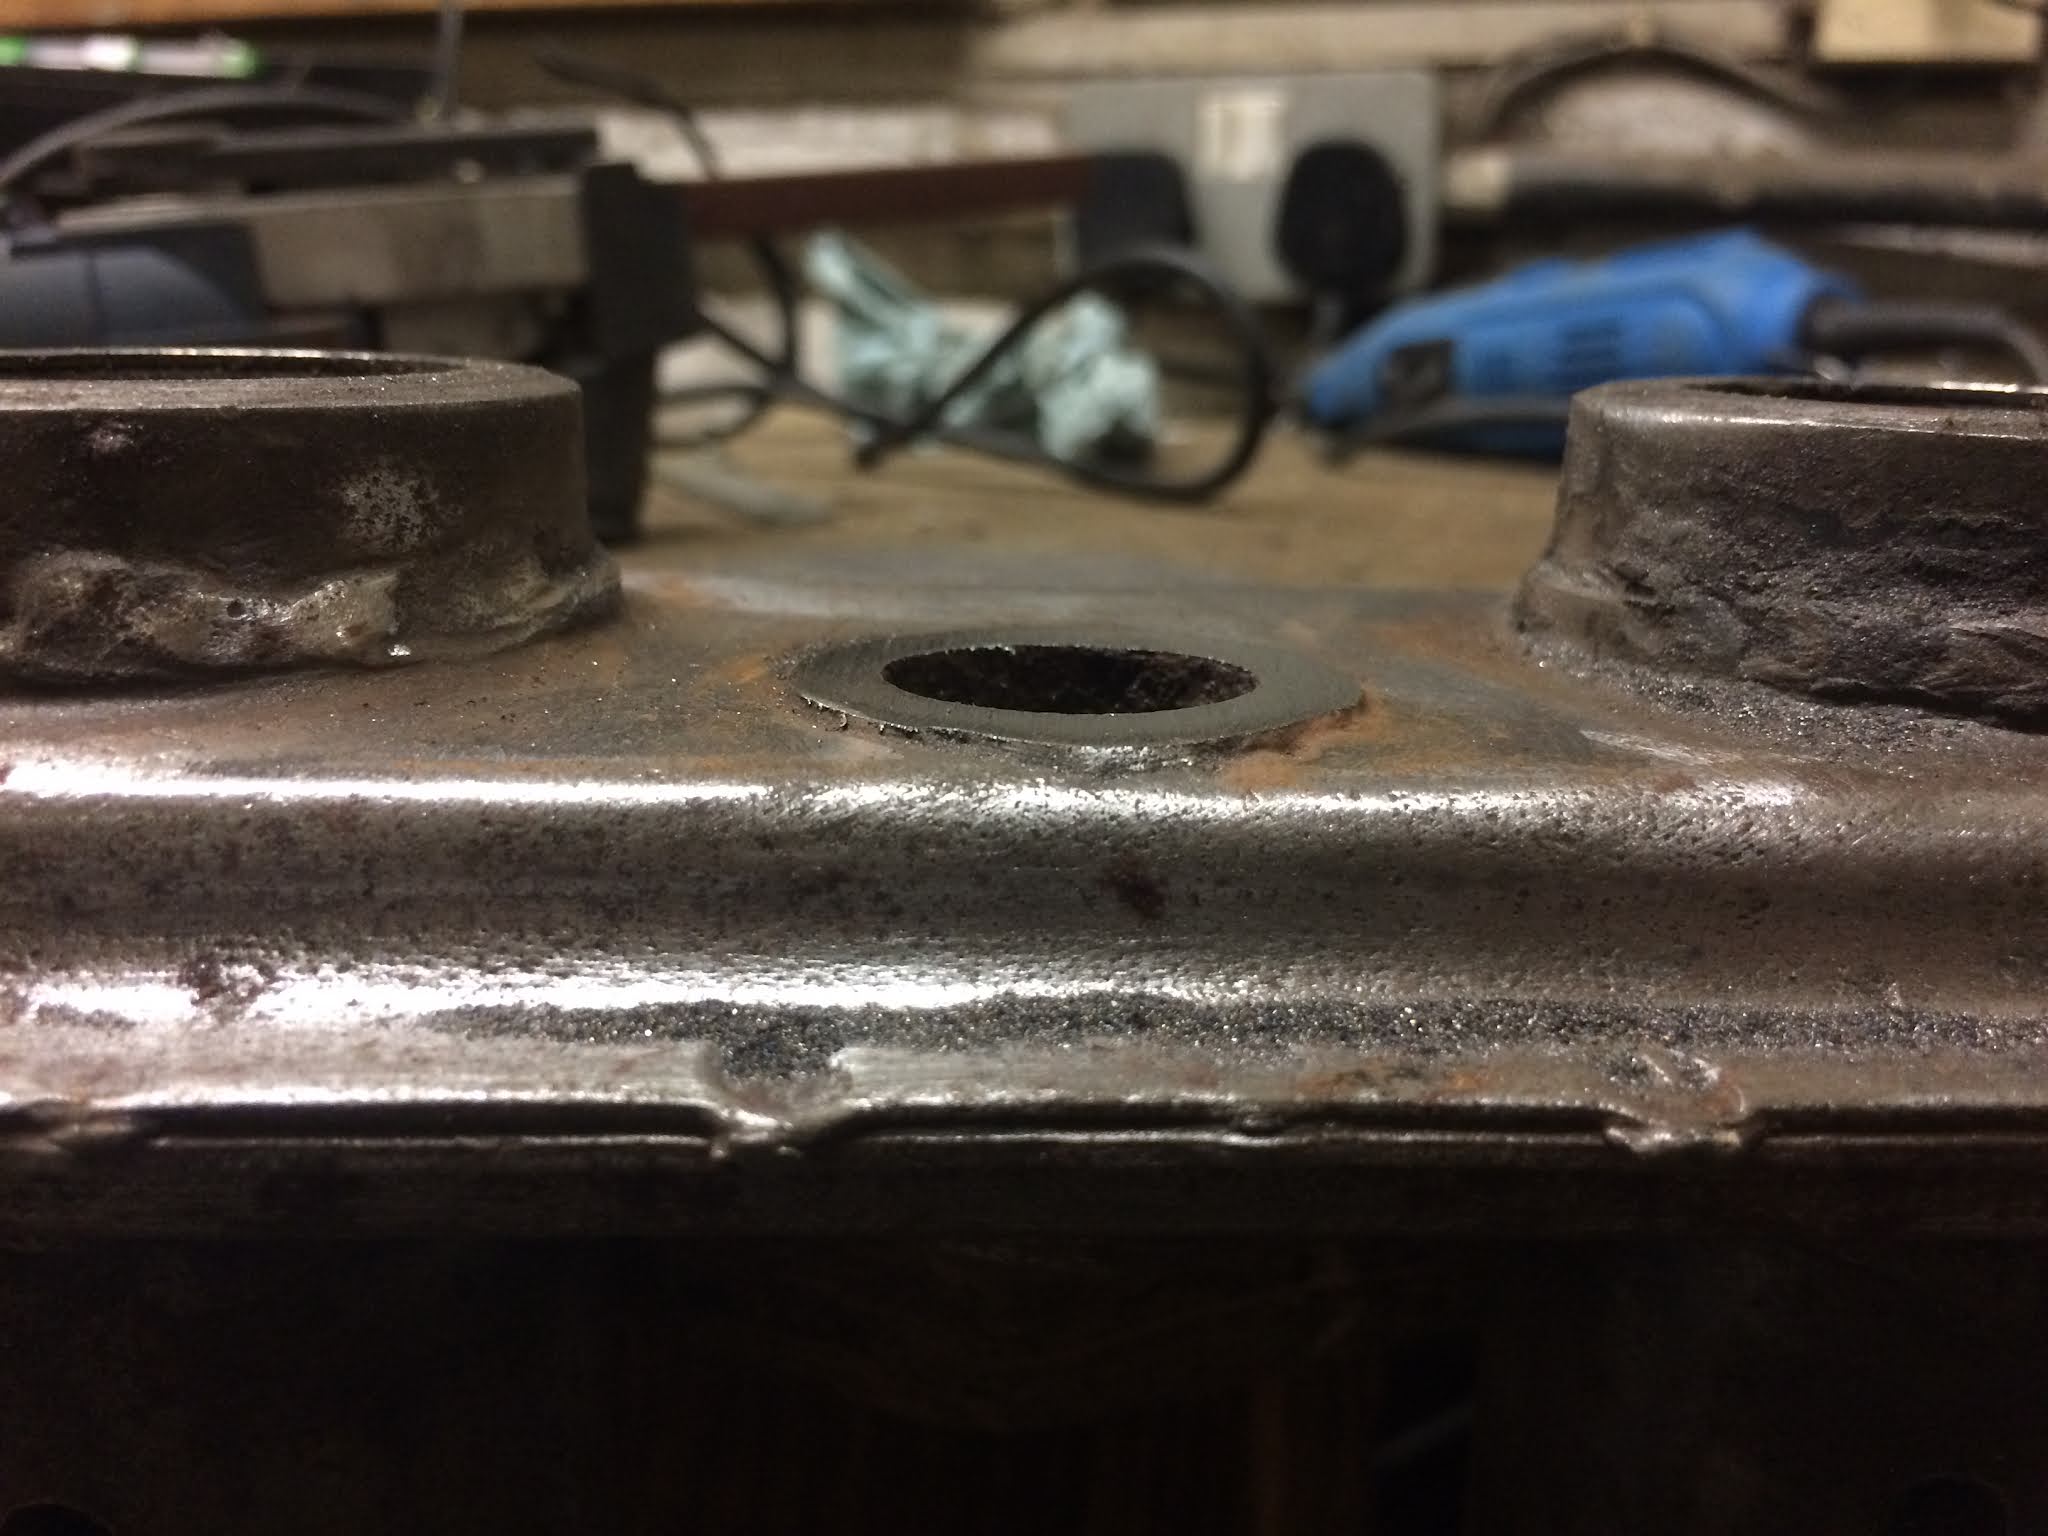
I tidied the sides of the beam by cutting flush the remnants of the old bump stops. These stubs are the result of the bump stops being crudely cut sometime in the car's past when Gretchen was lowered;


Used the power file to smooth things off perfectly level:


Now that the worst of the crud has been removed and those stubs addressed, I can switch to the shot blast gun to ensure the cleanest possible finish and a decent key for laying fresh paint on. Time to fire up the compressor...

Wednesday 21 July 2021

Scuttle and under-bonnet stripped and primed

Continuing on from last week's blasting endeavour, I spent many hours ensuring that all the hard-to-access nooks were spotlessly clean (NB: I left a couple of sections of original paint where it was in decent enough condition to remain in place for the time being):


Everything recieved several coats of Zinc galvanising spray for protection. It calms my mind to see less rust on the car!  

Wednesday 14 July 2021

Blastin' the crud away

With the blasting drape making life considerably easier, I have been progressing with the clean-up under the scuttle and on the bonnet. I confess that the surface rust which had established so voraciously under the bonnet area and along the top of the scuttle was as a result of my own negligence. These are areas that I had previously taken back to bare metal and then not treated with any paint to prevent flash rusting. I don't know why, I just seem to make mindless mistakes occasionally (will I ever learn?!): 


I was making steady progress until I dropped my trusty old shot blaster and it snapped at a brittle weak point where the grit hopper attaches to the bottom of the gun. Damn it! Unfortunately It cracked off part of the casting that had an internal thread, which rendered it beyond repair:

I picked up a replacement gun that operates slightly differently:

It utilises a pick-up tube and syphon hose that can pull the blast media from a bucket. The main advantage being that I don't need to constantly stop to refill a hopper anymore. Assuming a big enough bucket of media is used, then the limiting factor is really just the duty cycle of the compressor:

As soon as I started using it I kinda wished that my old spot blaster had broken sooner as by comparison it was starkly apparent that it had become rather inefficient over time. In summary, I am happy with what has turned out to be an unplanned upgrade. The gun is far superior and faster to blast with:


Wednesday 7 July 2021

DIY Blasting Drape

Whilst browsing the resto threads over on The Samba, I came across a DIY idea so simple and effective that I was compelled to steal the concept and make one for myself. All credit to Jeremy G for this stroke of genius! Basically, he created an adaptable blasting booth out of a tarpaulin that can be draped over whatever large item might need blasting. This significantly reduces the spread of the pervasive grit media that would otherwise colonise every inch of the workshop.

So, I grabbed some scrap plywood and set about copying his idea. The internal framework is as simple as you can get with a couple of hinges connecting the sections to allow for adaptability:

I stretched out an old tarp and marked up the centre:

Cut out the necessary apertures for the window and gauntlet couplers in the middle of the tarp and secured the flaps back with gaffer tape. Didn't realise at the time, but I inadvertently created a face expressing shock astonishment (check out those luscious lashes!):


Mounted the perspex window between hardwood gaskets that I cut from scrap (actually found the hardwood fly tipped by the side road and as luck would have it, it was exactly what I needed when I needed it!). Between the perspex and tarp edge I sandwiched some rubber foam tape to help seal things up when bolted up tight:


Mounted the gauntlets:


...with everything fastened up, it was finally ready for a test run:

 
First impressions are very encouraging and this should make the tedious and filthy task of blasting discrete parts of the body shell a little less loathsome: