Showing posts with label "sand blasting". Show all posts

Wednesday, 13 October 2021

The forgotten face of SeƱor Framehead

Whilst in blast-and-repaint mode (which, in part, is being driven by a race against the encrouching autumnal UK weather), I repositioned the chassis in the garage to get access to to the front of the framehead:

This section was not originally painted with the rest of the chassis due to it being obscured by the mounting point of the rotisseree. However, it did have a protective layer of grey primer slapped on years ago to prevent corrosion (although I now know that primer is awful for this application due to it being pourous).
 
I was initially confused by 3 extra holes that had no discernible fuction and were suspiciously asymetrical. I thought for sure that they had been drilled out sometime in the past and was about to break out the welder to plug them when I figured I should probably do some research to establish if they were factory or not: 

 
So, for anyone reading in the future pondering the same thing; I can catagorically confirm that yes, they are vw drilled holes. Here is a picture from my official workshop manual that shows them (ignore the fact that it is butchered by an Oxyacetylene torch):


I also found other restoration threads that showed the mystery holes in the same place, so I was reassured that no action was required.  

Masked up the holes and then blasted it all clean using the blasting drape to contain the mess:

 Now to get this into paint before it rapidly rusts over again...

Wednesday, 6 October 2021

Ultrasonic cleaning and blasting brake parts

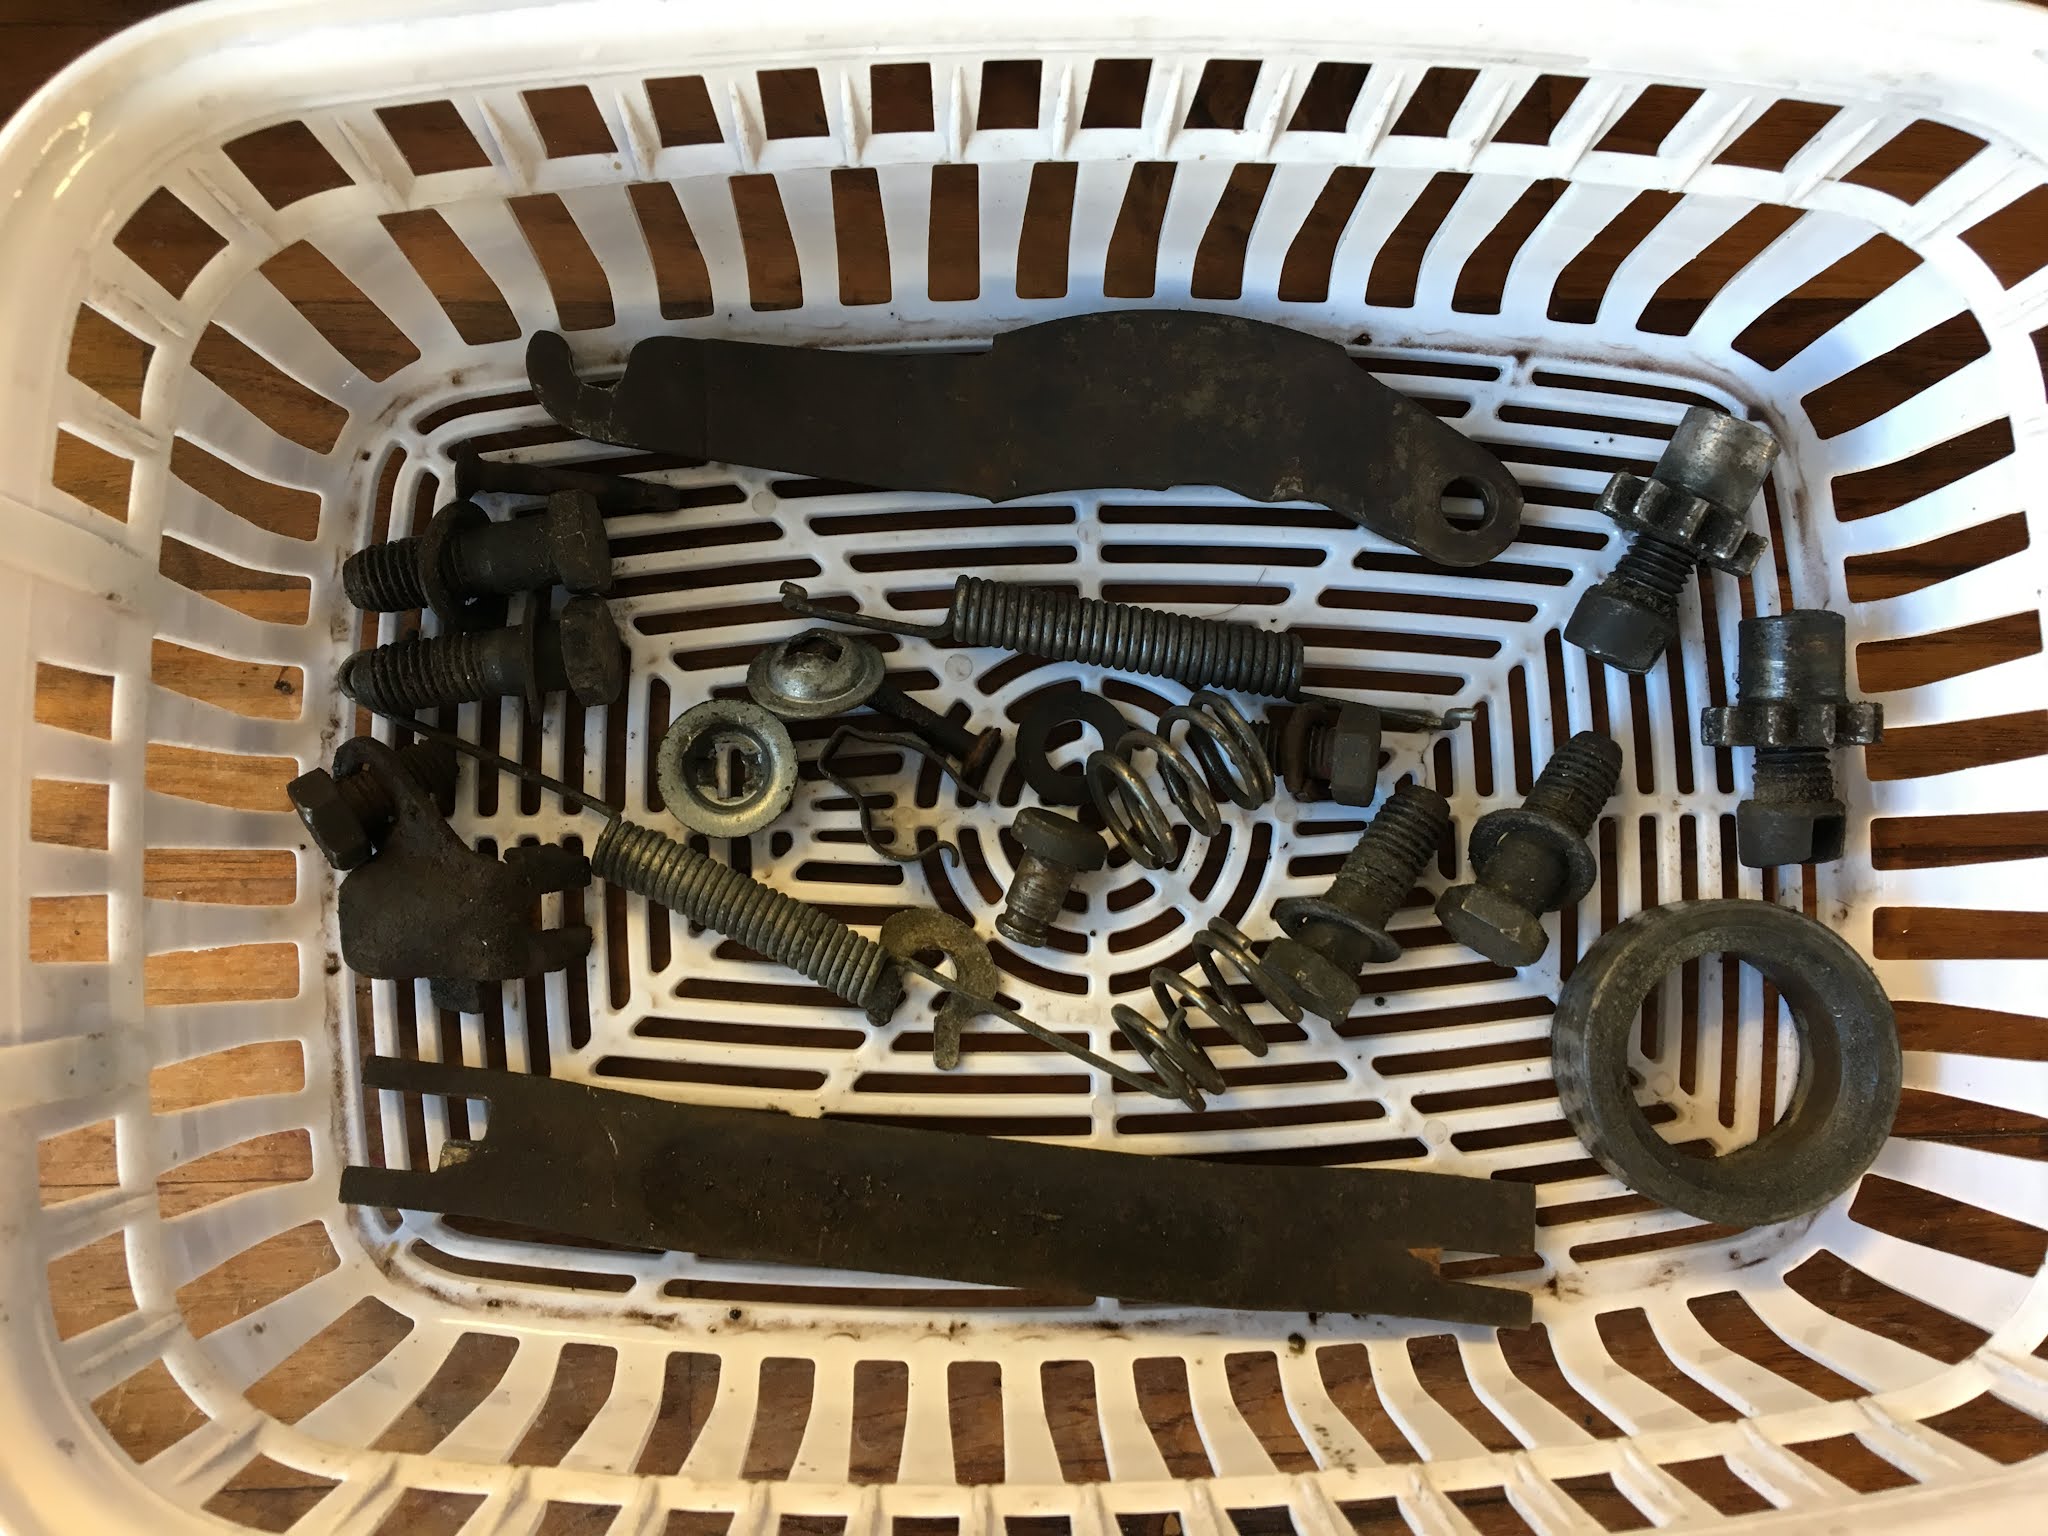
Ran the internal components of the rear brake drums through my ultrasonic cleaner (with the exception of the wheel cylinders and shoes, which will be replaced with new items). Used a dilution of UltraFX degreaser to help things along:


This was effective at getting the worst of the loose crud off and allowed me to to assess the serviceability of the individual parts. My conclusion was that most of the components could be reused; the pull-off springs, star adjusters and fasterners were in good order. I remember renewing some parts in yesteryear, so although they may be reasonably old I know that they haven't had that much road use. Other bits with light surface rust could be blasted and repainted as per standard:

Further dismantled the rear axle bearing covers by tapping out the oil seals and washers:

I could then mask the bearing covers in a uniquely 'creative' way; using recycled jar lids and felt-tip pen lids for the perfect fit:


...and gave them a blast along with a few other parts that were looking forlorn:


Wednesday, 15 September 2021

Gearbox axle tubes get a blast

A little more chassis work progress over the past week; this time focusing on the scabby rear axle tubes. Cleaned the loose muck off manually:


Then masked off the areas which were to be left as bare steel using gaffer tape. This was to protect against abrasion when blasting the rest:

One down, one to go:

Both spotlessly clean and ready for paint;

I also cleaned up the the 'exposed-to-elements' bottom section of the steering column as there was significant rust pitting:


You can bet that next week's update will feature a lot of black paint!

Wednesday, 11 August 2021

Assortment of chassis parts blasted

I have been taking an inventory this week, sorting through boxes of jumbled parts and separating out the chassis related items. I do wish I had a better system of cataloguing and storing parts back in the day when I was dismantling the car, but evidently I lacked the foresight. Anyway, I am now attempting to understand what is original and worthy of restoring vs what is aftermarket and could do with replacing. Revising my task and shopping lists alike, so that I can get a better command of this project. 

Whilst I was at it I also ran a few chassis parts through the blast cabinet. Admittedly some of these parts had been blasted before, but like an utter plum I left them unpainted in a box only for them to inevitably rust over again (Sometimes I want to reach back through time and give my old self a slap!). So, drum brake backing plates, gearbox cradle, Pitman arm, steering box coupler and a bracket are now looking fresh;

I have undoubtedly made this comment before, but I do find it satisfying when through the act of blasting a small factory stamp detail emerges from the grime:

Now to give these items a few coats of black Mastic 121 so they don't rust over yet again...

Wednesday, 21 July 2021

Scuttle and under-bonnet stripped and primed

Continuing on from last week's blasting endeavour, I spent many hours ensuring that all the hard-to-access nooks were spotlessly clean (NB: I left a couple of sections of original paint where it was in decent enough condition to remain in place for the time being):


Everything recieved several coats of Zinc galvanising spray for protection. It calms my mind to see less rust on the car!  

Wednesday, 14 July 2021

Blastin' the crud away

With the blasting drape making life considerably easier, I have been progressing with the clean-up under the scuttle and on the bonnet. I confess that the surface rust which had established so voraciously under the bonnet area and along the top of the scuttle was as a result of my own negligence. These are areas that I had previously taken back to bare metal and then not treated with any paint to prevent flash rusting. I don't know why, I just seem to make mindless mistakes occasionally (will I ever learn?!): 


I was making steady progress until I dropped my trusty old shot blaster and it snapped at a brittle weak point where the grit hopper attaches to the bottom of the gun. Damn it! Unfortunately It cracked off part of the casting that had an internal thread, which rendered it beyond repair:

I picked up a replacement gun that operates slightly differently:

It utilises a pick-up tube and syphon hose that can pull the blast media from a bucket. The main advantage being that I don't need to constantly stop to refill a hopper anymore. Assuming a big enough bucket of media is used, then the limiting factor is really just the duty cycle of the compressor:

As soon as I started using it I kinda wished that my old spot blaster had broken sooner as by comparison it was starkly apparent that it had become rather inefficient over time. In summary, I am happy with what has turned out to be an unplanned upgrade. The gun is far superior and faster to blast with:


Wednesday, 7 July 2021

DIY Blasting Drape

Whilst browsing the resto threads over on The Samba, I came across a DIY idea so simple and effective that I was compelled to steal the concept and make one for myself. All credit to Jeremy G for this stroke of genius! Basically, he created an adaptable blasting booth out of a tarpaulin that can be draped over whatever large item might need blasting. This significantly reduces the spread of the pervasive grit media that would otherwise colonise every inch of the workshop.

So, I grabbed some scrap plywood and set about copying his idea. The internal framework is as simple as you can get with a couple of hinges connecting the sections to allow for adaptability:

I stretched out an old tarp and marked up the centre:

Cut out the necessary apertures for the window and gauntlet couplers in the middle of the tarp and secured the flaps back with gaffer tape. Didn't realise at the time, but I inadvertently created a face expressing shock astonishment (check out those luscious lashes!):


Mounted the perspex window between hardwood gaskets that I cut from scrap (actually found the hardwood fly tipped by the side road and as luck would have it, it was exactly what I needed when I needed it!). Between the perspex and tarp edge I sandwiched some rubber foam tape to help seal things up when bolted up tight:


Mounted the gauntlets:


...with everything fastened up, it was finally ready for a test run:

 
First impressions are very encouraging and this should make the tedious and filthy task of blasting discrete parts of the body shell a little less loathsome:

Wednesday, 26 May 2021

DIY outlet coupler for blast cabinet dust extractor

Following on from last weeks success with the cyclone separtor, I was eager to get the unit attached to the shot blast cabinet. The model I have (an old model Sealey SB972) does not have a connection for a dust extraction hose. However, it does have two air inlets, one of which has an air filter. My first idea was to utilise one of these inlets as the connection for the dust extraction. The problem, I quickly found through testing, was that the suction was greater than the air being drawn through the one remaining inlet and this would doublessly cause an implosion to the weakest part of the rig. I figured that I had two options; either reduce the power of the vacuum or increase airflow through the cabinet. However, with regards to that latter; I really didn't want to have to cut more holes into cabinet if I didn't have to. 

With this in mind, I then had a brainwave - remove the ineffective light unit (I will be upgrading to internal LED light strips anyway) and utilise the remaining aperture as the basis for creating a custom extraction port. Crucially this would leave the two existing air inlets as they were and keep airflow maximised;

With the light fitting out, I had a sizable hole to work with;

I set to work by cutting out a blanking plate from 2mm mild steel sheet, using the old light fitting as a handy template; 


Basic form cut out and trimmed down;

I then repurposed a hose attachment from an old vacuum cleaner that I was throwing out and trimmed it down to make it flush on the underside;


I cut a corresponding hole in the steel to accomodate the hose attachment and then tapped some M3 threads for the bolts;

....which worked perfectly for securing the repurposed vacuum connector in place; 


The end result was just about right, with the airflow keeping up with the vacuum suction;

Happy with that! Now to get this thing illuminated...