I was fortunate enough to pick up an original Solex 28-PICT-1 for a fiver (literally the same cost as the postage!). It was in need of restoration, but that's what I am all about:

Fortunately I had my VW workshop manual to guide me through the disassembly process (not needed, but reassuring to have):

Evidentially this carb has never been overhauled as the original Solex branded gasket was still present:

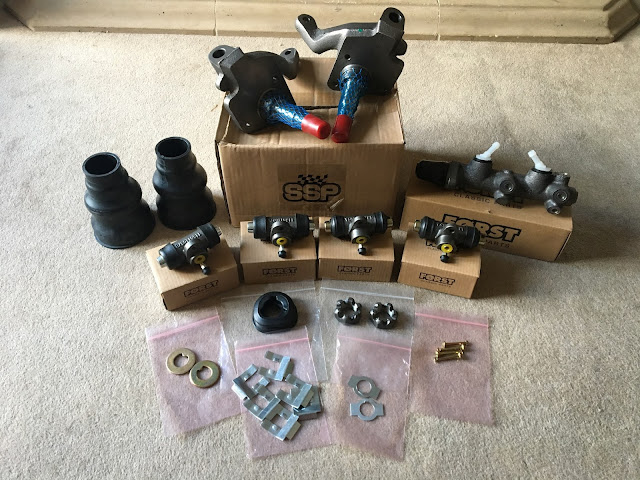
I got hold of a rebuild kit, which gave me the correct gaskets, diaphragms and needle valve, although I ultimately opted to keep the original valve:


Comparing against an exploded diagram, I took stock of what I had. Everything was present apart from the accelerator pump discharge tube, which I will have to find at a future swap meet. The carb was a pleasure to rebuild as it went back together without issue:


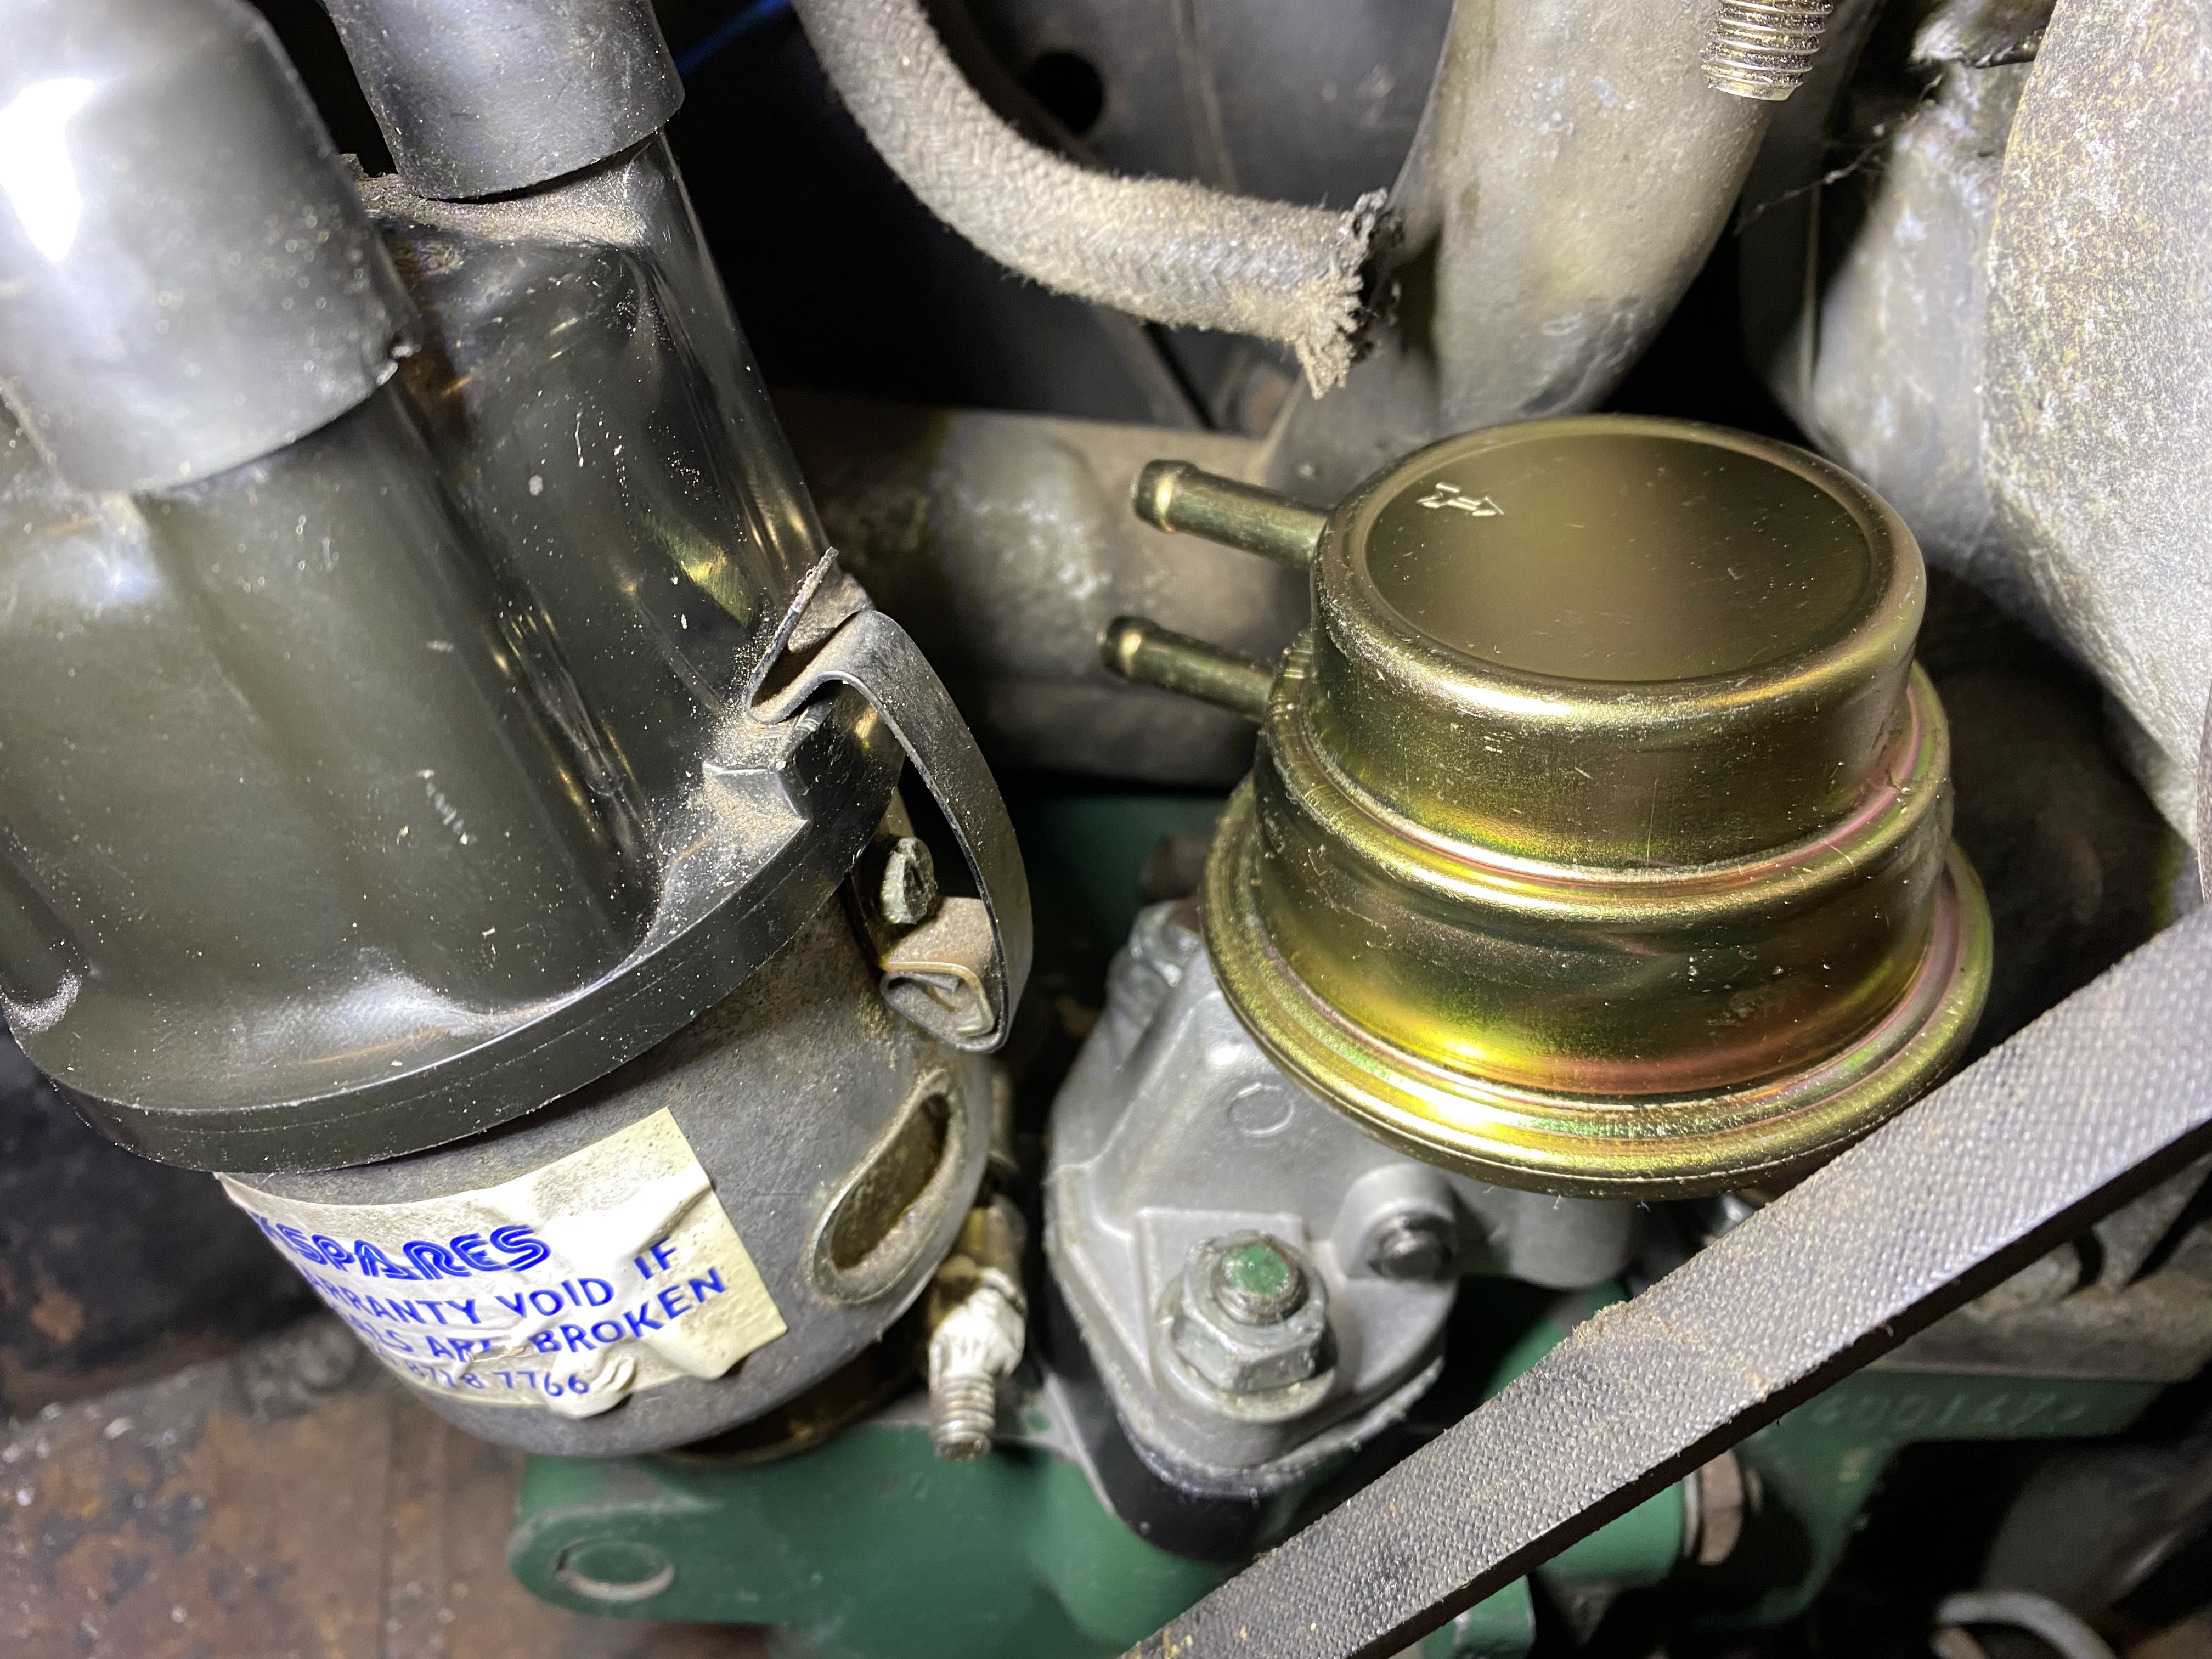
Hopefully, I will get this tested next year and between this reconditioned carb and the fuel pump, the engine will have a more faithful resemblance to an original engine.