Showing posts with label fabrication. Show all posts

Wednesday, 1 December 2021

Repair to the petrol tank support rail

I was still in two minds about the tank support rails. My initial feeling was that they were fairly crispy and that heavy pitting (from both inside and out) had thinned them.

However, upon blasting, it turned out that my assumption only turned out to be partially true. It seems that these sections were made from a slightly lighter gauge steel, which would explain why they felt relatively light. Fortunately, the rot was not too extensive, so rather than replacing with new items I figured I would save them. Afterall, the more original steel that stays in the car, the happier I feel:

Marked up the worst sections:

Cut out the bad:

made up a patch from fresh steel:

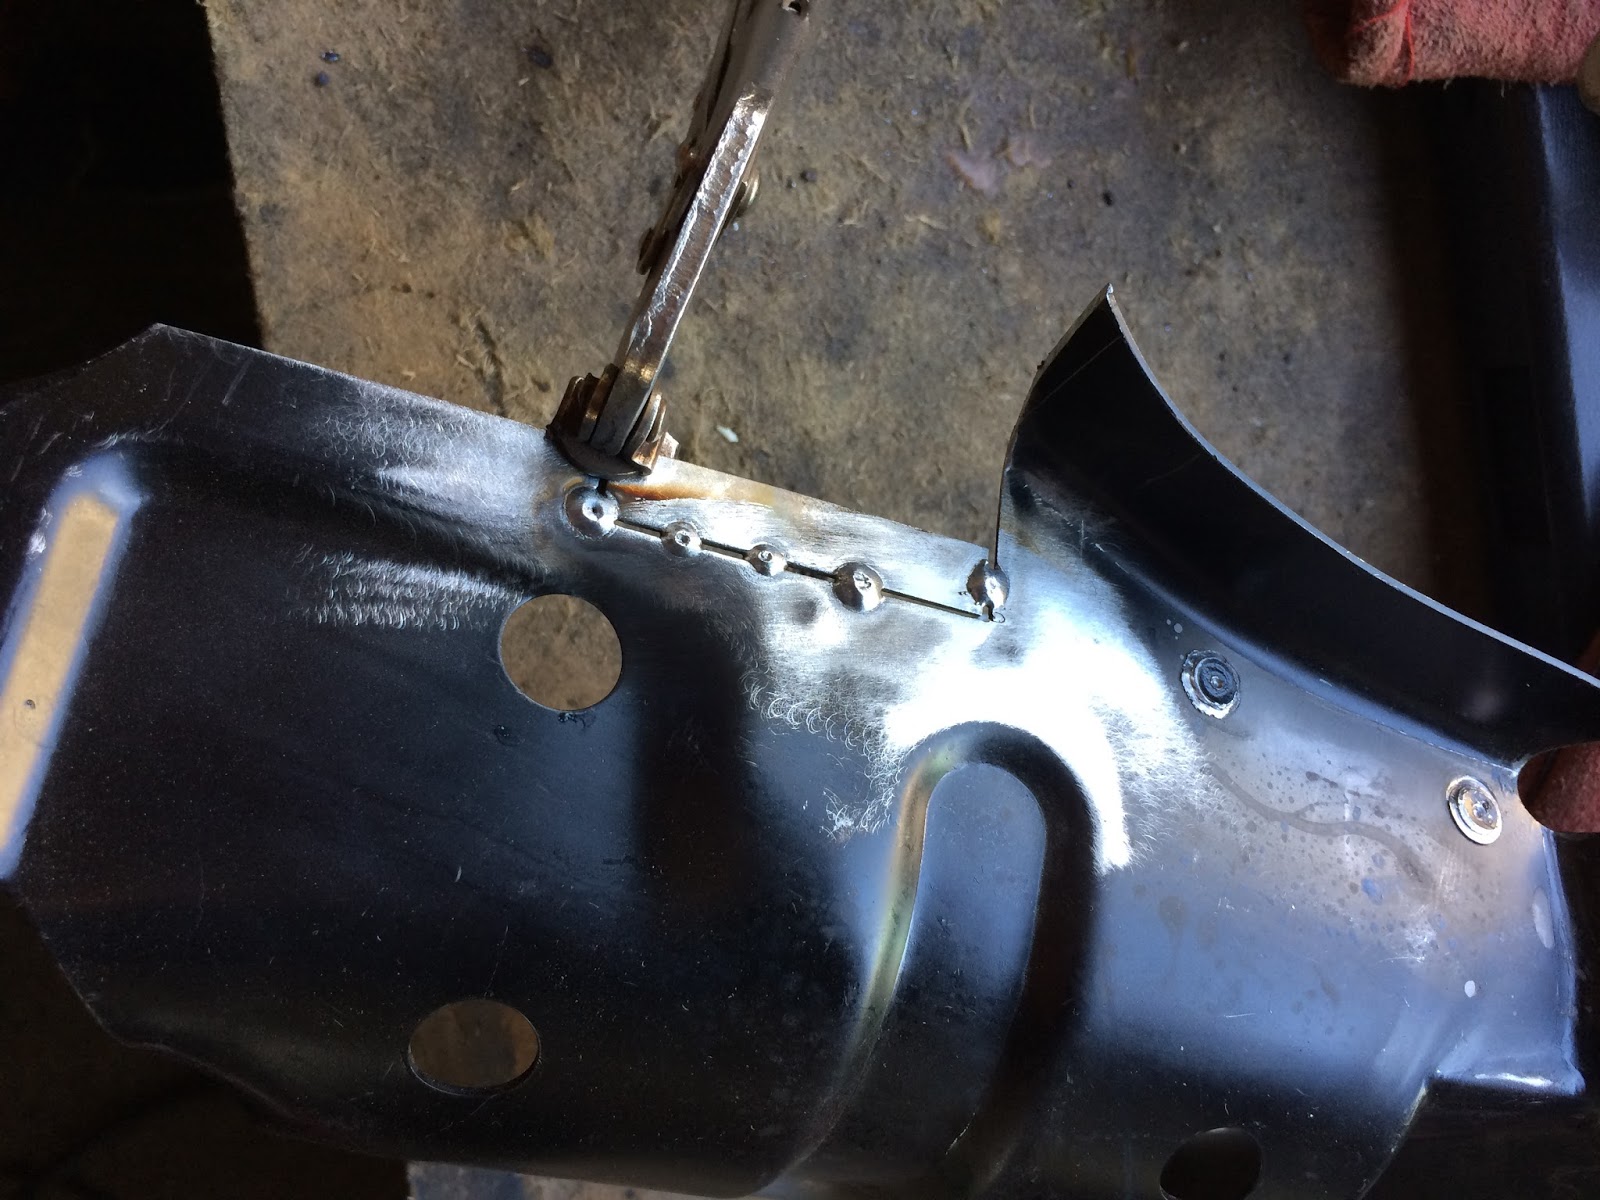
Clamped, welded and dressed:


I am not sure how I want to proceed with the forward section that curves downwards. It is actually a bit more complicated than it appears in photos because the planes sit at various angles rather than conveniently flat. I may end up using a section out of the Mexi tank rail and graft it in rather than trying to form it from scratch. I need a little thinking time, so will come back to it.

 Right, time to have a look at the other side...

Wednesday, 29 September 2021

Fabricating spring clips (for rear drums)

Stripped down the rear drums, then bagged and tagged the components:

As I began to blast the scabby backing plates I noticed that something was amiss - the spring clips for the star adjusters were damaged and on one of them pretty much absent: 

I was able to drive out the damage remnants out of the slot using a flat-head screwdriver:


Aftermarket replacement spring clips are available, but I feel they are expensive for what they are (effectively a thin slip of steel with simple dimple pressings). Although perfectly functional, the repros are not an accurate copy of the original clips (not that this matters in the slightest, especially as the clips are hidden from view). So, more than saving a few pennies or obsessing over insignificant details, I saw this as an opportunity to do something I particularly enjoy; metal fabrication. As a fun excerise I wanted to create something with basic hand tools, but with the aim of having it look identical to the original item.

Trimmed and marked up some 22 gauge (0.75mm) steel:


Used a wide bolster chisel to form a step, using scrap bits of angle iron clamped in a vice to form around (an idea I must credit to Tony BMW over on the Retrorides forum);  

Turned the piece around and repeated the process to complete the desired indentation:


I then cut the piece into strips 10mm wide: 

To add the crucial pressings on the ends I needed to make a press tool. The simplest way I could think of was to round off the tip of an old nail that had the right diameter:

Matching it up against the remnant of the original showed that it was pretty much dead on:

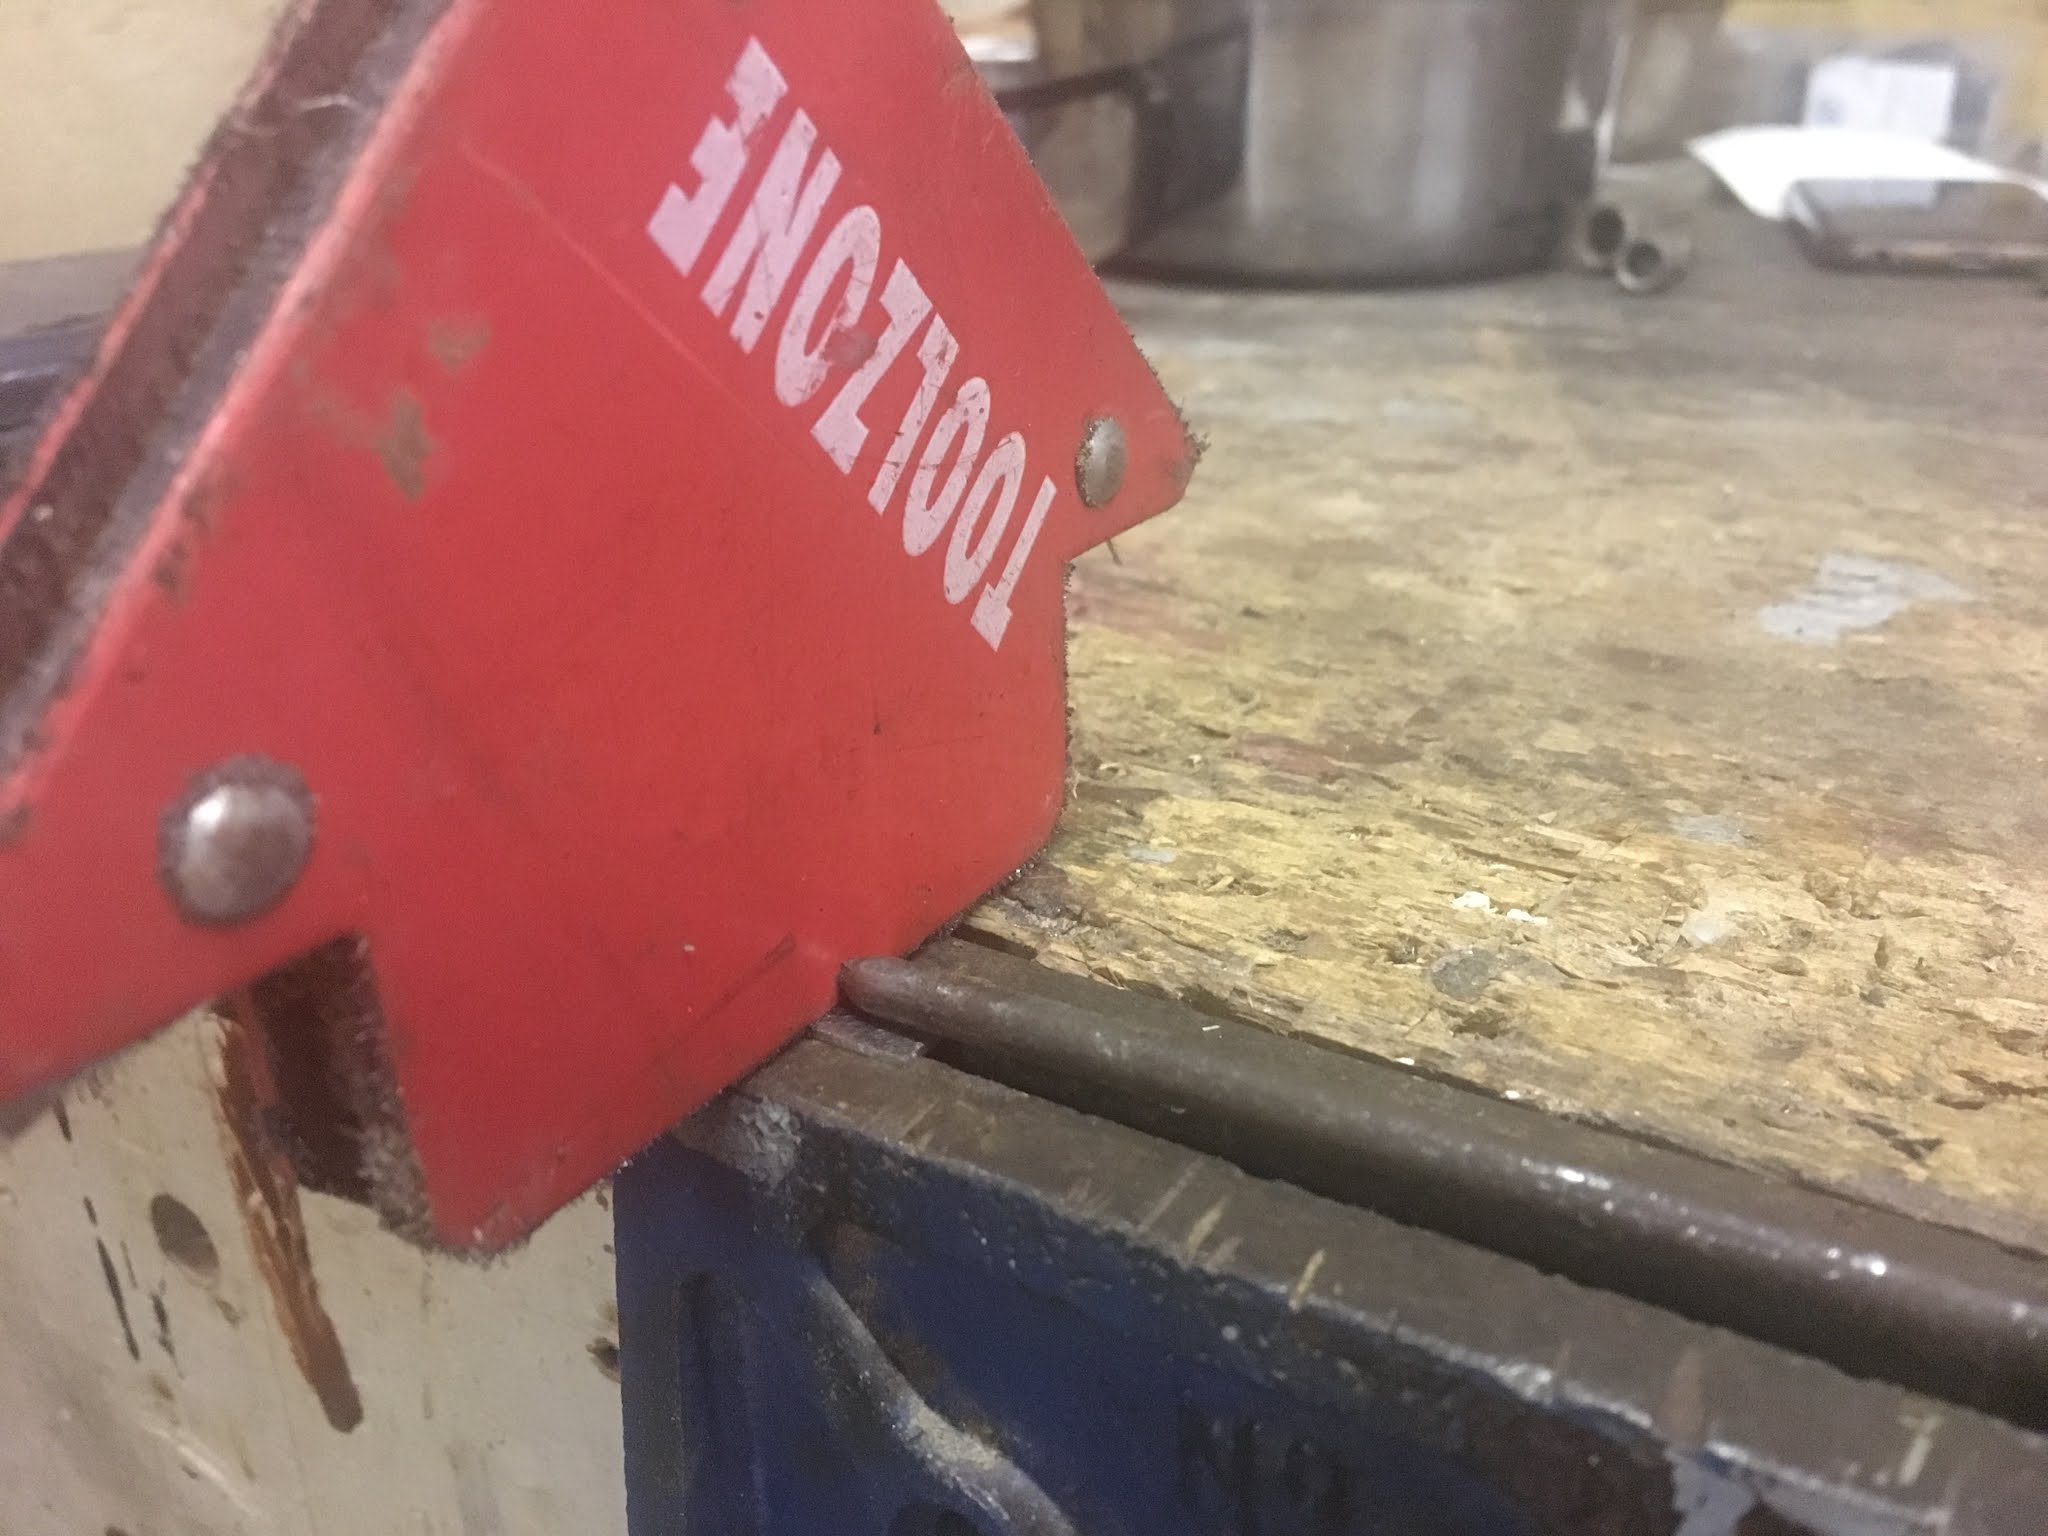
I then opened the jaws of my bench mounted vice to the corresponding width of the nail, plus a small amount extra. I held the 'blank' steel piece in place using a welding magnet over the gap for the first initial taps:

After a few firm (yet gentle) blows with the hammer on top of the nail, I was able to work the indentation until it was at the required depth and then carefully planished over the curling ends to flatten them back out:


The finished spring clips as per factory spec: 


Comparison with the intact original one in situ within the front drum backing plate:

Monday, 23 October 2017

Two is company

After another few weeks of part-time garage tinkering the other cross member has now undergone its wondrous transformation to make it '65 accurate:


I followed exactly the same process as before, so see my previous post if you would like the recipe and wish to indulge yourself with countless photos of metal fettling. 

I now present the two modified cross members together for the very first time:


A very fine pair indeed. Although they are now complete, the rear reinforcement panels do still need spot welding into place. As I am sure i've mentioned previously; I don't want to commit and attach them together just yet as I'm keen to have a proper test fit with the chassis and rest of the shell before finalising. Just want to ensure that I have some wiggle room if things don't line up right (which I am half expecting things not to!)...

Saturday, 30 September 2017

Modifying the new cross members

As I mentioned in the last post, I now have some new 'German' cross members which I am going to be using as a foundation to produce some year correct ones (i.e: '64 - '66 Beetle). They will not be 100% accurate, but will come pretty damn close. I have given this a lot of thought and it seems like the best approach as mid-sixties cross members simply don't exist as a repro item. Cross members commonly rust out on a vast majority of old bugs, so getting hold of a rot-fee OG section is almost impossible and only exist on rare foreign cars that have been driven exclusively in dry climates. Anyway, I have not seen this particular modification done before, so hopefully this detailed overview will be of some help to others who may be interested in doing the same... 

I began by drilling out the spot welds and separating the reinforcement section from the main panel. This gave me better access and allowed for a neater job:


On the main panel I smoothed out the unnecessary hump by simply cutting around it and welding in flat sheet steel:


These repros include an access hole to the heater channel. This was not something that mid-sixties cross members had, so I welded it up:


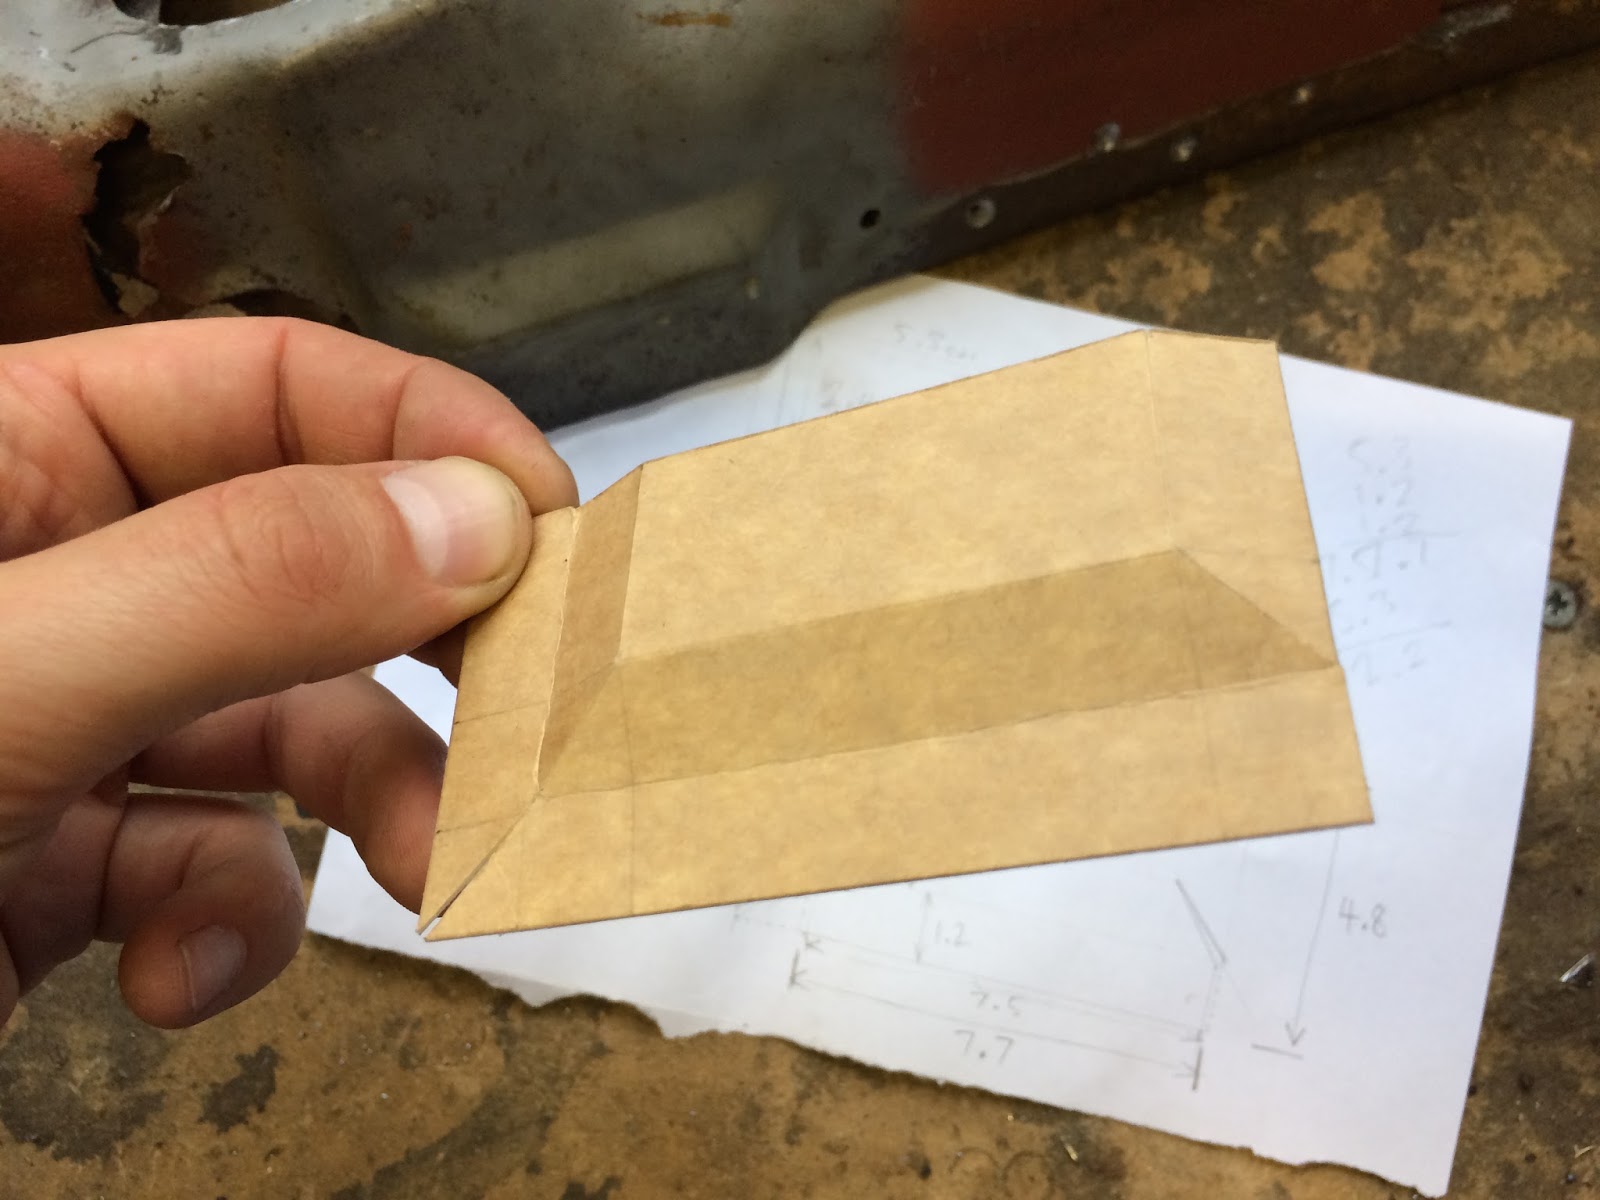
The rear edge needed a new profile adding to accommodate the correct upward angle of the heater pipe. After careful measuring and scribbling a few notes I mocked up a cardboard version of the hump I was trying to recreate:


I then transferred the measurements to sheet steel and cut out the geometric net:


After some folding on the vice and a quick zap of the MIG welder to close up the slits:


Linished back and compared to the original:


tacked into place on the cross member once the appropriate recess was measured and cut out:


After being fully welded, tweaked and dressed:


Just after the hump is a small section that is bent down on the original. I had to improvise around this section as access for clamping was tight. After some careful tapping with the hammer (remember that man light taps are better than fewer hard bashes), I got the 90 degree bend I was after:


Next task was to alter the heater pipe hole to the correct oval shape:


And trim the return flange to match the original (which terminates about halfway down):


At this point I roughly bolted up the heater channels to the pan and added the crossmembers. The fit wasn't as good as I had hoped and I was unsure at this stage if this was due to the restored pan being off or it the location of the mounting holes in the new panel were incorrect. After some head-scratching I discovered that the lower holes were not spaced apart close enough. There was a 5mm difference compared to the OG spacing. 

To correct this I elongated the hole;


Then using a copper backer I welded the other end to close up the gap slightly:


After some Dremel tool action I had it all looking correct again:


I then shot blast the entire panel before plug welded the mounting reinforcement sections back into place:


Moving on to the thicker supporting rear panel that I removed in the first step, I proceeded to cut out the unnecessary hump and chopped off the rear section that I assume adds strength to the underside of the boot corners. However, this was not present on the originals so I determined that it was surplus to requirements:


Welded in some flat sheet to replace that bump and welded up the access hole that was also present on the main section:


I welded up this little join to add a bit more rigidity:


Shaped the mating flange that will eventually fix to the inner side of the rear wheel arch:

Shot blast the reinforcement panel and got it realigned the best I could to the main section. I decided not to plug weld the pieces together at this point, just in case I needed to adjust anything further down the road. So, here is the nearly finished article just prior to spraying with zinc primer:


Now to do the same on the other side...