Showing posts with label grinding. Show all posts

Wednesday, 27 October 2021

Rust Removal (the kind 'eye' despise)

As you may have gathered from the tabloid-worthy pun, I have once again found myself with a small piece of shrapnel embedded in my eye! 


I am pretty down on myself for not following my own advice and allowing this to happen once again. Readers, please, always wear eye protection when doing metal work. Those minuscule metal filings will find a way to target in on your ballseye if you risk even the smallest task it without adequate PPE.

So, off to the eye hospital I went. The assessment swiftly concluded that I had a flake of metal just on the outside of my iris on my left eye. Anesthetic eyedrops administered, the doctor set about scrapping it out with a needle. It wasn't the vibrating one this time around, but still unpleasant nonetheless as you literally see everything:


Still have a follow up appointment tomorrow to pick out the remaining rust once the ointment helps move it all towards the surface. I appreciated the irony in the reason the doctor wrote on the appointment card 'rust removal':


Back on topic, and I shall give a little update on the endeavour that led to my unexpected trip to the emergency department... 

Mounted the spring clips into the brake backing plates by lightly filing away one edge to allow them to slip under the crimped points:


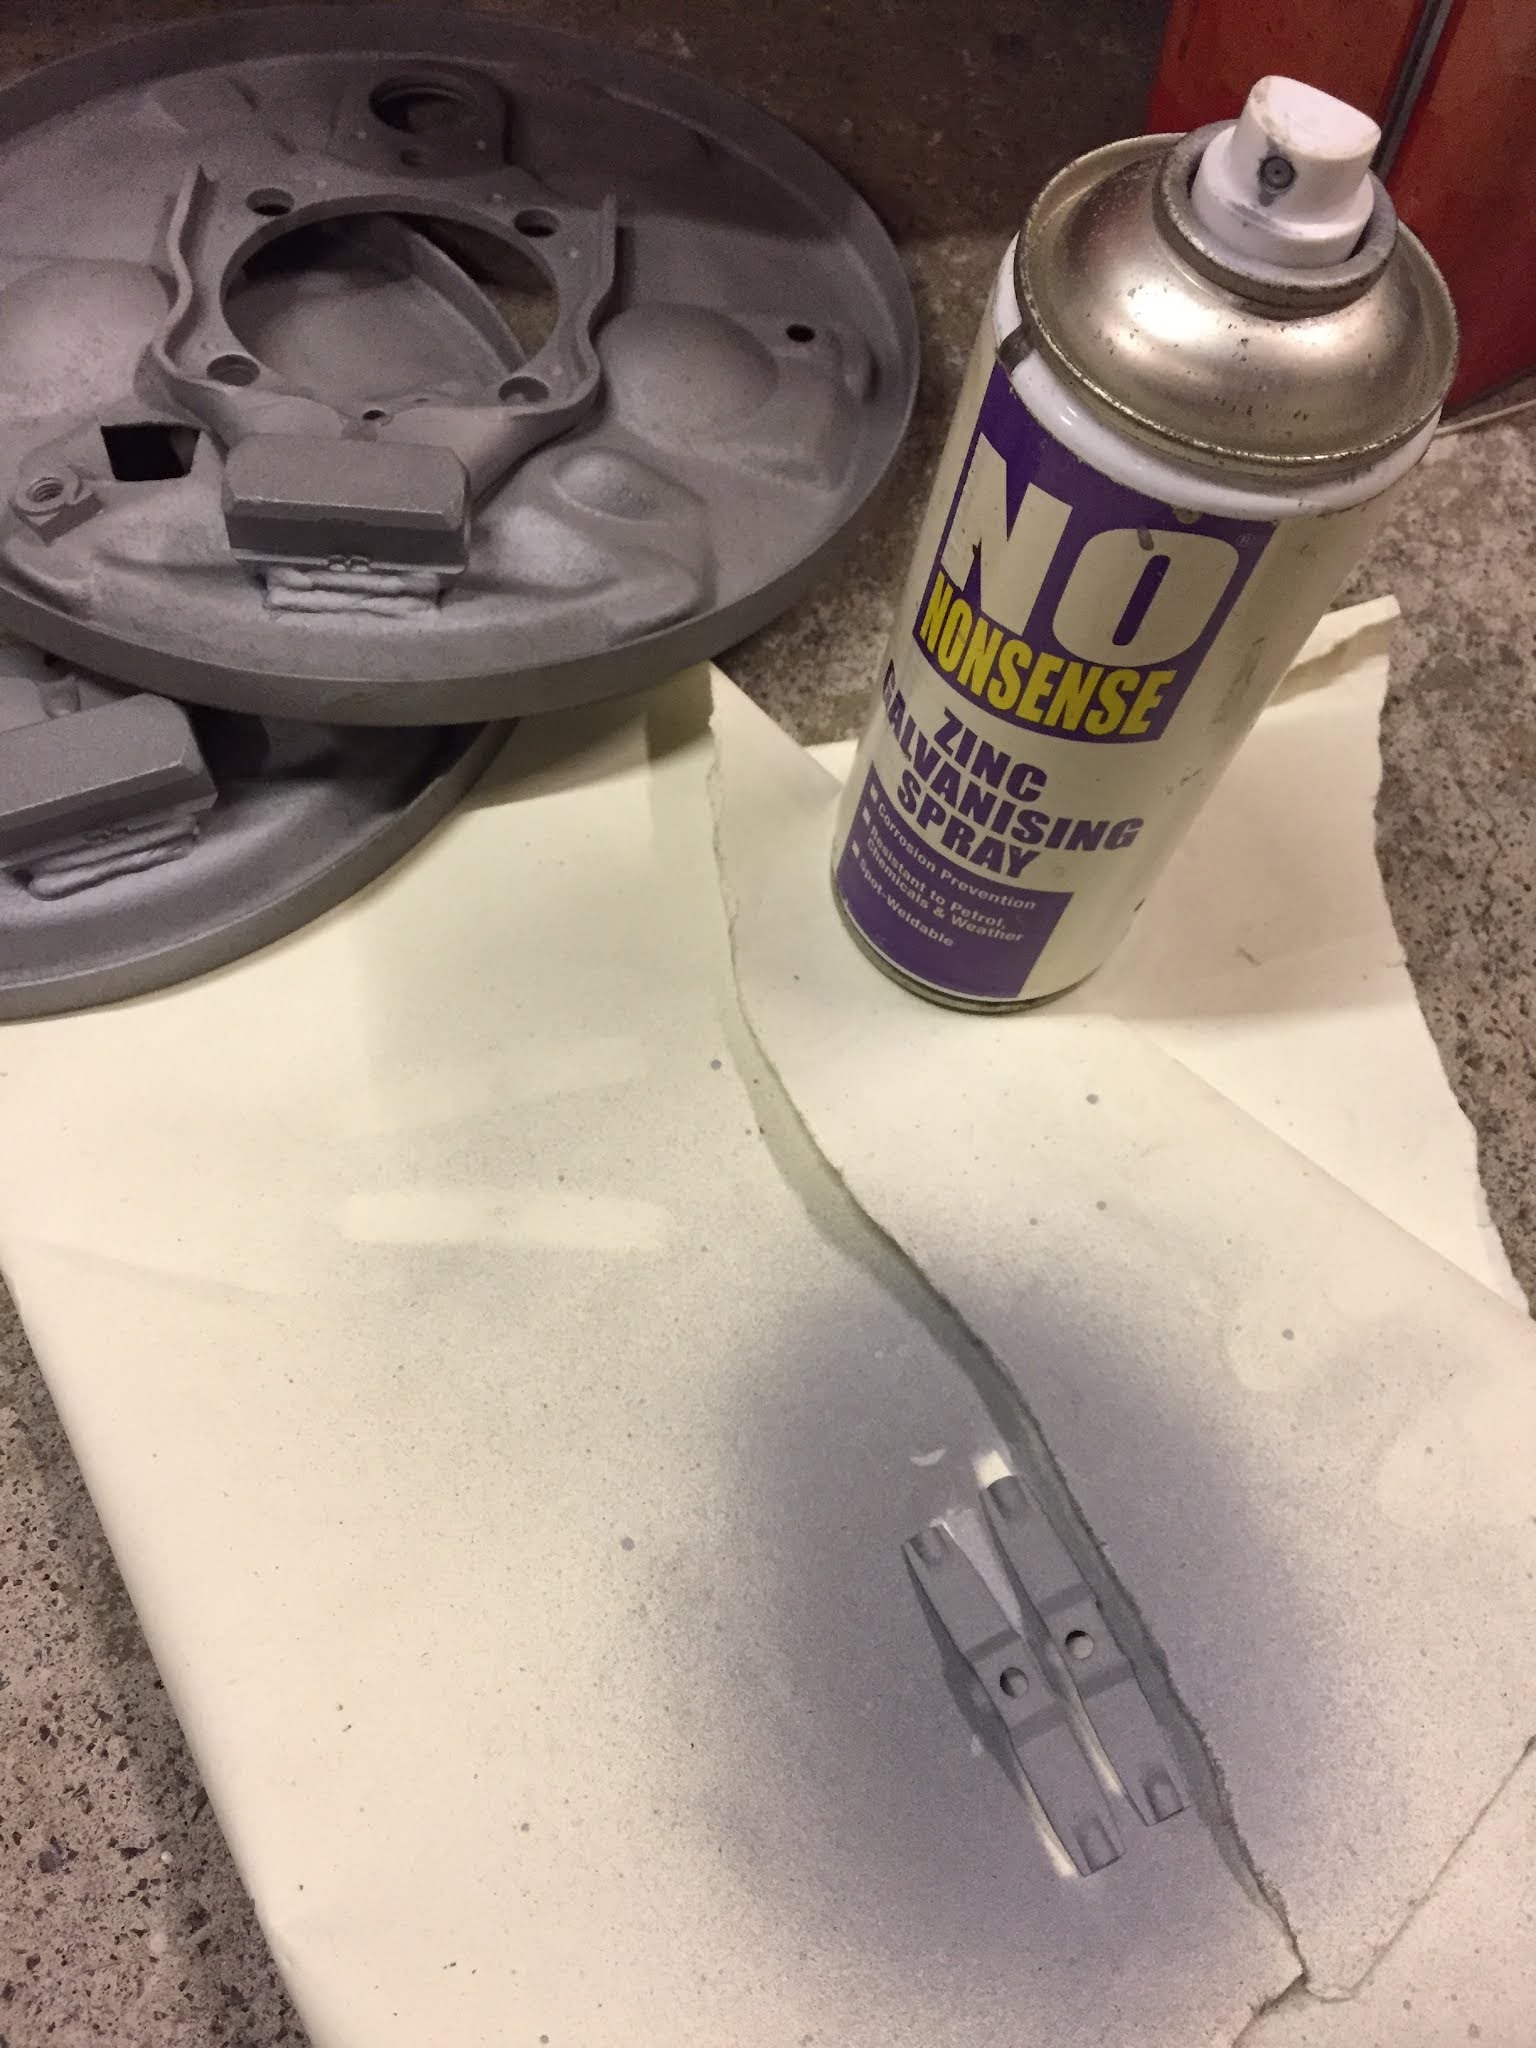
Added some 'weld through' zinc primer in between the surfaces to help mitigate against rust developing in between:

I was then able to plug weld them into position:

Using the Dremmel I dressed the welds flat (hello stupid metal filing!) and then ran them back through the shot blast cabinet to clean and key ready for paint:

Wednesday, 23 June 2021

Demystifying the demister

Continuing on from last week's undertakings... 

On the cowl section of the donor cut there was a 6" section that was totally shot along the rolled edge that forms the seam;

 
I flipped the piece over and marked out around the affected steel with a dotted line. This was duly cut out:


To make a repair piece I used a section from a different part of the donor panel. I had to pie cut the end to accurately recreate the corner curve using the old piece as a pattern;

Repair section was then glued into place:  

...and then ground back as per usual;

I then trimmed up the section to match the profile of the area to be filled;

Out with the old an in with the new; both pieces blasted and ready for fettling and final fitting;

Wednesday, 16 June 2021

Passenger side demister vent

A quick point of clarification up front; some of the following work was done in the old garage a few years back, but I didn't make significant enough progress to blog about it at the time. However, as I am now picking up where I left off you may notice that the environment changes in a few of the photos.

With the front of the car removed I have comfortable access to the rear dash area. There are a bunch of tasks that I need to do at the front end before I am in a possition to reinstall the bulkhead and heater channel assembly. So, I figured I would start with a job that I have already done once before on the drivers side - the demister outlet vent and surrounding rust. The underside revealed the extent of the undesirable mess;


As before, the whole area was pretty crispy and peppered with rust holes. Some of the worst heavy pitting extended downwards onto the cowl (outlined in red sharpie);

Learning from my previous experience, I knew that the best approach was to split the repair into two parts: the front (outside cowl) section and rear (inside dash) section. I marked up the outside cowl section with blue tape and set about removing the bad steel;


Once removed I had a better view of the sandwiched vent outlet section. Although not as bad as I expected it to be, I determined that it was too far gone to save, so opted to use my donor section to repair the entire piece. Once again, I outlined my cuts with blue tape and set about surgically removing the affected section from the inside dash;


Unfortunately the donor scuttle/dash was not without its faults, so it required a few repairs before I could use it. I split the panel into the two sections as per the above proceedure:


Once I had roughly blasted the vent section it became apparent that the steel had become paper thin on the end piece. I cut out this thinned section and fabricated a small patch:

Welded and smoothed to an invisible finish (a shame this neat work will never be seen);

 
On the flipside I cut the excess from the repair section using a low tech, but very accurate method. Basically I added masking tape to the original cut section and then used a dirty finger to trace the outline of the area. I then peeled this off and positioned on the doner section;

Gave me an accurate result;


The next step was to repair the angle grinder gash, which was the result of whoever cut up the doner car. Oh well, better make it solid again;


Almost there...


All welds ground down and looking like new again;

Tuesday, 6 February 2018

Windscreen corner and demister transplant

Since I first got the car there was always a distracting scab of bubbling paint creeping out from underneath the windscreen rubber. Inevitably, that bubbling later became exposed rust as the paint flaked away and finally an ever expanding hole! Annoyingly it was always directly in my eye-line when driving the car and was a stark visual reminder that my pride and joy was slowly rotting away before me. Repairing this offending section would be a symbolic victory against the rust fairies and their psychological taunts of the past!

The divers side corner looked bad from the top side: 


...and was not much prettier underneath:


It would require more than just the mating flanges replacing. My conclusion was that the entire demister section also needed replacing due to the amount of terminal corrosion that had taken hold. I debating with myself endlessly about the best cut lines before finally marking up the area up with masking tape and setting about the task. I have not seen this particular operation done before in other restorations, so it was a 'character building' step into the unknown for me and a real test of my developing skills:


I used the small Dremmel cutting discs to carefully and accurately cut of the section. An angle grinder would have been too aggressive and I felt it could have easily led to errors. So slowly I proceeded. Thankfully my educated guesswork paid off and I was able to lift out the rotten section, complete with integrated demister pipe, in one piece:


On the donor scuttle panel I rough cut the relevant section out so that I could prep it and later trim it down to an accurate fit:


After a session in the shot blast cabinet I had fresh unblemished steel. I was heartened to see just what great condition this section is in:


The only repair I needed to make was a angle grinder gash on the inlet pipe. I guess that the seller who originally chopped out the scuttle from the donor vehicle must have been cutting with haste and this part was a minor casualty. Nothing too serious though:


I filed the protrusions around the cut nice and flat. I then cleaned up a thin piece of copper and added a curve roughly the same as the contour of the pipe. I then inserted the copper backer and clamped it in place with mole grips:


I could then weld up the gap:


After dressing the weld and a quick blow-over in the shot blast cabinet it was looking like new again:


I spent some time carefully trimming up the repair section and repeatedly trial fitted. However, I was starting to feel a little frustrated at this point as I couldn't get the damn thing to line up right on both sides - so I have decided to split the section by drilling out the spot welds:


This allowed me to get a far better alignment on both sides of the dash rather than compromising. Before welding anything permanently into place I took the opportunity to shot blast the soon-to-be inaccessible areas, such as inside the window frame and the top of the door mounting reinforcement panel. Cleaning all this was actually a real pig of a job as it was tough to get the bulky shot blast gun into some of the areas with tricky angles. It was slow going and all I could do was my best, but it is certainly better than just leaving it:


I then added few coats of zinc primer to hopefully prevent any rust re-emerging:  


Starting with the inside section I got the best alignment I could paying particular attention to the contours of the dash.


I really took my time with the welding and started at the outlet end which I determined to be the end that was most critical to get right;


As I moved along the tapering flange section I was able to manipulate the steel slightly and adjust the fit. The occasional vertical slit was added as required to allow the shape to be altered more easily:


All welded and smoothed out and holes filled:


On to the front panel section and I once again started welding at the outlet / corner area before moving towards the centre to complete the weld:


Once the front was welded and smoothed I was just a case of closing the gap between the two sections and plug welding them together. I'm satisfied with the end result as there is virtually no indication of any work having been done;


Couldn't resist a before and after comparison;