Since I first got the car there was always a distracting scab of bubbling paint creeping out from underneath the windscreen rubber. Inevitably, that bubbling later became exposed rust as the paint flaked away and finally an ever expanding hole! Annoyingly it was always directly in my eye-line when driving the car and was a stark visual reminder that my pride and joy was slowly rotting away before me. Repairing this offending section would be a symbolic victory against the rust fairies and their psychological taunts of the past!
The divers side corner looked bad from the top side:
...and was not much prettier underneath:
It would require more than just the mating flanges replacing. My conclusion was that the entire demister section also needed replacing due to the amount of terminal corrosion that had taken hold. I debating with myself endlessly about the best cut lines before finally marking up the area up with masking tape and setting about the task. I have not seen this particular operation done before in other restorations, so it was a 'character building' step into the unknown for me and a real test of my developing skills:
I used the small Dremmel cutting discs to carefully and accurately cut of the section. An angle grinder would have been too aggressive and I felt it could have easily led to errors. So slowly I proceeded. Thankfully my educated guesswork paid off and I was able to lift out the rotten section, complete with integrated demister pipe, in one piece:
On the donor scuttle panel I rough cut the relevant section out so that I could prep it and later trim it down to an accurate fit:
After a session in the shot blast cabinet I had fresh unblemished steel. I was heartened to see just what great condition this section is in:
The only repair I needed to make was a angle grinder gash on the inlet pipe. I guess that the seller who originally chopped out the scuttle from the donor vehicle must have been cutting with haste and this part was a minor casualty. Nothing too serious though:
I filed the protrusions around the cut nice and flat. I then cleaned up a thin piece of copper and added a curve roughly the same as the contour of the pipe. I then inserted the copper backer and clamped it in place with mole grips:
I could then weld up the gap:
After dressing the weld and a quick blow-over in the shot blast cabinet it was looking like new again:
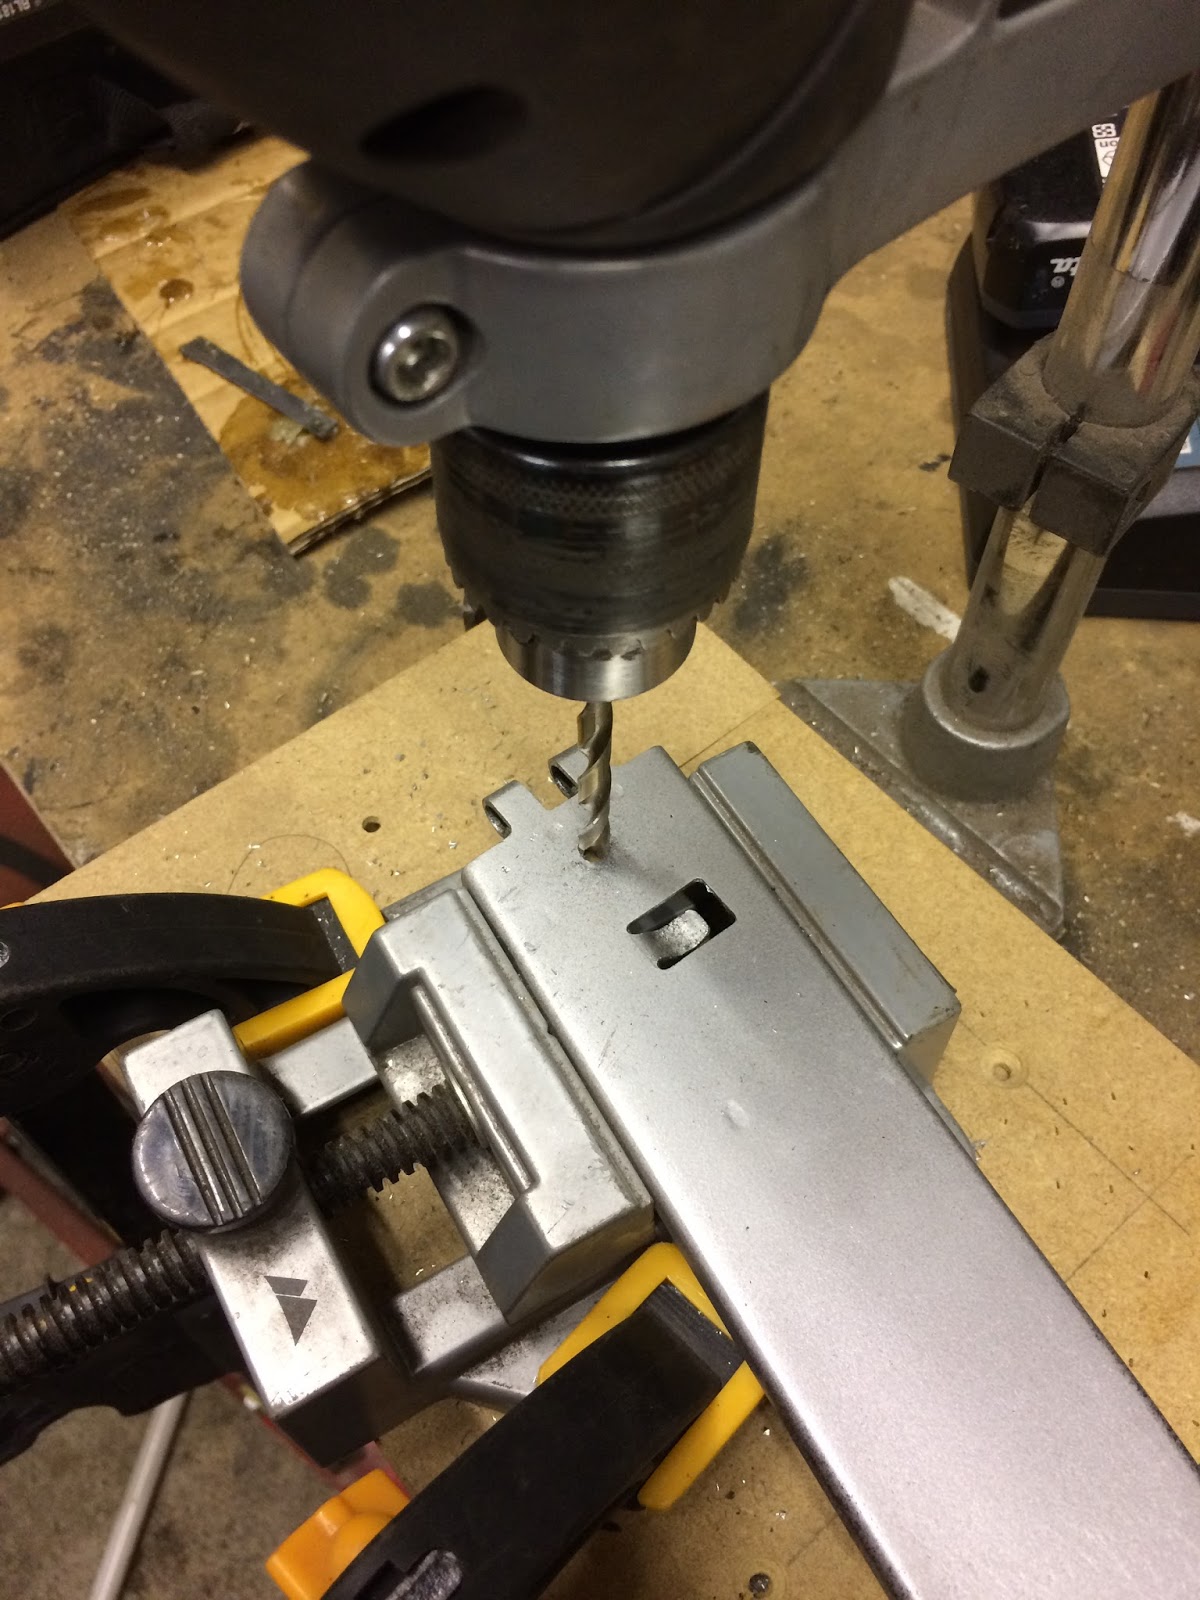
I spent some time carefully trimming up the repair section and repeatedly trial fitted. However, I was starting to feel a little frustrated at this point as I couldn't get the damn thing to line up right on both sides - so I have decided to split the section by drilling out the spot welds:
This allowed me to get a far better alignment on both sides of the dash rather than compromising. Before welding anything permanently into place I took the opportunity to shot blast the soon-to-be inaccessible areas, such as inside the window frame and the top of the door mounting reinforcement panel. Cleaning all this was actually a real pig of a job as it was tough to get the bulky shot blast gun into some of the areas with tricky angles. It was slow going and all I could do was my best, but it is certainly better than just leaving it:
I then added few coats of zinc primer to hopefully prevent any rust re-emerging:
Starting with the inside section I got the best alignment I could paying particular attention to the contours of the dash.
I really took my time with the welding and started at the outlet end which I determined to be the end that was most critical to get right;
As I moved along the tapering flange section I was able to manipulate the steel slightly and adjust the fit. The occasional vertical slit was added as required to allow the shape to be altered more easily:
All welded and smoothed out and holes filled:
On to the front panel section and I once again started welding at the outlet / corner area before moving towards the centre to complete the weld:
Once the front was welded and smoothed I was just a case of closing the gap between the two sections and plug welding them together. I'm satisfied with the end result as there is virtually no indication of any work having been done;
Couldn't resist a before and after comparison;
Showing posts with label cutting. Show all posts
Tuesday, 6 February 2018
Wednesday, 5 April 2017
Repairing the original accelerator pedal
It would have been quick and convenient to simply replace
the old accelerator pedal with a remanufacted one. However, I am keen to keep
all of the tactile control services original as I believe they embody the
historical ‘soul’ of the car. When I am eventually driving the car again I want
the satisfaction of knowing that I am pressing on the same pedals that were
operated by all of Gretchen’s former owners
since the day she left the VW dealership.
Got the two pieces and aligned them on a flat sturdy piece of copper backer:
After tacking the sections in place from behind I unclamped and double checked everything was correctly aligned before fully welding from the front side. Had to crank up the amps on the welder to ensure good penetration as the steel is quite thick:
After linishing back I reached for my new magic toy, a 5" Random Orbit Sander:
I am so impressed with the way that this thing finishes the metal. It really helps smooth out and blend the repaired area given an almost invisible finish (assuming that prior care has been taken with panel alignment etc):
After a lick of zinc primer I measured out the correct location for the 6mm hole. I don’t think this serves any particular purpose, but who am I to argue with the wisdom of VW:
The accelerator pedal was in a bit of a sorry state, with
the bottom section having been hacked off by a previous owner (after it started
to rot away I am guessing). A door hinge was instead bolted on and welded to
the floor in a ramshackle fashion. It was unsightly and not at all smooth to
operate. Occasionally when driving the pedal would jam solid if depressed too
far. Not particularly good or safe!
I took the later ‘roller ball’ donor pedal that I recently
scored for a fiver at Dubfreeze and compared it against my original and decided
how best to join the two together:
After careful measuring I cut the required bottom section
off of the donor pedal:
Marked up a corresponding cut line on my original pedal and trimmed down accordingly:
Got the two pieces and aligned them on a flat sturdy piece of copper backer:
After tacking the sections in place from behind I unclamped and double checked everything was correctly aligned before fully welding from the front side. Had to crank up the amps on the welder to ensure good penetration as the steel is quite thick:
After linishing back I reached for my new magic toy, a 5" Random Orbit Sander:
I am so impressed with the way that this thing finishes the metal. It really helps smooth out and blend the repaired area given an almost invisible finish (assuming that prior care has been taken with panel alignment etc):
After a lick of zinc primer I measured out the correct location for the 6mm hole. I don’t think this serves any particular purpose, but who am I to argue with the wisdom of VW:
Labels:
accelerator,
cutting,
grinding,
MIG,
pedal,
repair,
Restoration,
welding
Monday, 6 February 2017
Auf Wiedersehen heater channels!
With the car firmly braced up the time had come for some brutal surgery! I started with the rear crossmembers and marked the location of all the spot-welds ready for drilling out:
A few areas had small weld stitch welds about an inch or so long, these were ground back using the dremel tool as I did not want to over grind the area, which is easily done with an angle grinder:
The Y-piece heater tubes had small blobs of brazing on the top and underneath to join them to the inlets of the heater channels. I also ground these back:
After a while of having fun with the power tools, the old crusty panels came free with forceful wiggle:
The old and the new (yep, there was quite a bit of material missing from that outer edge!):
Getting the remains of the heater channels out was largely the same process. Locate and drill out spot welds:
Cut carefully around and just to the inside of the seam welds of the B pillars and hack through the A posts ( I didn't have to be so precise here as these will be replaced):
Out they come ...after some twisting, tugging and leverage from a big flat headed screwdriver:
Comparison of the old and the new:
Interesting little discovery - the outer skin of the passenger side heater channel had apparently been patched up in the past using a now obsolete 'Veng' repair panel. Sticker still intact on the inside, as seen through several layers of corrosion:
With both channels now out of the car it would've been rude not to have a quick test fit of the Klassic Fab replacements:
Still some minor adjustments to make in order to make them sit right; namely, the carpet retaining strips that sit along the bottom edges of the door apertures appear to be too far back and foul both of the B-pillars. Nothing that a little trim wont take care of though. On the whole I would say it is looking fresh!
Edit (27/02/2017): The marginally incorrect position of the carpet retaining strips were really bugging me, particularly as they cost a pretty penny to buy. Klassic Fab are know for their outstanding attention to detail and it seemed a shame that this was letting the overall quality down. I sent my feedback to the UK vendor of the channels who got in touch with Gerson over at KF on my behalf. This is an extract of the replies I received:
A few areas had small weld stitch welds about an inch or so long, these were ground back using the dremel tool as I did not want to over grind the area, which is easily done with an angle grinder:
The Y-piece heater tubes had small blobs of brazing on the top and underneath to join them to the inlets of the heater channels. I also ground these back:
After a while of having fun with the power tools, the old crusty panels came free with forceful wiggle:
The old and the new (yep, there was quite a bit of material missing from that outer edge!):
Getting the remains of the heater channels out was largely the same process. Locate and drill out spot welds:
Cut carefully around and just to the inside of the seam welds of the B pillars and hack through the A posts ( I didn't have to be so precise here as these will be replaced):
Out they come ...after some twisting, tugging and leverage from a big flat headed screwdriver:
Comparison of the old and the new:
Interesting little discovery - the outer skin of the passenger side heater channel had apparently been patched up in the past using a now obsolete 'Veng' repair panel. Sticker still intact on the inside, as seen through several layers of corrosion:
With both channels now out of the car it would've been rude not to have a quick test fit of the Klassic Fab replacements:
Still some minor adjustments to make in order to make them sit right; namely, the carpet retaining strips that sit along the bottom edges of the door apertures appear to be too far back and foul both of the B-pillars. Nothing that a little trim wont take care of though. On the whole I would say it is looking fresh!
Edit (27/02/2017): The marginally incorrect position of the carpet retaining strips were really bugging me, particularly as they cost a pretty penny to buy. Klassic Fab are know for their outstanding attention to detail and it seemed a shame that this was letting the overall quality down. I sent my feedback to the UK vendor of the channels who got in touch with Gerson over at KF on my behalf. This is an extract of the replies I received:
"We got an email back from Gerson and hes checked all the channels he has and they are all the same. Hes sold over 400 pairs but has been told this by 2 other customers so he is now aware of it. He said that he thinks people just cut the small part out or de-spot weld and re-spot weld the strip."
"thank you for your email, yes Gerson knows all about this now so he will make sure that these are right in the future."
Happy to hear that this minor issue will be addressed going forward. Klassic Fab are a real asset to the aircooled VW restoration community and I am reassured by the fact that they take customer feedback onboard to improve their products.
Subscribe to:
Posts (Atom)