Showing posts with label spot welds. Show all posts

Wednesday, 17 November 2021

Reinforcement panel clean up

After lengthy consideration, I decided to make more work for myself by removing the petrol tank support rails. They seemed fairly solid on the top facing planes, but were wearing thin along the bottom edges (water moisture + gravity + decades of road use = crispy metal). It's always difficult to know how to proceed when things are in a grey area (ie: the condition is not too bad, but not too good either), but I think that ensuring things are made solid has to be the overriding factor. So, more spot welds were drilled out followed by careful separation of the parts:

One huge benefit to having this section split into component parts is that I could now fit the reinforcement panel into the blast cabinet, so that it could be properly cleaned up for assessment:

I identified a few areas of concern as I went along. One was a slight kink/dent on the front edge that was likely caused by the front end shunt the car had sustained in the past:

This was easily rectified with a hammer and dolly: 

After a numbingly long time blasting I had things back to bare steal on the front and back:


A potentially chronic issue may exist in behind some swelling visible along the overlapping seam of the washer bottle recess. See how it bulges outwards between the factory spot welds:

I fear that can mean only one thing ...bloated rust! That will likely need addressing... 

As for the tank support rails, I do have a couple of options; either replace with NOS ones (that come spot welded to the replacement quarter panels) or attempt to repair the originals. One of those options is obviously far easier, but that is not always how I choose to approach things. We shall see...

Wednesday, 10 November 2021

Separating the wheel well

Although I would like to strip and paint more chassis related parts (namely the front beam), I need to accept that the UK weather is now less favourable - it has turned cold and wet, which doesn't make for the good painting conditions in the garage. I shall come back to that task when the northern hemisphere is pointing back towards the sun.

So, I have pivoted my attention to something different - the crusty wheel well that I previously removed from the car in one piece along with the adjoined petrol tank rails and washer recess panel:

I gently removed the paint from the area where a row of spot welds holds the pieces together along the seam:


Carefully drilling out the spots:

To do a neat job without distorting the flanges takes some time, but means less fettling and straightening down the line. I have found that a good approach is to drill a hole 70% the size of the spots to be removed. Then come in with the rotary multi tool with a small grinding/burr attachment and careful enlarge the holes to the exact profile of the spot welds. Also, working from one end to the other ensures that the spots come apart in sequence, which makes the separation easier. 

Eventually I had the old well wheel separated without any drama:


A reminder that even the most solid of cars is likely to have rust lurking in the untreated overlapping seams. Unfortunately it is inevitable unless the car has been kept in a vacuum since its date of manufacture:

I shall source a replacement panel for the wheel well section only. I will intend to clean up the rest and make an assessment. I am optimistic that only minor repairs will be required:

Wednesday, 27 October 2021

Rust Removal (the kind 'eye' despise)

As you may have gathered from the tabloid-worthy pun, I have once again found myself with a small piece of shrapnel embedded in my eye! 


I am pretty down on myself for not following my own advice and allowing this to happen once again. Readers, please, always wear eye protection when doing metal work. Those minuscule metal filings will find a way to target in on your ballseye if you risk even the smallest task it without adequate PPE.

So, off to the eye hospital I went. The assessment swiftly concluded that I had a flake of metal just on the outside of my iris on my left eye. Anesthetic eyedrops administered, the doctor set about scrapping it out with a needle. It wasn't the vibrating one this time around, but still unpleasant nonetheless as you literally see everything:


Still have a follow up appointment tomorrow to pick out the remaining rust once the ointment helps move it all towards the surface. I appreciated the irony in the reason the doctor wrote on the appointment card 'rust removal':


Back on topic, and I shall give a little update on the endeavour that led to my unexpected trip to the emergency department... 

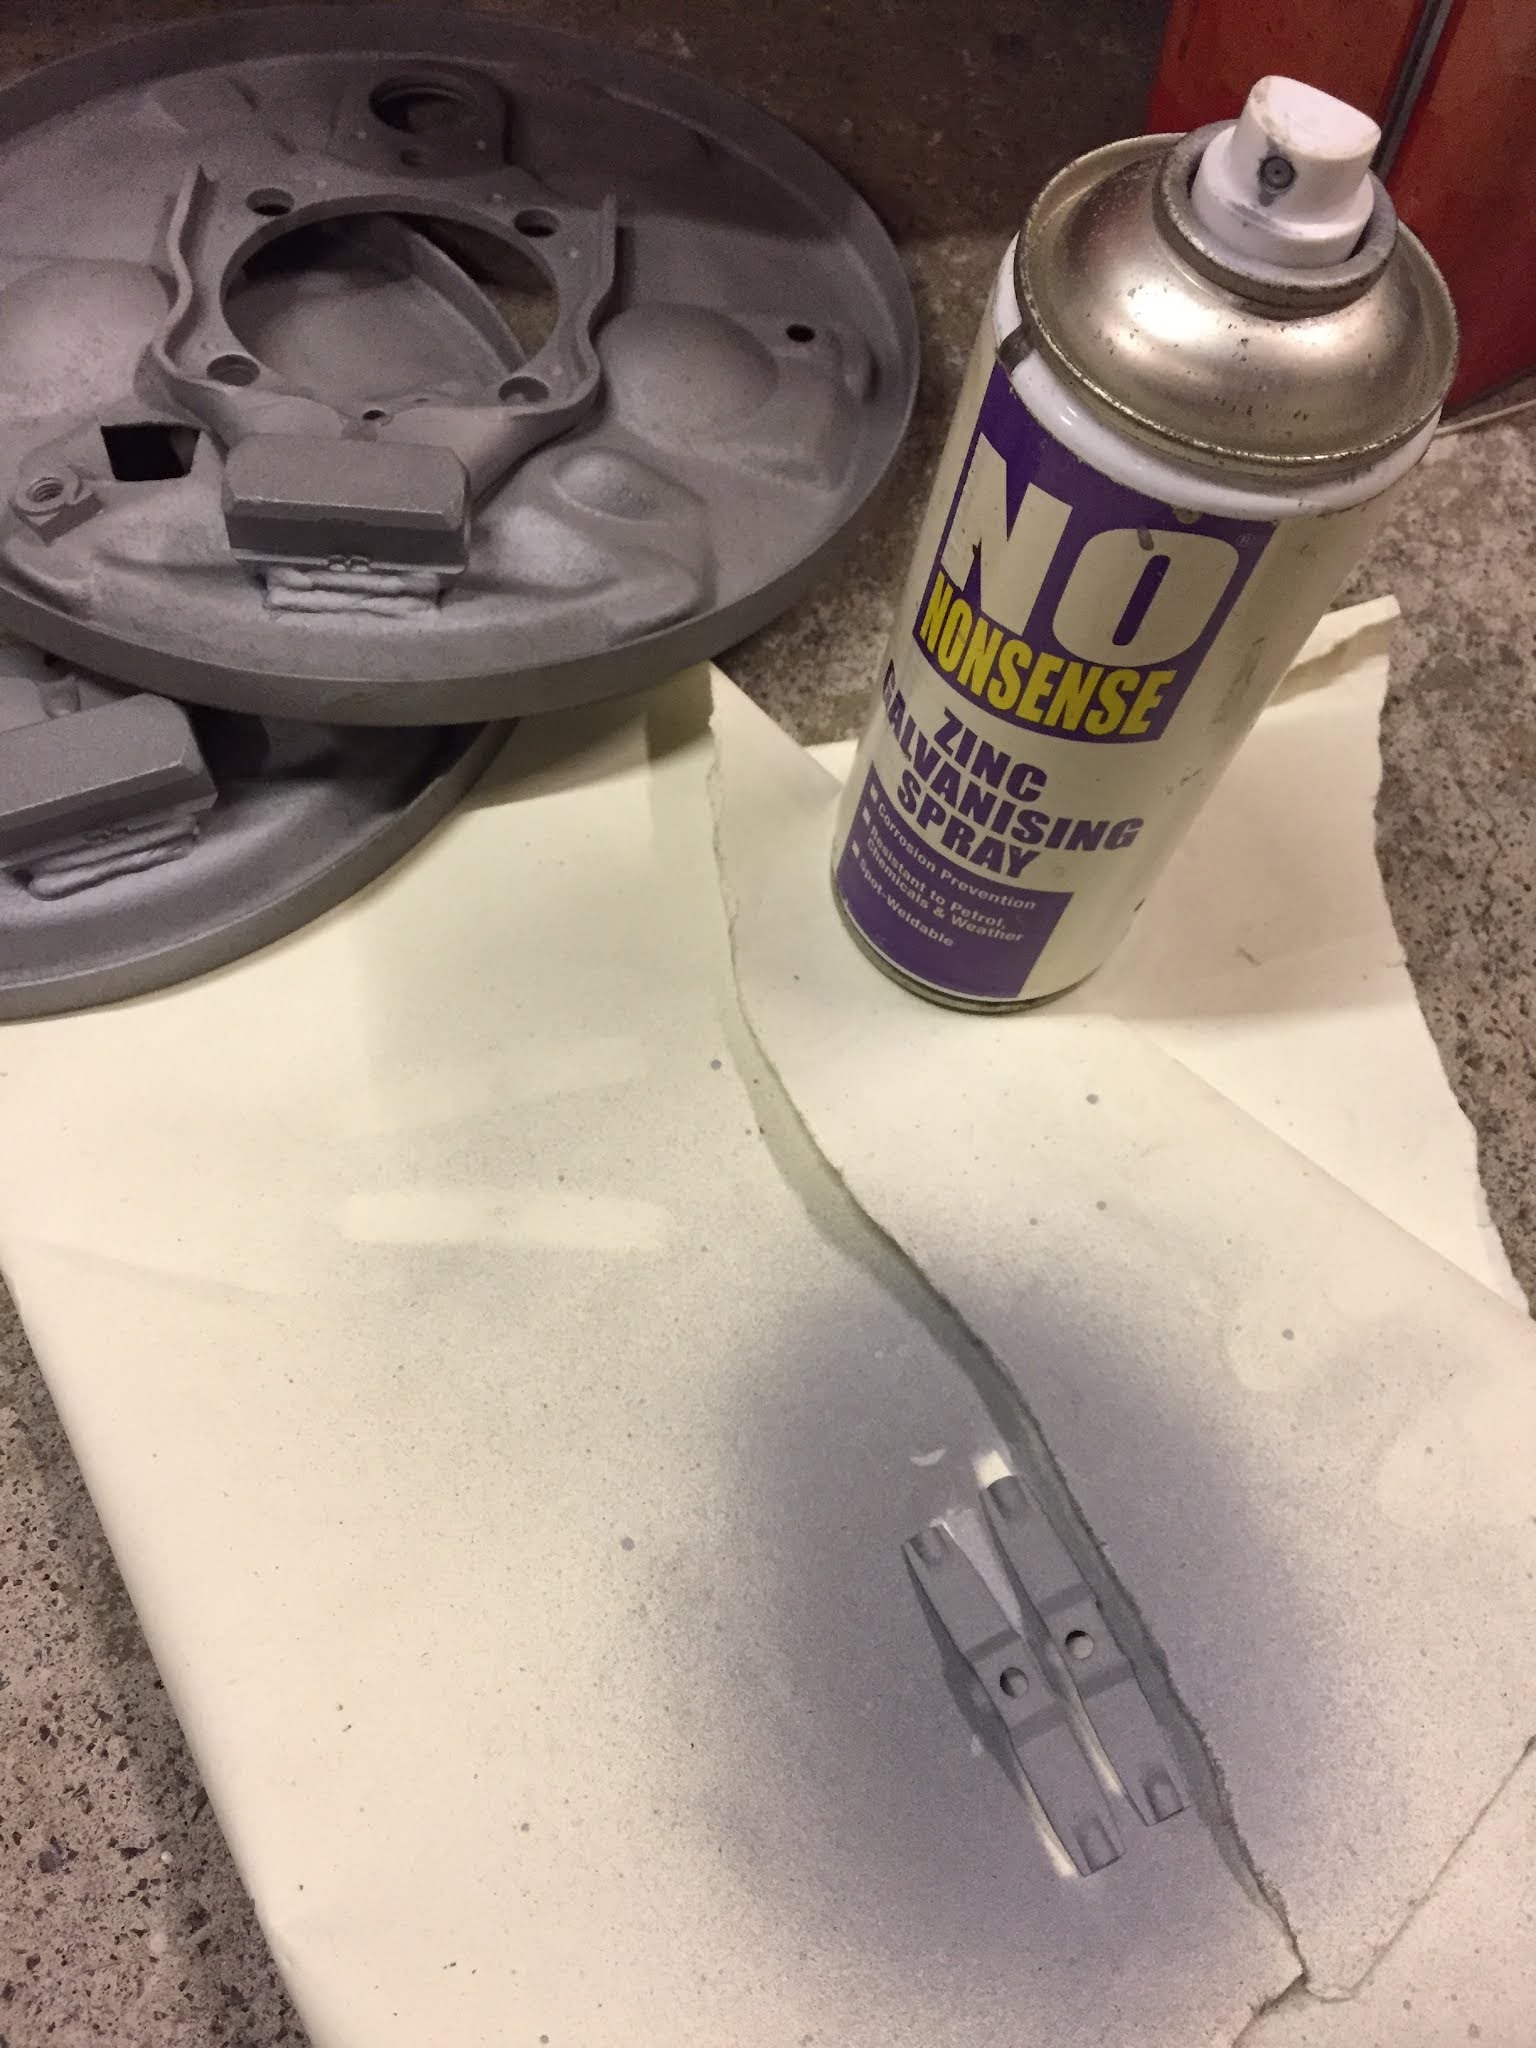
Mounted the spring clips into the brake backing plates by lightly filing away one edge to allow them to slip under the crimped points:


Added some 'weld through' zinc primer in between the surfaces to help mitigate against rust developing in between:

I was then able to plug weld them into position:

Using the Dremmel I dressed the welds flat (hello stupid metal filing!) and then ran them back through the shot blast cabinet to clean and key ready for paint:

Monday, 6 February 2017

Auf Wiedersehen heater channels!

With the car firmly braced up the time had come for some brutal surgery! I started with the rear crossmembers and marked the location of all the spot-welds ready for drilling out:


A few areas had small weld stitch welds about an inch or so long, these were ground back using the dremel tool as I did not want to over grind the area, which is easily done with an angle grinder:


The Y-piece heater tubes had small blobs of brazing on the top and underneath to join them to the inlets of the heater channels. I also ground these back:


After a while of having fun with the power tools, the old crusty panels came free with forceful wiggle:


The old and the new (yep, there was quite a bit of material missing from that outer edge!):


Getting the remains of the heater channels out was largely the same process. Locate and drill out spot welds:


Cut carefully around and just to the inside of the seam welds of the B pillars and hack through the A posts ( I didn't have to be so precise here as these will be replaced):


Out they come ...after some twisting, tugging and leverage from a big flat headed screwdriver:


Comparison of the old and the new:


Interesting little discovery - the outer skin of the passenger side heater channel had apparently been patched up in the past using a now obsolete 'Veng' repair panel. Sticker still intact on the inside, as seen through several layers of corrosion:


With both channels now out of the car it would've been rude not to have a quick test fit of the Klassic Fab replacements:


Still some minor adjustments to make in order to make them sit right; namely, the carpet retaining strips that sit along the bottom edges of the door apertures appear to be too far back and foul both of the B-pillars. Nothing that a little trim wont take care of though. On the whole I would say it is looking fresh!


Edit (27/02/2017): The marginally incorrect position of the carpet retaining strips were really bugging me, particularly as they cost a pretty penny to buy. Klassic Fab are know for their outstanding attention to detail and it seemed a shame that this was letting the overall quality down. I sent my feedback to the UK vendor of the channels who got in touch with Gerson over at KF on my behalf. This is an extract of the replies I received:


"We got an email back from Gerson and hes checked all the channels he has and they are all the same. Hes sold over 400 pairs but has been told this by 2 other customers so he is now aware of it. He said that he thinks people just cut the small part out or de-spot weld and re-spot weld the strip."

"thank you for your email, yes Gerson knows all about this now so he will make sure that these are right in the future."

Happy to hear that this minor issue will be addressed going forward. Klassic Fab are a real asset to the aircooled VW restoration community and I am reassured by the fact that they take customer feedback onboard to improve their products.


Saturday, 26 November 2016

Rear valance removal

To start proper repair work on my bumper hangers I needed to detach the rear valance/apron. To begin with I removed the (incorrect) patch panel that had been welded over the top of the original (same old story as before!):


I then removed the buckled engine tray on the passenger side (L/H):


Removing the rear valance basically involves locating and drilling out all the factory spot welds. There are quite a few down the side lips. Most need drilling, but a few had already broken off, having weakened from corrosion:


A few more spot welds inside the engine bay on the upper protruding taps and down the inner flange: 


I then needed to grind a couple of small solid welds on the top edge of the lip:


Same procedure on the other side as you would expect:


And away it comes:


The valance hasn't faired well. The left hand side of the outer skin is misshapen from the rear end shunt (although this doesn't really show in the photos, but it is very obvious in real life). Additionally, the inner reinforcement section has a lot of corrosion and rust holes. It would take a lot of work to get this section anywhere near good again:


I will keep hold of it for reference, but ultimately replace it with a high quality BBT reproduction.

Tuesday, 22 November 2016

Salvaging an engine bay side tray

The time has come for me to start getting serious with the shell. I decided to set to work on the drivers (right) side rear of the car, just because I had the best assess to this section in its current orientation. First job was to get rid of the incorrect bumper hanger that had been welded straight over the original:


Presumably when the original bumper mount had rotted out to the point where it was ineffective this later model repair panel was just slapped over the top. I will never understand why garages never seem to cut out the old rusty area first; patching over the top just becomes a hot spot for further corrosion to form and spread with vigour! I guess it comes down to saving time and doing the minimum possible to keep the car on the road for the short-term. After all, the previous owners were most likely just using the car as a cheap daily driver with no concept that it will one day be regarded as a cherished classic and subsequently undergo a major restoration. I remind myself not to judge them too harshly for not future proofing and opting for low cost repairs. I now regard these typical slap-dash patches as the 'standard practice' which kept the car roadworthy in the past and thus saved it from the scrapyard. To me they are like old scars from a previous hardworking life and their ubiquity doesn't really vex me as much as it used to...

Anyway, I ground off the welds and peeled off the nasty panel:


Next task was to remove the engine side tray located on the inside edge of the above rear quarter:


Removal would obviously enable me to recondition this part easier, but also give me better access to eventually repair the bumper hanger section correctly.

It is worth mentioning that the side tray on the other (L/H) side is not worth saving as it is completely buckled from a rear end shunt (which the original owner explained was caused by a mini sliding on an icy road and crashing into the back of poor Gretch!). As you may have noticed from the previous post, I have got a Hooky replacement tray for that side, which is so accurate that it will be near impossible to know the difference once it is in situ.

I hit the outer area with the drill mounted wire brush to locate the position of the engine bay spot welds and marked them up with a permanent marker (kind of hard to see in the picture below, but they are marked in red):


Having centre punched each of the spots I used my dedicated spot cutting drill bit so that I did not damage the lip of the engine tray behind, which I was trying to keep intact.There were also a few spot welds that I drilled out at the bottom of the firewall from behind:


After switching to the Dremmel tool to cut a few little additional weld blobs that were holding it in place, I managed to remove the side tray without any drama:


Rusty R/H tray compared to the new Hooky L/H tray:


I cleaned off the flaky loose crud and then shot blast the entire thing:


Needs a few repairs and flanges straightening, but it seems solid enough to reuse: