Showing posts with label rear quarter. Show all posts

Wednesday, 9 June 2021

Quickie: NOS rear quarter

Throughout my long hiatus I kept my eyes peeled for any VW rarities that came up for sale. To my delight a year correct NOS rear quarter came onto my radar, which I purchased without hesitation for a barginous price. These genuine panels seem to be as rare as rocking horse sh*t these days; 


A fortutius find to say the least as I was dreading the idea of having to patchwork something together on what is the worst side of the car (both in terms of chronic rot and warping from old crash damage). The only thing that needs doing to make it complete is to graft on the bumper mount section, but this is a relatively straight forward by comparison.

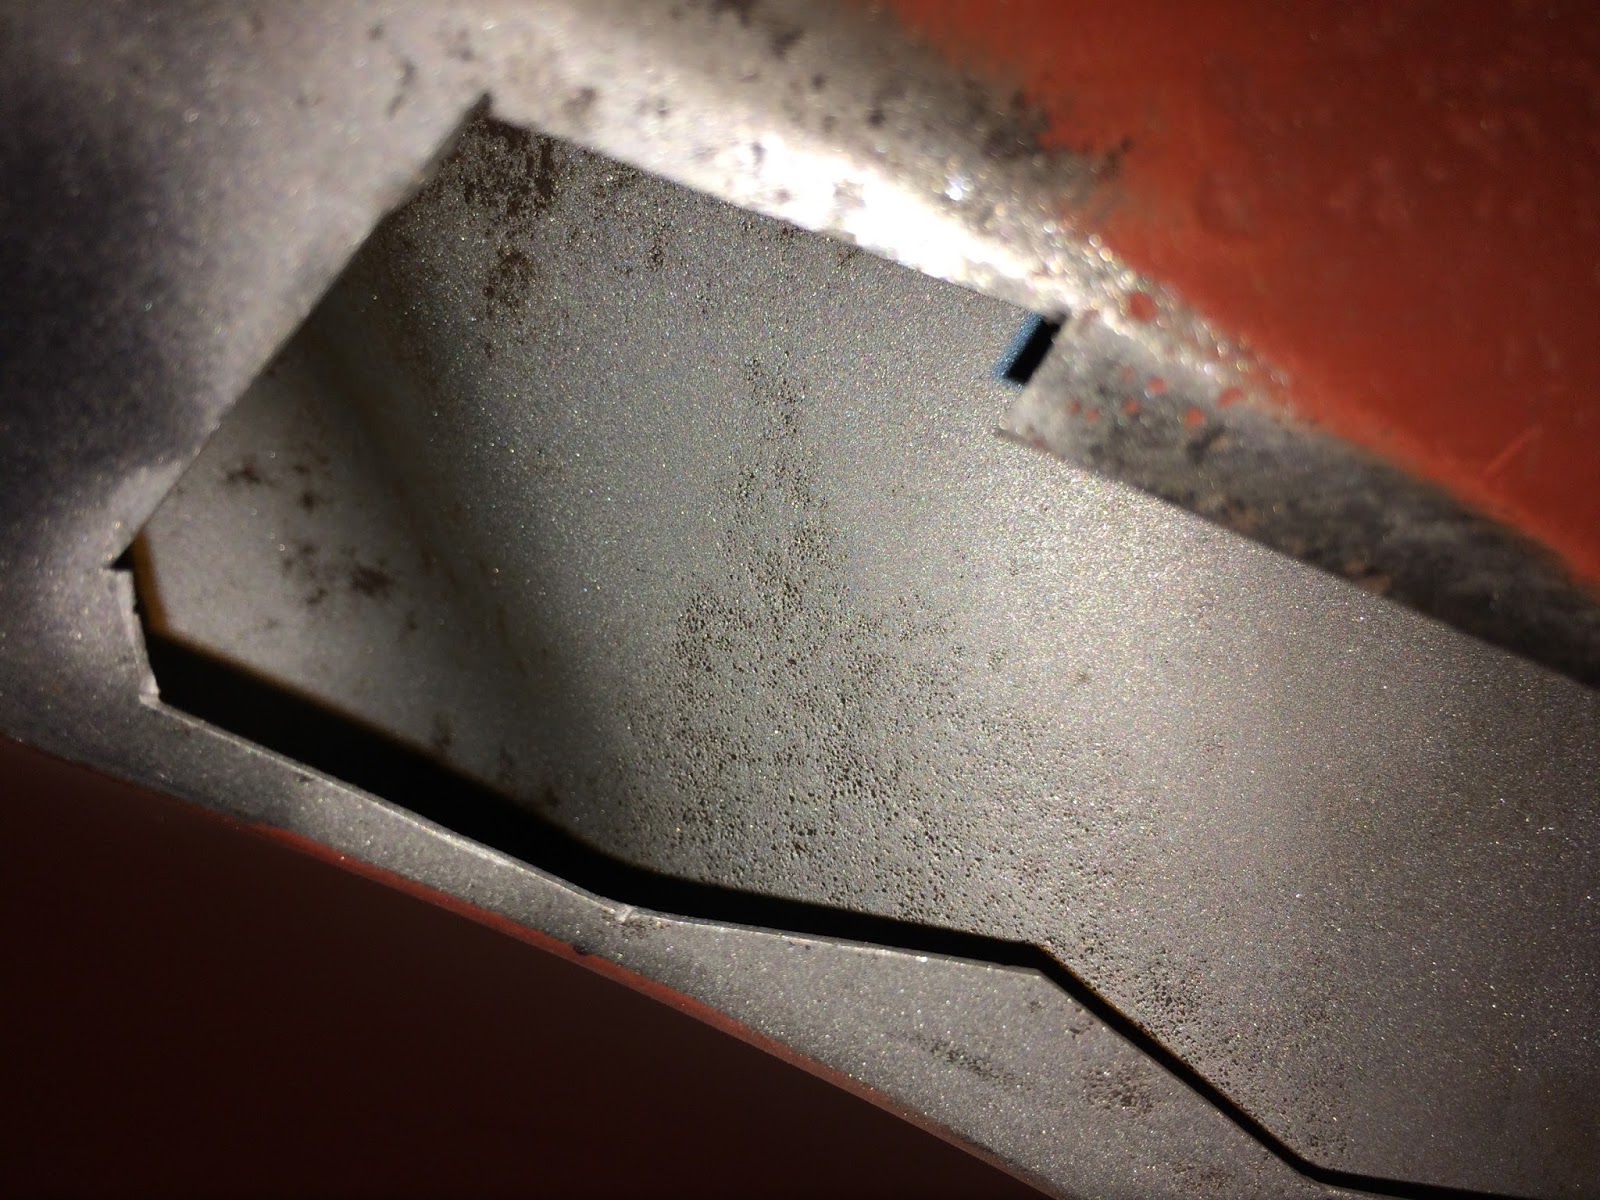
As with all old genuine VW panels, it has a liberal layer of surface rust, but this is superficial and will clean off without much sweat. 

Big thanks to T-Bone for kindly couriering this half way across the country for me!

Monday, 26 June 2017

Stud patch process

Remember a couple of posts back when I was patching the stud line and had made a replacement captive nut section but opted not to weld it in for some vague reason? I didn't admit it at the time, but the truth is that I made a complete mess of the rear of that patch panel whilst attempting to weld the captive nut into position. Originally I drilled the 4 corners of the weld nut and tried to plug weld through them. However, the intense heat actually melted away edges of the nut and left a less than desirable outcome. It looked like crap, so forgive me for not sharing a photo of that abomination! After some contemplation, I decided to remake that patch taking a different approach to affix the nut. Essentially, I would start out with an oversized off-cut of steel and plug weld the captive nut in place neatly before spending the time trimming it down to the exact shape required. Less time wasted if I happened to balls it up again...

I used a scribe to trace round the shape of the old piece (on the other side) and locate the position of the main nut hole (10mm). I then drilled out 4 smaller holes that I would plug weld through:


As you have probably gathered, for this method I welded from the front side into the captive nut, rather than from the back through the nut.

M8 captive nut (Hooky's) camped into position and perfectly aligned ready for plug welding through the four holes:


Welded and ground flush to a tidy finish:


Good penetration on the underside and most importantly, no edges burnt away:


Now that I was content with the outcome I took my time carefully shaping the patch:


Positioned on the wheel arch:


Welded, finished n' linished:


Moving on around the arch I deemed that the next captive nut was saveable as the steel still appeared thick and the surrounding area was not sunken or protruding. So, I welded up the slits (left over from my previous patch repairs) and smoothed everything back:


The next captive nut, complete with the partial remains of an old seized bolt, was completely shot and promptly chopped out :


This revealed quite a bit of surface rust behind it on the inner (soon to be inaccessible) panel. I shotblast the area the best I could to get it back to clean steel:


Then sprayed a couple of coats of zinc primer to keep it protected:


Whilst that was drying I knocked up another repair patch using the above approach. Fabricated this one in literally half the time now that I know what I am doing:


Couple of tacks to hold it in place:


After waving the magic wand:


This wing mounting area is becoming a lot more solid now. A lot of work has gone into it (with more to come!), but I think the results are worth it:


Wednesday, 31 May 2017

Patching up the rear stud line

I was planning on writing up this post once I had completely finished the area I've been working on. However, I have been forced out of action for at least a week following an unfortunate incident that could have been easily avoided if I hadn't become complacent and developed some bad workshop habits. Consider the following digression a cautionary tale if you also happen to work with power tools; always wear eye protection even for the quickest and smallest of jobs! 

This past Monday was a bank holiday in the UK, but I spent half of it in Bristol Eye Hospital getting a tiny piece of steel removed from my right eye that had embedded itself just off-centre of my pupil. I had assumed over the previous couple of days that I had a touch of conjunctivitis until I developed hyper-sensitivity to light and my iris became unresponsive (it was stuck at its smallest aperture and wouldn't expand regardless of the amount of light in my immediate environment). Turns out that the metal had started to rust and infection was beginning to set in around the foreign body. The method used to remove the metal and eliminate all traces of rust from my eyeball involved a rapidly vibrating needle. The instrument resembled an electric toothbrush with a sewing needle where the brush head should be. It really was as fun as it sounds, here is my poorly eye after the procedure:


Lesson learned, I will now invested in a full-face shield. Right, back to the main topic...

In between other tasks I have been progressively patching up the drivers side rear stud line where the wing attaches. This was in a poor state due to years of moisture getting trapped between the wing beading and the rear quarter panel. The pitting was very heavy in places and on close inspection there were a few pesky pinholes where it had completely rusted through. I decided the best way to make the stud line solid again was to let in good metal and eliminate the pitted areas, rather than simply slapping body filler over it and hoping for the best. I will let the following photos do the talking:


I noticed that on some of the studs warping had occurred if there happened to be pitting in close proximity, thinning the metal and distorting the surrounding area. These will also need to be replaced, but I will tackle them one at a time to preserve accurate alignment along the stud line:


Despite making a suitable patch for the first nut I eventually opted not to weld it in just yet as I wanted to continue repairing the areas between the studs first. So, moving swiftly on:


And on to the next one:


Note that I have not welded up the end sections of each patch. This will allow me to easily remove the studs later by cutting just the tops and bottoms.

Well, that is it for now. More stud line action to come once my irritated eye has healed!

Wednesday, 25 January 2017

Happy New ...Rear bumper mount!

So, the rear bumper mount has now gone from this:


to this:


Pretty happy with my welding and it has ground down nicely (still requires a little bit of fine finishing). All is good ...or is it? You see, I made a rookie mistake along the way and I am now unsure if it is going to come back to bite me. Lets put the order of events into sequence and I shall explain...

After a lot of measuring (hours) I started cutting out the old bad steel progressively. I was continuously holding the new panel in place to ensure that I wasn't cutting too far back.
More hours of fitting and finessing later I had the panel 'dry fitted' and held in place with intergrips and c-clamps: 


The edges around the section to be welded were meticulously cleaned with the drill mounted wire brush to ensure a solid weld free of contaminates. I then started to tack the panel on, adjusting the profile and gently massaging everything into line where required:


Built up my tacks until I had a solid welded area, except for the rear section which needed cutting back further to remove mangled steel. I will eventually fabricate a suitable infill piece (see first pic above for the initial signs of that):


Good penetration on the rear side. I have now found the sweet spot within the settings of my welder for butt welding these thin body panels:


I ground the welds back and was feeling pretty good! 


I then thought I would chuck the old rear wing on to assess the fit and marvel at my handiwork. This is when I realised the error of my ways - I should have done this before commencing the welding! Basically, the two captive nuts on the repair panel did not line up well with the wing - although the edge profile did flow nicely (something at least!). It appears to me that the repair panel is possibly sitting a fraction too low. However, I am not sure I trust that old wing as it could have been knocked out of shape from the rear end shunt the car is know to have had. Plus, in general the wing was looking pretty forlorn, so I really need to repeat the fitment test with a decent wing before I jumped to a firm conclusion.

I will leave this section as it is for now and revisit at a later date - possibly with a reciprocating saw and a diction of crass expletives!

Saturday, 26 November 2016

Rear valance removal

To start proper repair work on my bumper hangers I needed to detach the rear valance/apron. To begin with I removed the (incorrect) patch panel that had been welded over the top of the original (same old story as before!):


I then removed the buckled engine tray on the passenger side (L/H):


Removing the rear valance basically involves locating and drilling out all the factory spot welds. There are quite a few down the side lips. Most need drilling, but a few had already broken off, having weakened from corrosion:


A few more spot welds inside the engine bay on the upper protruding taps and down the inner flange: 


I then needed to grind a couple of small solid welds on the top edge of the lip:


Same procedure on the other side as you would expect:


And away it comes:


The valance hasn't faired well. The left hand side of the outer skin is misshapen from the rear end shunt (although this doesn't really show in the photos, but it is very obvious in real life). Additionally, the inner reinforcement section has a lot of corrosion and rust holes. It would take a lot of work to get this section anywhere near good again:


I will keep hold of it for reference, but ultimately replace it with a high quality BBT reproduction.