Remember a couple of posts back when I was patching the stud line and had made a replacement captive nut section but opted not to weld it in for some vague reason? I didn't admit it at the time, but the truth is that I made a complete mess of the rear of that patch panel whilst attempting to weld the captive nut into position. Originally I drilled the 4 corners of the weld nut and tried to plug weld through them. However, the intense heat actually melted away edges of the nut and left a less than desirable outcome. It looked like crap, so forgive me for not sharing a photo of that abomination! After some contemplation, I decided to remake that patch taking a different approach to affix the nut. Essentially, I would start out with an oversized off-cut of steel and plug weld the captive nut in place neatly before spending the time trimming it down to the exact shape required. Less time wasted if I happened to balls it up again...
I used a scribe to trace round the shape of the old piece (on the other side) and locate the position of the main nut hole (10mm). I then drilled out 4 smaller holes that I would plug weld through:
As you have probably gathered, for this method I welded from the front side into the captive nut, rather than from the back through the nut.
M8 captive nut (Hooky's) camped into position and perfectly aligned ready for plug welding through the four holes:
Welded and ground flush to a tidy finish:
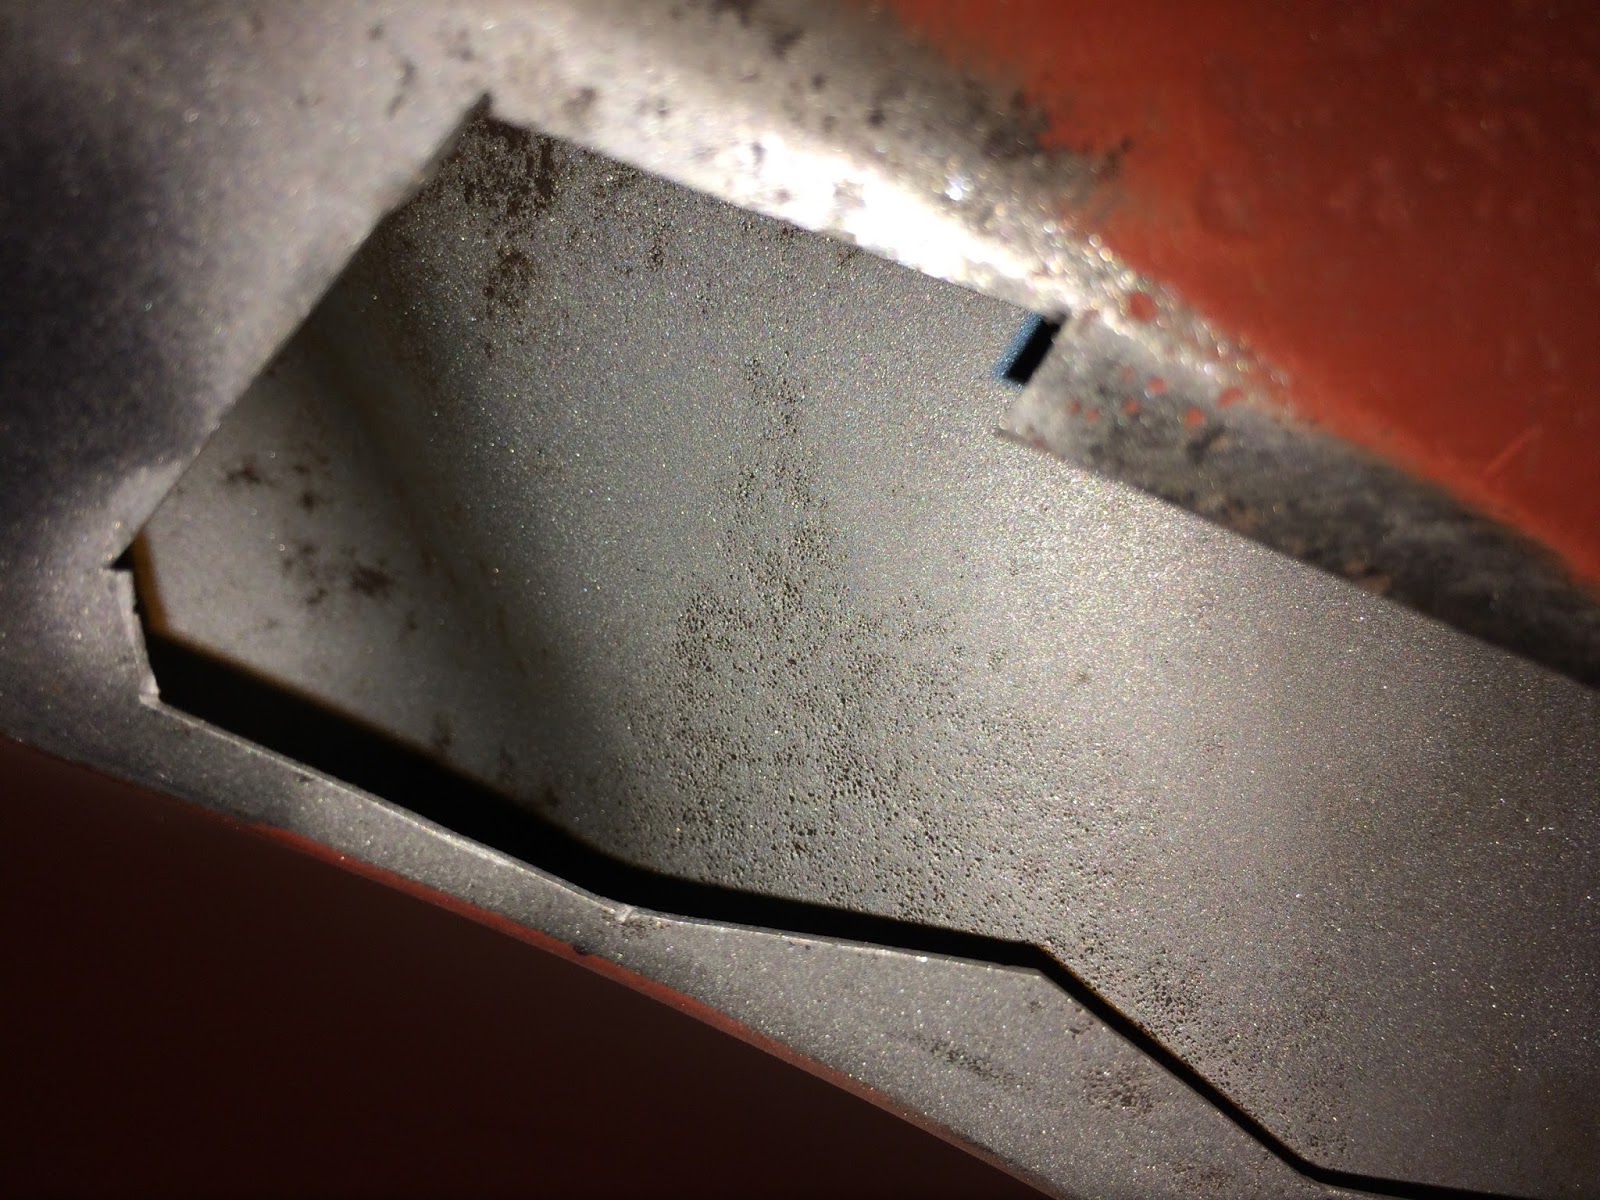
Good penetration on the underside and most importantly, no edges burnt away:
Now that I was content with the outcome I took my time carefully shaping the patch:
Positioned on the wheel arch:
Welded, finished n' linished:
Moving on around the arch I deemed that the next captive nut was saveable as the steel still appeared thick and the surrounding area was not sunken or protruding. So, I welded up the slits (left over from my previous patch repairs) and smoothed everything back:
The next captive nut, complete with the partial remains of an old seized bolt, was completely shot and promptly chopped out :
This revealed quite a bit of surface rust behind it on the inner (soon to be inaccessible) panel. I shotblast the area the best I could to get it back to clean steel:
Then sprayed a couple of coats of zinc primer to keep it protected:
Whilst that was drying I knocked up another repair patch using the above approach. Fabricated this one in literally half the time now that I know what I am doing:
Couple of tacks to hold it in place:
After waving the magic wand:
This wing mounting area is becoming a lot more solid now. A lot of work has gone into it (with more to come!), but I think the results are worth it:
So, the rear bumper mount has now gone from this:
to this:
Pretty happy with my welding and it has ground down nicely (still requires a little bit of fine finishing). All is good ...or is it? You see, I made a rookie mistake along the way and I am now unsure if it is going to come back to bite me. Lets put the order of events into sequence and I shall explain...
After a lot of measuring (hours) I started cutting out the old bad steel progressively. I was continuously holding the new panel in place to ensure that I wasn't cutting too far back.
More hours of fitting and finessing later I had the panel 'dry fitted' and held in place with intergrips and c-clamps:
The edges around the section to be welded were meticulously cleaned with the drill mounted wire brush to ensure a solid weld free of contaminates. I then started to tack the panel on, adjusting the profile and gently massaging everything into line where required:
Built up my tacks until I had a solid welded area, except for the rear section which needed cutting back further to remove mangled steel. I will eventually fabricate a suitable infill piece (see first pic above for the initial signs of that):
Good penetration on the rear side. I have now found the sweet spot within the settings of my welder for butt welding these thin body panels:
I ground the welds back and was feeling pretty good!
I then thought I would chuck the old rear wing on to assess the fit and marvel at my handiwork. This is when I realised the error of my ways - I should have done this before commencing the welding! Basically, the two captive nuts on the repair panel did not line up well with the wing - although the edge profile did flow nicely (something at least!). It appears to me that the repair panel is possibly sitting a fraction too low. However, I am not sure I trust that old wing as it could have been knocked out of shape from the rear end shunt the car is know to have had. Plus, in general the wing was looking pretty forlorn, so I really need to repeat the fitment test with a decent wing before I jumped to a firm conclusion.
I will leave this section as it is for now and revisit at a later date - possibly with a reciprocating saw and a diction of crass expletives!
The time has come for me to start getting serious with the shell. I decided to set to work on the drivers (right) side rear of the car, just because I had the best assess to this section in its current orientation. First job was to get rid of the incorrect bumper hanger that had been welded straight over the original:

Presumably when the original bumper mount had rotted out to the point where it was ineffective this later model repair panel was just slapped over the top. I will never understand why garages never seem to cut out the old rusty area first; patching over the top just becomes a hot spot for further corrosion to form and spread with vigour! I guess it comes down to saving time and doing the minimum possible to keep the car on the road for the short-term. After all, the previous owners were most likely just using the car as a cheap daily driver with no concept that it will one day be regarded as a cherished classic and subsequently undergo a major restoration. I remind myself not to judge them too harshly for not future proofing and opting for low cost repairs. I now regard these typical slap-dash patches as the 'standard practice' which kept the car roadworthy in the past and thus saved it from the scrapyard. To me they are like old scars from a previous hardworking life and their ubiquity doesn't really vex me as much as it used to...
Anyway, I ground off the welds and peeled off the nasty panel:
Next task was to remove the engine side tray located on the inside edge of the above rear quarter:
Removal would obviously enable me to recondition this part easier, but also give me better access to eventually repair the bumper hanger section correctly.
It is worth mentioning that the side tray on the other (L/H) side is not worth saving as it is completely buckled from a rear end shunt (which the original owner explained was caused by a mini sliding on an icy road and crashing into the back of poor Gretch!). As you may have noticed from the previous post, I have got a Hooky replacement tray for that side, which is so accurate that it will be near impossible to know the difference once it is in situ.
I hit the outer area with the drill mounted wire brush to locate the position of the engine bay spot welds and marked them up with a permanent marker (kind of hard to see in the picture below, but they are marked in red):
Having centre punched each of the spots I used my dedicated spot cutting drill bit so that I did not damage the lip of the engine tray behind, which I was trying to keep intact.There were also a few spot welds that I drilled out at the bottom of the firewall from behind:
After switching to the Dremmel tool to cut a few little additional weld blobs that were holding it in place, I managed to remove the side tray without any drama:
Rusty R/H tray compared to the new Hooky L/H tray:
I cleaned off the flaky loose crud and then shot blast the entire thing:
Needs a few repairs and flanges straightening, but it seems solid enough to reuse:
Some fresh new Hooky's panels have just landed on my doorstep, so it's time for me to really get going on the major shell repairs:
- Engine Bay Side Tray
- Rear Bumper Mount (LH)
- Rear Bumper Mount (RH)
As I have no doubt mentioned before, the quality of Steve Hook's panels are outstanding! If only he made every body component that I will need to complete this resto...
Took delivery of a bundle of quality treats from Hooky's Panel Shop today:
- A pillar tool (for door alignment)
- A pillar (3 screw RH)
- A pillar (3 screw LH)
- Screen corner (RH)
- Screen corner (LH)
- M8 weld nuts (x10)