Showing posts with label "shot blast cabinet". Show all posts

Wednesday, 17 November 2021

Reinforcement panel clean up

After lengthy consideration, I decided to make more work for myself by removing the petrol tank support rails. They seemed fairly solid on the top facing planes, but were wearing thin along the bottom edges (water moisture + gravity + decades of road use = crispy metal). It's always difficult to know how to proceed when things are in a grey area (ie: the condition is not too bad, but not too good either), but I think that ensuring things are made solid has to be the overriding factor. So, more spot welds were drilled out followed by careful separation of the parts:

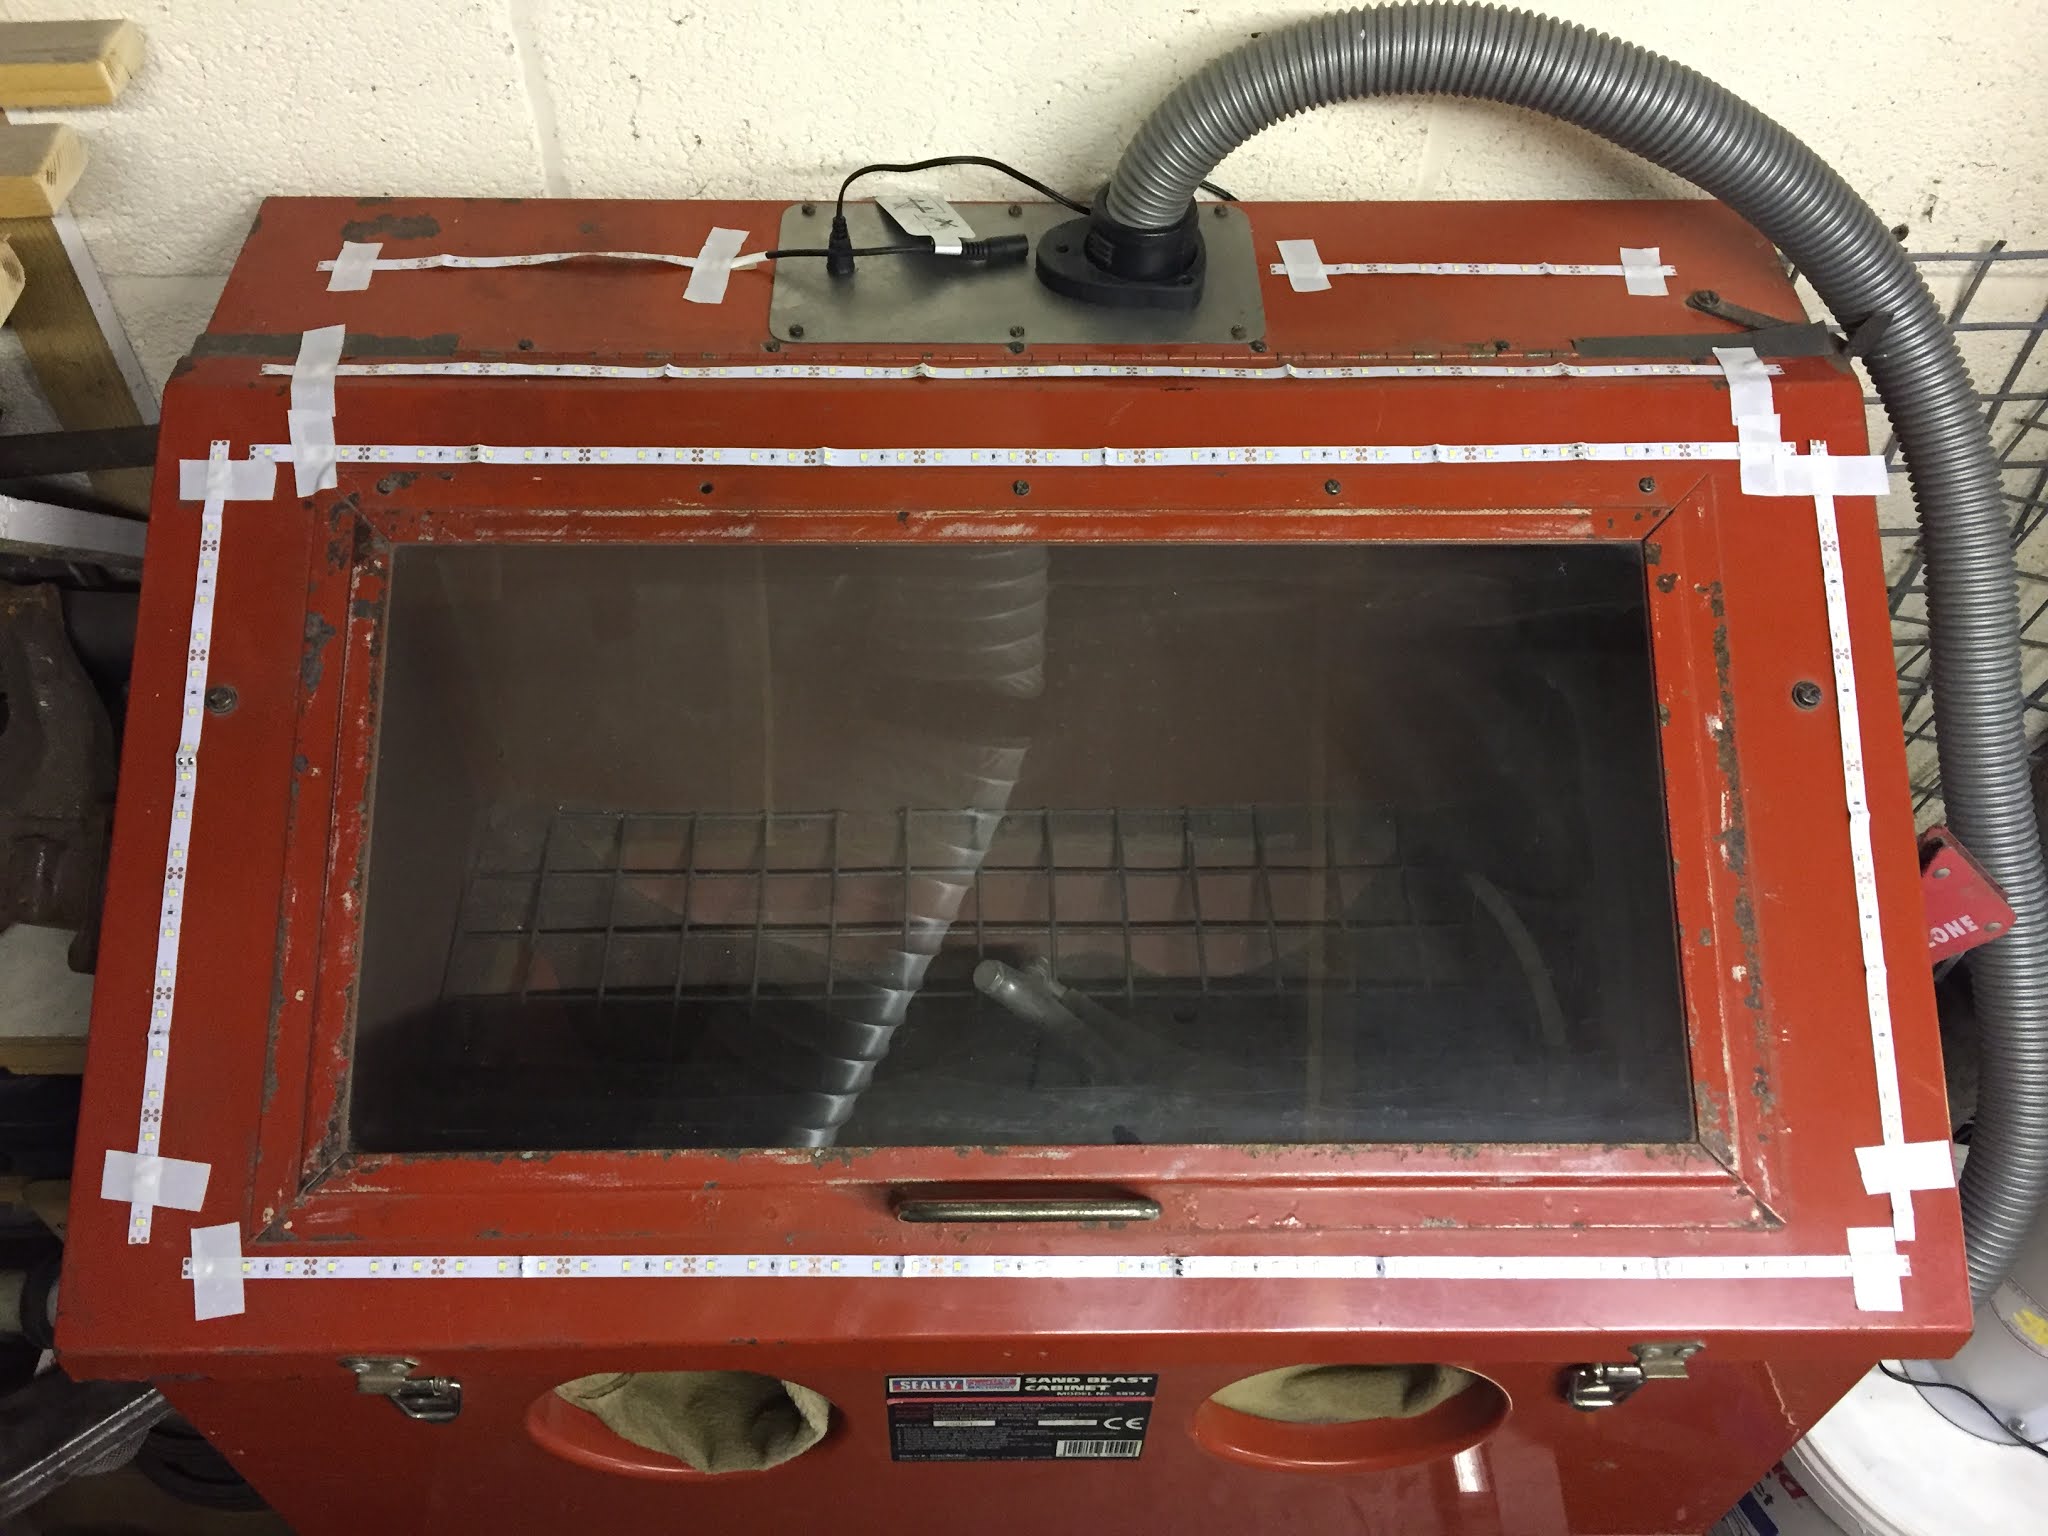
One huge benefit to having this section split into component parts is that I could now fit the reinforcement panel into the blast cabinet, so that it could be properly cleaned up for assessment:

I identified a few areas of concern as I went along. One was a slight kink/dent on the front edge that was likely caused by the front end shunt the car had sustained in the past:

This was easily rectified with a hammer and dolly: 

After a numbingly long time blasting I had things back to bare steal on the front and back:


A potentially chronic issue may exist in behind some swelling visible along the overlapping seam of the washer bottle recess. See how it bulges outwards between the factory spot welds:

I fear that can mean only one thing ...bloated rust! That will likely need addressing... 

As for the tank support rails, I do have a couple of options; either replace with NOS ones (that come spot welded to the replacement quarter panels) or attempt to repair the originals. One of those options is obviously far easier, but that is not always how I choose to approach things. We shall see...

Wednesday, 15 September 2021

Gearbox axle tubes get a blast

A little more chassis work progress over the past week; this time focusing on the scabby rear axle tubes. Cleaned the loose muck off manually:


Then masked off the areas which were to be left as bare steel using gaffer tape. This was to protect against abrasion when blasting the rest:

One down, one to go:

Both spotlessly clean and ready for paint;

I also cleaned up the the 'exposed-to-elements' bottom section of the steering column as there was significant rust pitting:


You can bet that next week's update will feature a lot of black paint!

Wednesday, 8 September 2021

Yet more chassis parts blasted

Sadly, my old trusty blue vacuum gave up the ghost with a high pitched squeal and dramatically coughed out a dense dust cloud all of the workshop. Damn, me and that suction box go way back! Not one to lament the passing of a domestic appliance, I duly replaced it with something a bit more suitable. Introducing my new dedicated shop vac:

Once everything was hooked up to the cabinet, blasting could finally resume. Here is one of the track rods I disassembled last week getting the royal treatment:

...and a new batch of parts now awaiting an obligatory coat of Mastic 121:


The keenest of observers may notice that most of these parts were previously blasted and painted years ago, but at the time I applied the paint using a 1" decorators brush in the misplaced belief that the paint would self-level to an impeccable finish. Well, it didn't exactly do that and it's been bothering me every time I look at these parts to see all the blatant brush marks. I know these will look far better when sprayed and my mind will be at peace!

Wednesday, 11 August 2021

Assortment of chassis parts blasted

I have been taking an inventory this week, sorting through boxes of jumbled parts and separating out the chassis related items. I do wish I had a better system of cataloguing and storing parts back in the day when I was dismantling the car, but evidently I lacked the foresight. Anyway, I am now attempting to understand what is original and worthy of restoring vs what is aftermarket and could do with replacing. Revising my task and shopping lists alike, so that I can get a better command of this project. 

Whilst I was at it I also ran a few chassis parts through the blast cabinet. Admittedly some of these parts had been blasted before, but like an utter plum I left them unpainted in a box only for them to inevitably rust over again (Sometimes I want to reach back through time and give my old self a slap!). So, drum brake backing plates, gearbox cradle, Pitman arm, steering box coupler and a bracket are now looking fresh;

I have undoubtedly made this comment before, but I do find it satisfying when through the act of blasting a small factory stamp detail emerges from the grime:

Now to give these items a few coats of black Mastic 121 so they don't rust over yet again...

Wednesday, 2 June 2021

Blast cabinet lighting upgrade

I decided to upgrade the lighting in the blast cabinet using a 3M sticky-backed LED light strip;

I purchased one that came complete with a power adapter and had a corresponded dongle presoldered onto the stip. I opted to mount the connection point using a rubber grommet that I salvaged from a scrap vacuum cleaner. As previously mentioned, I didn't want to drill any additional holes into the cabinet itself, so instead I drilled into the newly fabricated blanking plate;

With the grommet added it not only holds it firmly in place, but also prevents dust leaking out;


I measured out and cut my LED tape having carefully considered how best to lay it out to achieve the most consistant lighting. Here is a mocked up layout that made on top of the cabinet that I have marked up to show the order that the sections would be soldered together;

Had to solder the joints and then slid some heat shrink tubing over to keep them protected; 

A quick test before sticking everything into its final position; 

An obvious point when using any adhesive backed product is to ensure the surface you wish to affix to is clinically clean. It was then a case of mounting everything in place inside the cabinet ...and here is the grand reveal; 

Ample illumination and importantly the light is evenly distributed, which eliminates cast shadows obsuring the item being blasted. Very happy with this set-up and I hope that it will prove to be low maintenance.


Wednesday, 26 May 2021

DIY outlet coupler for blast cabinet dust extractor

Following on from last weeks success with the cyclone separtor, I was eager to get the unit attached to the shot blast cabinet. The model I have (an old model Sealey SB972) does not have a connection for a dust extraction hose. However, it does have two air inlets, one of which has an air filter. My first idea was to utilise one of these inlets as the connection for the dust extraction. The problem, I quickly found through testing, was that the suction was greater than the air being drawn through the one remaining inlet and this would doublessly cause an implosion to the weakest part of the rig. I figured that I had two options; either reduce the power of the vacuum or increase airflow through the cabinet. However, with regards to that latter; I really didn't want to have to cut more holes into cabinet if I didn't have to. 

With this in mind, I then had a brainwave - remove the ineffective light unit (I will be upgrading to internal LED light strips anyway) and utilise the remaining aperture as the basis for creating a custom extraction port. Crucially this would leave the two existing air inlets as they were and keep airflow maximised;

With the light fitting out, I had a sizable hole to work with;

I set to work by cutting out a blanking plate from 2mm mild steel sheet, using the old light fitting as a handy template; 


Basic form cut out and trimmed down;

I then repurposed a hose attachment from an old vacuum cleaner that I was throwing out and trimmed it down to make it flush on the underside;


I cut a corresponding hole in the steel to accomodate the hose attachment and then tapped some M3 threads for the bolts;

....which worked perfectly for securing the repurposed vacuum connector in place; 


The end result was just about right, with the airflow keeping up with the vacuum suction;

Happy with that! Now to get this thing illuminated...

Tuesday, 22 November 2016

Salvaging an engine bay side tray

The time has come for me to start getting serious with the shell. I decided to set to work on the drivers (right) side rear of the car, just because I had the best assess to this section in its current orientation. First job was to get rid of the incorrect bumper hanger that had been welded straight over the original:


Presumably when the original bumper mount had rotted out to the point where it was ineffective this later model repair panel was just slapped over the top. I will never understand why garages never seem to cut out the old rusty area first; patching over the top just becomes a hot spot for further corrosion to form and spread with vigour! I guess it comes down to saving time and doing the minimum possible to keep the car on the road for the short-term. After all, the previous owners were most likely just using the car as a cheap daily driver with no concept that it will one day be regarded as a cherished classic and subsequently undergo a major restoration. I remind myself not to judge them too harshly for not future proofing and opting for low cost repairs. I now regard these typical slap-dash patches as the 'standard practice' which kept the car roadworthy in the past and thus saved it from the scrapyard. To me they are like old scars from a previous hardworking life and their ubiquity doesn't really vex me as much as it used to...

Anyway, I ground off the welds and peeled off the nasty panel:


Next task was to remove the engine side tray located on the inside edge of the above rear quarter:


Removal would obviously enable me to recondition this part easier, but also give me better access to eventually repair the bumper hanger section correctly.

It is worth mentioning that the side tray on the other (L/H) side is not worth saving as it is completely buckled from a rear end shunt (which the original owner explained was caused by a mini sliding on an icy road and crashing into the back of poor Gretch!). As you may have noticed from the previous post, I have got a Hooky replacement tray for that side, which is so accurate that it will be near impossible to know the difference once it is in situ.

I hit the outer area with the drill mounted wire brush to locate the position of the engine bay spot welds and marked them up with a permanent marker (kind of hard to see in the picture below, but they are marked in red):


Having centre punched each of the spots I used my dedicated spot cutting drill bit so that I did not damage the lip of the engine tray behind, which I was trying to keep intact.There were also a few spot welds that I drilled out at the bottom of the firewall from behind:


After switching to the Dremmel tool to cut a few little additional weld blobs that were holding it in place, I managed to remove the side tray without any drama:


Rusty R/H tray compared to the new Hooky L/H tray:


I cleaned off the flaky loose crud and then shot blast the entire thing:


Needs a few repairs and flanges straightening, but it seems solid enough to reuse: