
I decided to upgrade the lighting in the blast cabinet using a 3M sticky-backed LED light strip;

I purchased one that came complete with a power adapter and had a corresponded dongle presoldered onto the stip. I opted to mount the connection point using a rubber grommet that I salvaged from a scrap vacuum cleaner. As previously mentioned, I didn't want to drill any additional holes into the cabinet itself, so instead I drilled into the newly fabricated blanking plate;

With the grommet added it not only holds it firmly in place, but also prevents dust leaking out;


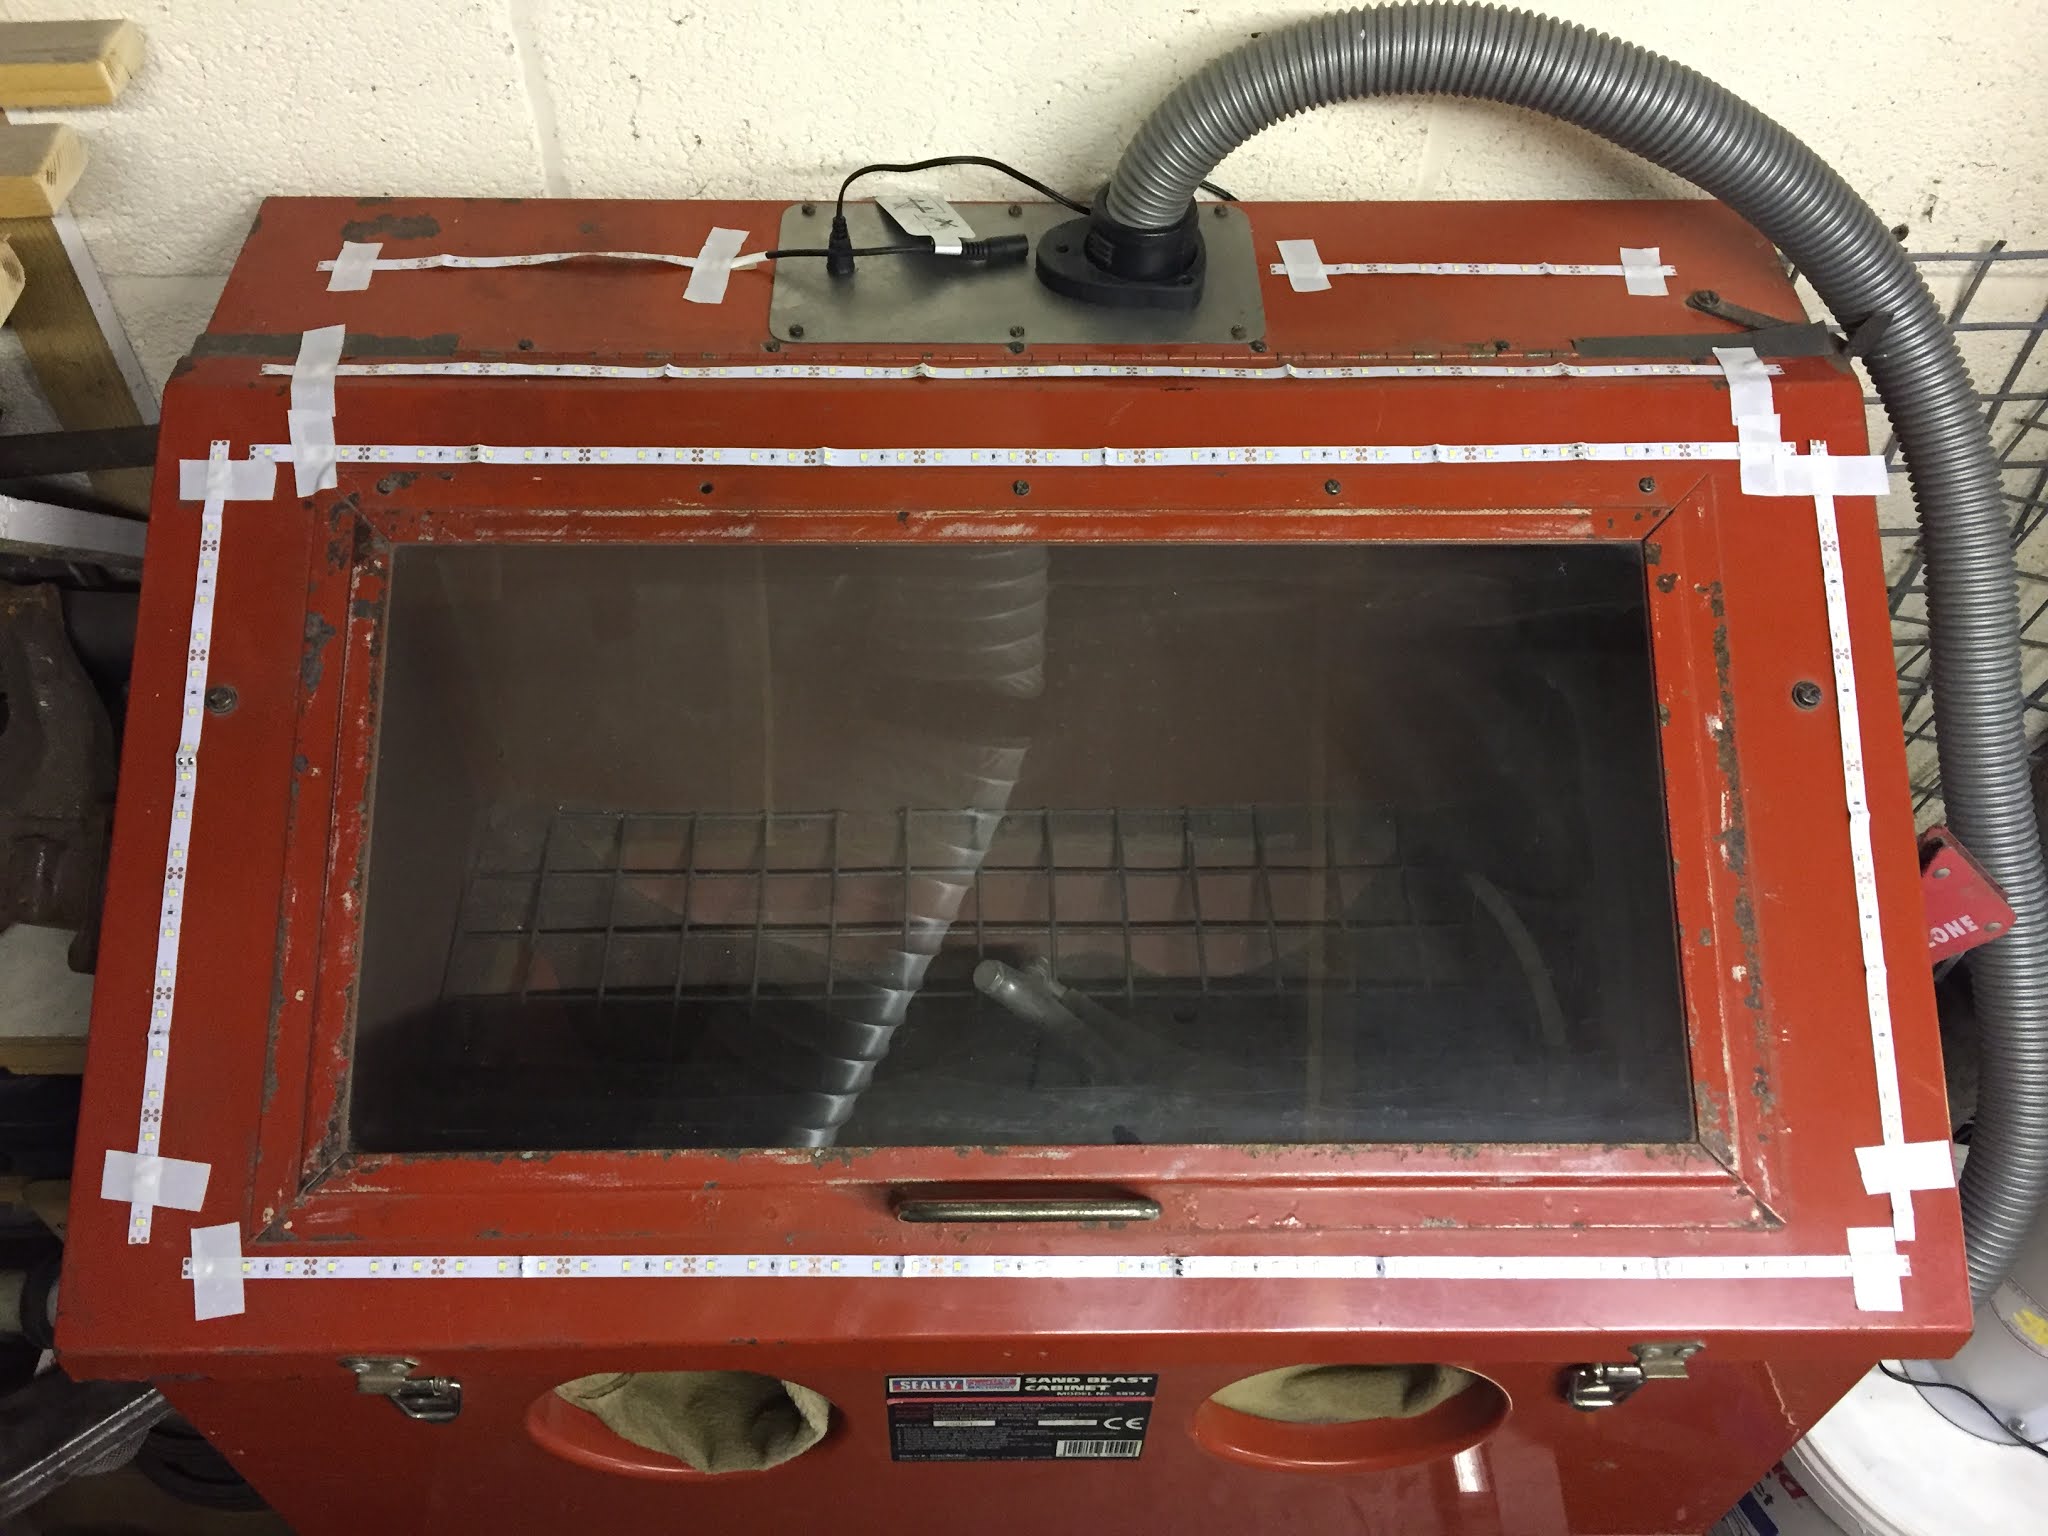
I measured out and cut my LED tape having carefully considered how best to lay it out to achieve the most consistant lighting. Here is a mocked up layout that made on top of the cabinet that I have marked up to show the order that the sections would be soldered together;
Had to solder the joints and then slid some heat shrink tubing over to keep them protected;

A quick test before sticking everything into its final position;

An obvious point when using any adhesive backed product is to ensure the surface you wish to affix to is clinically clean. It was then a case of mounting everything in place inside the cabinet ...and here is the grand reveal;


Ample illumination and importantly the light is evenly distributed, which eliminates cast shadows obsuring the item being blasted. Very happy with this set-up and I hope that it will prove to be low maintenance.


No comments:
Post a Comment