Showing posts with label dismantle. Show all posts

Wednesday, 10 November 2021

Separating the wheel well

Although I would like to strip and paint more chassis related parts (namely the front beam), I need to accept that the UK weather is now less favourable - it has turned cold and wet, which doesn't make for the good painting conditions in the garage. I shall come back to that task when the northern hemisphere is pointing back towards the sun.

So, I have pivoted my attention to something different - the crusty wheel well that I previously removed from the car in one piece along with the adjoined petrol tank rails and washer recess panel:

I gently removed the paint from the area where a row of spot welds holds the pieces together along the seam:


Carefully drilling out the spots:

To do a neat job without distorting the flanges takes some time, but means less fettling and straightening down the line. I have found that a good approach is to drill a hole 70% the size of the spots to be removed. Then come in with the rotary multi tool with a small grinding/burr attachment and careful enlarge the holes to the exact profile of the spot welds. Also, working from one end to the other ensures that the spots come apart in sequence, which makes the separation easier. 

Eventually I had the old well wheel separated without any drama:


A reminder that even the most solid of cars is likely to have rust lurking in the untreated overlapping seams. Unfortunately it is inevitable unless the car has been kept in a vacuum since its date of manufacture:

I shall source a replacement panel for the wheel well section only. I will intend to clean up the rest and make an assessment. I am optimistic that only minor repairs will be required:

Wednesday, 29 September 2021

Fabricating spring clips (for rear drums)

Stripped down the rear drums, then bagged and tagged the components:

As I began to blast the scabby backing plates I noticed that something was amiss - the spring clips for the star adjusters were damaged and on one of them pretty much absent: 

I was able to drive out the damage remnants out of the slot using a flat-head screwdriver:


Aftermarket replacement spring clips are available, but I feel they are expensive for what they are (effectively a thin slip of steel with simple dimple pressings). Although perfectly functional, the repros are not an accurate copy of the original clips (not that this matters in the slightest, especially as the clips are hidden from view). So, more than saving a few pennies or obsessing over insignificant details, I saw this as an opportunity to do something I particularly enjoy; metal fabrication. As a fun excerise I wanted to create something with basic hand tools, but with the aim of having it look identical to the original item.

Trimmed and marked up some 22 gauge (0.75mm) steel:


Used a wide bolster chisel to form a step, using scrap bits of angle iron clamped in a vice to form around (an idea I must credit to Tony BMW over on the Retrorides forum);  

Turned the piece around and repeated the process to complete the desired indentation:


I then cut the piece into strips 10mm wide: 

To add the crucial pressings on the ends I needed to make a press tool. The simplest way I could think of was to round off the tip of an old nail that had the right diameter:

Matching it up against the remnant of the original showed that it was pretty much dead on:

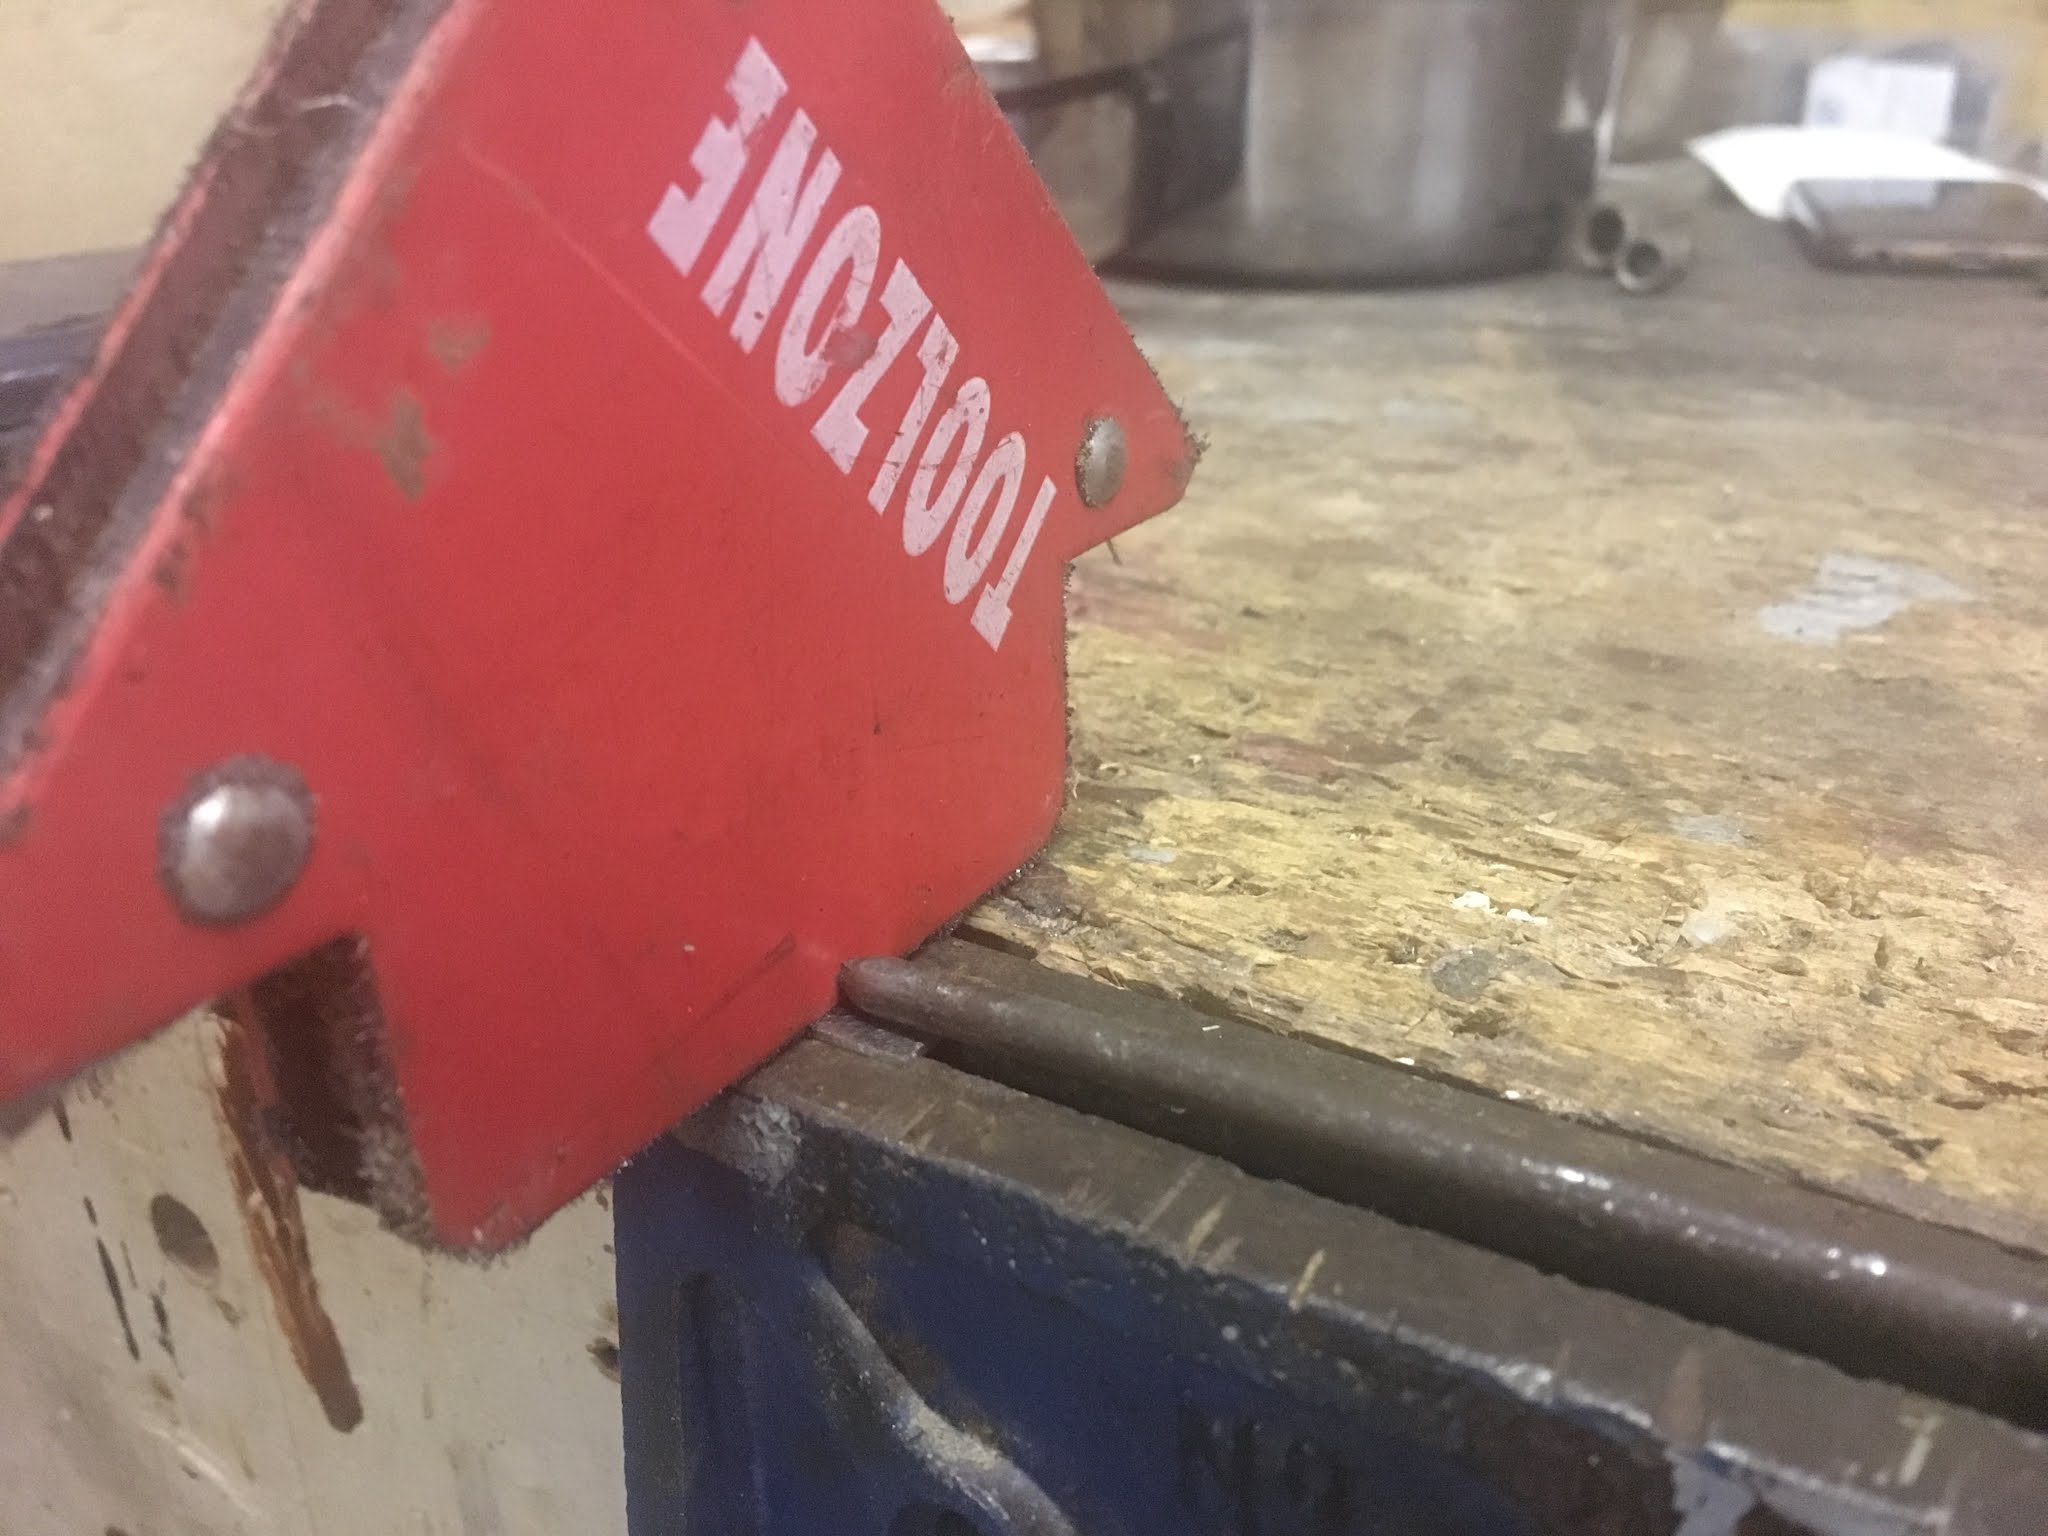
I then opened the jaws of my bench mounted vice to the corresponding width of the nail, plus a small amount extra. I held the 'blank' steel piece in place using a welding magnet over the gap for the first initial taps:

After a few firm (yet gentle) blows with the hammer on top of the nail, I was able to work the indentation until it was at the required depth and then carefully planished over the curling ends to flatten them back out:


The finished spring clips as per factory spec: 


Comparison with the intact original one in situ within the front drum backing plate:

Monday, 2 February 2015

You were only supposed to blow the bloody doors off!

I have about half a dozen partially written blog posts sitting in draft form almost ready to publish, which pretty much mirrors the current state of the restoration; lots of partly finished things that I am slowly progressing without any big note-worthy leaps forward. Things are still cooking, but not in an easily definable way! There are a few factors that have slowed the pace down and these are my lame excuses in a nutshell:


  • No access to MIG welder - since my garage neighbour has moved out I have been on the hunt for a suitable (and affordable) replacement machine. Unfortunately the old beast I was using has relocated with him!
  • Too cold for paint - at the moment I cannot bare metal my components as the Mastic paint cannot properly cure in winter temperatures. Frustratingly I had a bunch of parts that I had already shot-blasted, but not put into paint and they have already started to rust again ....you live and learn!
  • Life outside the garage - the past few months have been a blur of other conflicting activities demanding my attention. 

So to ease myself back into regular and structured emails I have decided to be a bit more 'bitesized' with my offerings. Basically, shorter posts more frequently. To kick off the New Year here is a little overview on door removal:


First up I removed the pin and detached the bump-stop-hinge-arm (for lack of technical name):


This can then be withdrawn through the cavity between the door skins:  


To detach the door hinges an impact driver is obviously pretty handy. However, there were some bolts that just would not budge (something that I have become accustomed throughout this project!). For the tough ones resorted to my old friend LEVERAGE! I fitted the impact driver attachment onto my breaker bar and slowly applied pressure. This got the stubborn buggers moving without any trouble:


With the six screw bolts out the door can be lifted off:


I then withdrew the door glass and disassembled the winder mechanism, handle unit and quarter light:


Both doors are now ready to be stripped of paint (and probably hidden filler!), repaired and panel beat back into shape.

More updates to come. Soon. Promise!

Tuesday, 29 October 2013

Transmission clean-up

This week I decided to partially dismantle the transmission, although only as far as removing external components. I wanted to clean the thing up and replace any perished gaskets and renew the CV boots etc. I never had any issues with this gearbox and therefore I was not too keen on fiddling around with the internal mechanisms. As my old man always says: “if it aint broke, don’t fix it!”. Pretty sound advice I reckon! 


I thought this task was going to be fairly straight forward, but I couldn’t have been more wrong! I made a fundamental mistake when I first started taking the car apart by not loosening up the rear drum brake nuts whilst is was all still together. The weight of the car combined with the use of the handbrake would have held the outer drum case firmly in place whilst the substantial torque required to loosen the 36mm nut was applied. It would have been a breeze! What I was dealing with here, however, were a couple of resilient old nuts that would not budge and drum brake casings that were seemingly impossible to fully lock off. I tried a lot of different approaches such as; coating the nuts in penetrating oil. Nothing. 5ft Pipe cheat. Nothing. Heating the hub nut with a blowtorch until it glowed red. Nothing. I then called on the assistance of my garage neigbour and good friend, Tony, in the hope that our combined weight and brawn would break the tight bound. NOTHING! So, after a lot of tea and head-scratching, Tony suggested that a small cutting disc attached to the Dremel could provide the solution.  Basically, this sacrificial approach involved making a careful cut down the edge of the nut(s). I tried to make it as deep as possible whilst avoiding damaging the thread underneath:
 

I then repeatedly impacted the incision with a heavy duty chisel until it cracked open enough to come free:


Success! Obviously I now need to order a couple of replacement hub nuts, but I was just glad to get these old things off:


The other noteworthy challenge that I encountered after removing the drum brake components was how to remove the snug fitting rear wheel bearing. I didn't have a bearing puller, so tried to make my own improvised version based on the instructions in John Muir's book 'How to Keep Your Volkswagen Alive'. I soon got frustrated with that approach and opted for the big hammer technique instead:


After a few confident taps on the back of the outer axle tube the bearing slowly worked its way loose:


I was then able to remove the big inner circlip (that was another fiddly job took a while!) and draw out the axle rod(s):


To begin the clean-up of the casing I scraped away most of the greasy dirt with a large flat-headed screwdriver. Then I moved on to degreasing it with petrol, an old toothbrush and a lot of elbow grease. I then went over the whole thing with an assortment of wire brushes. Here is the before shot: 


....and many hours of scrubbing later, here is my glorious after shot: 


Monday, 30 September 2013

Dismantling the front beam

I decided to dismantle the front beam this past weekend in preparation for cleaning, painting and possibly narrowing: 


First up was the removal of the grease caps, which popped out easily enough with some gentle coxing of a flat-headed screwdriver: 


Once the nuts and washers had been taken off of the greasy spindle the outer casing of the drum brake came away without too much fuss: 


After undoing the three inner bolts the drum brake backing plate came free. Both sides came apart without any drama: 


I then removed both shocks, which were simply secured by bolts at the top and bottom:


Another two bolts later I had the steering damper detached:


The tie rods required a bit more persistence and preparation. I found that wire brushing the nut and exposed thread followed by a liberal drenching of WD40 (penetrating fluid) was the best method:


The above approach worked for all but one tie rod end (why is there always one little stubborn bugger?!). Frustratingly the thread started spinning freely before I had got the nut off. I found that no amount of clamping with the vice grips would hold the thread tightly enough to that damn nut to turn again. After some time and perseverance I decided that I would sacrifice the track rod end as I was considering replacing them all anyway. So, out came the angle grinder:


I then cleaned up the treads of the steering box and removed the unit with ease:


After loosening the clamping bolts I was able to tap out the link pins, which allowed for the removal of the spindles:


After removing the outer nuts and cleaning out the accumulated crap inside the allen key cavities, I loosed the threaded pin which holds the torsion leaves in place:


The torsion arms were then free to be removed:


Just for fun I set up an exploded view of the individual components that make up the front beam: