Apologies for another long absence, it seems that I may be unofficially trying for the longest classic car restoration in history. Maybe I should reach out to Guinness and have it recognised as such when Gretchen finally gets back on the road in 2050? Anyway, I will explain in due course why things seemingly stalled yet again, but it is an exciting story for another time.
Back to business. The last time I updated on reviving the old engine and getting her purring once again. That was a thrill and since then I have been thinking about reinstating some original components as a lot of the ancillaries currently installed are inferior aftermarket parts. Back when I was a young student (and thus dependent on the car as my daily driver) my motivation was always just to keep the car on the road. So when things would fail I would simply buy the cheapest generic replacement part and toss the old parts as though they were worthless scrap (little did I know!). Fast forward to the present day and I am acutely aware that original VW parts are far superior and fortunately there are serviceable parts available to enable the rebuilding of certain things.
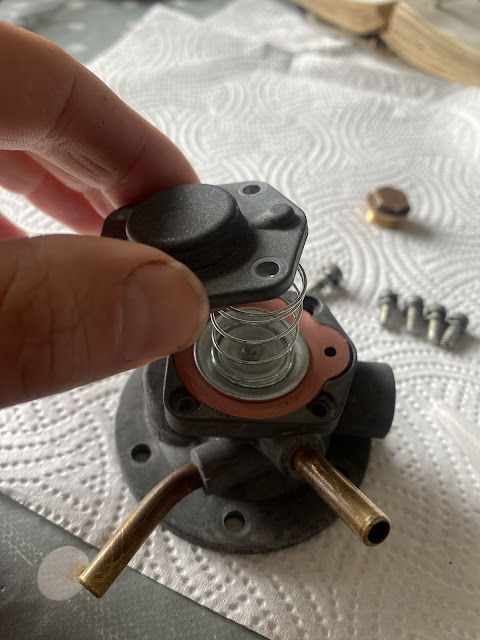
So, I picked this original Pierburg fuel pump up from a swap meet for £10. It is period correct to my car (manufactured in 1965) and was a prime candidate for a rebuild:


Thank you for not giving up on this blog. I've inherited an old beetle from my late grandfather when I was a kid. I always had big dreams how I'll fix it up and use on the weekends to just drive up and down the roads, and listen to that engine whistle. Over time, as it was used, but not maintained very well, my parents got rid of it. I've tried over several years to find it and buy it back, but have come to realization that probably there is nothing left of that car any more. Now I'm left with with realizing my childhood dream by reading your blog. I've read it for years, and every few months I remember to check if there are any news on this fantastic restoration project of yours.
ReplyDeleteThank you for letting me realize my dream through you.
Thanks for remaining a long -time reader of the blog and taking the time to comment.
ReplyDeleteThe project is still very much alive, but I am at phase in life where my spare time is scare and stretched in various directions. That said, the restoration is never far from my mind and I am keeping things ticking along. In fact, there has been some recent progress and I will aim to update again soon.
I hope some day you are able to find out what happened to your Grandfather's Beetle. These old vehicles certainly have some stories and deep personal memories connected with them. That sense of history is something that has always kept me engaged.