
Well, I finally finished cutting out the drivers side floor pan over the weekend:

I then turned my attention to the removal of the spring plates. I drenched the four bolts that secure the spring plate cover with WD40 then used my breaker bar to get the bolts turning.
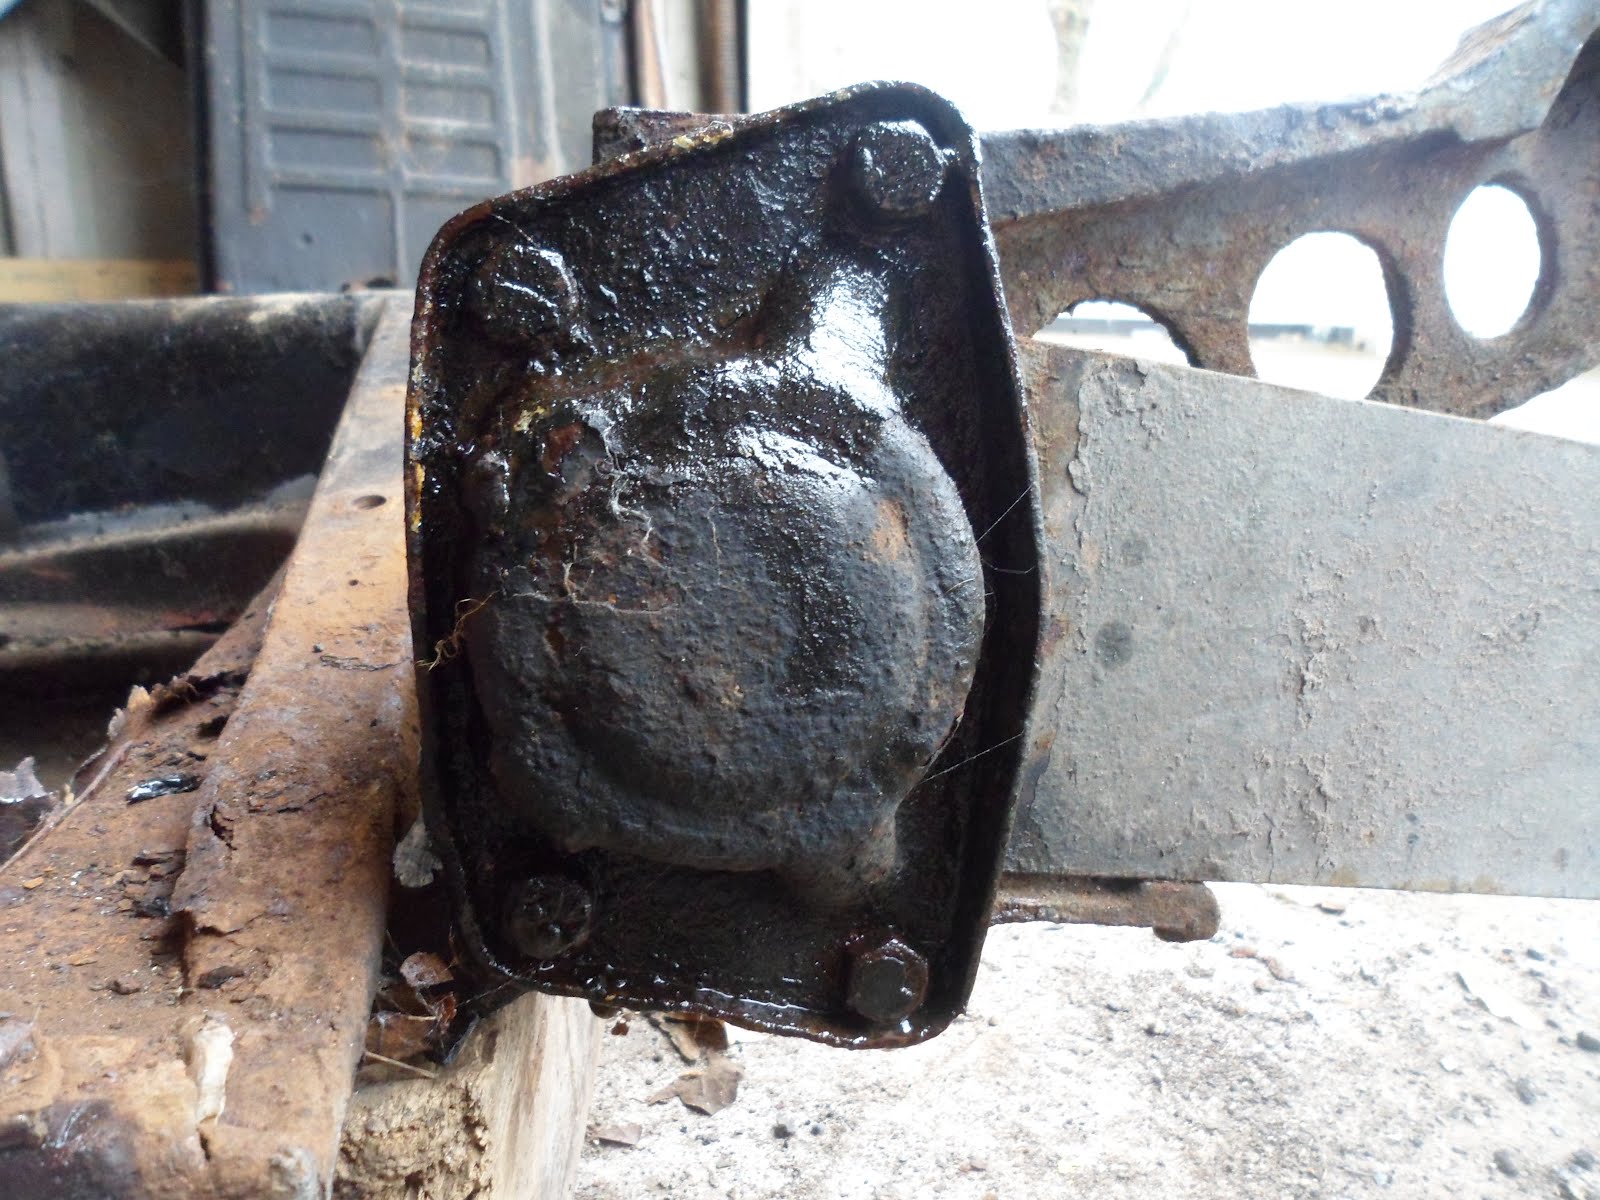
With the cover off I could clearly see the end of the torsion bar with the splines located inside the spring plate:

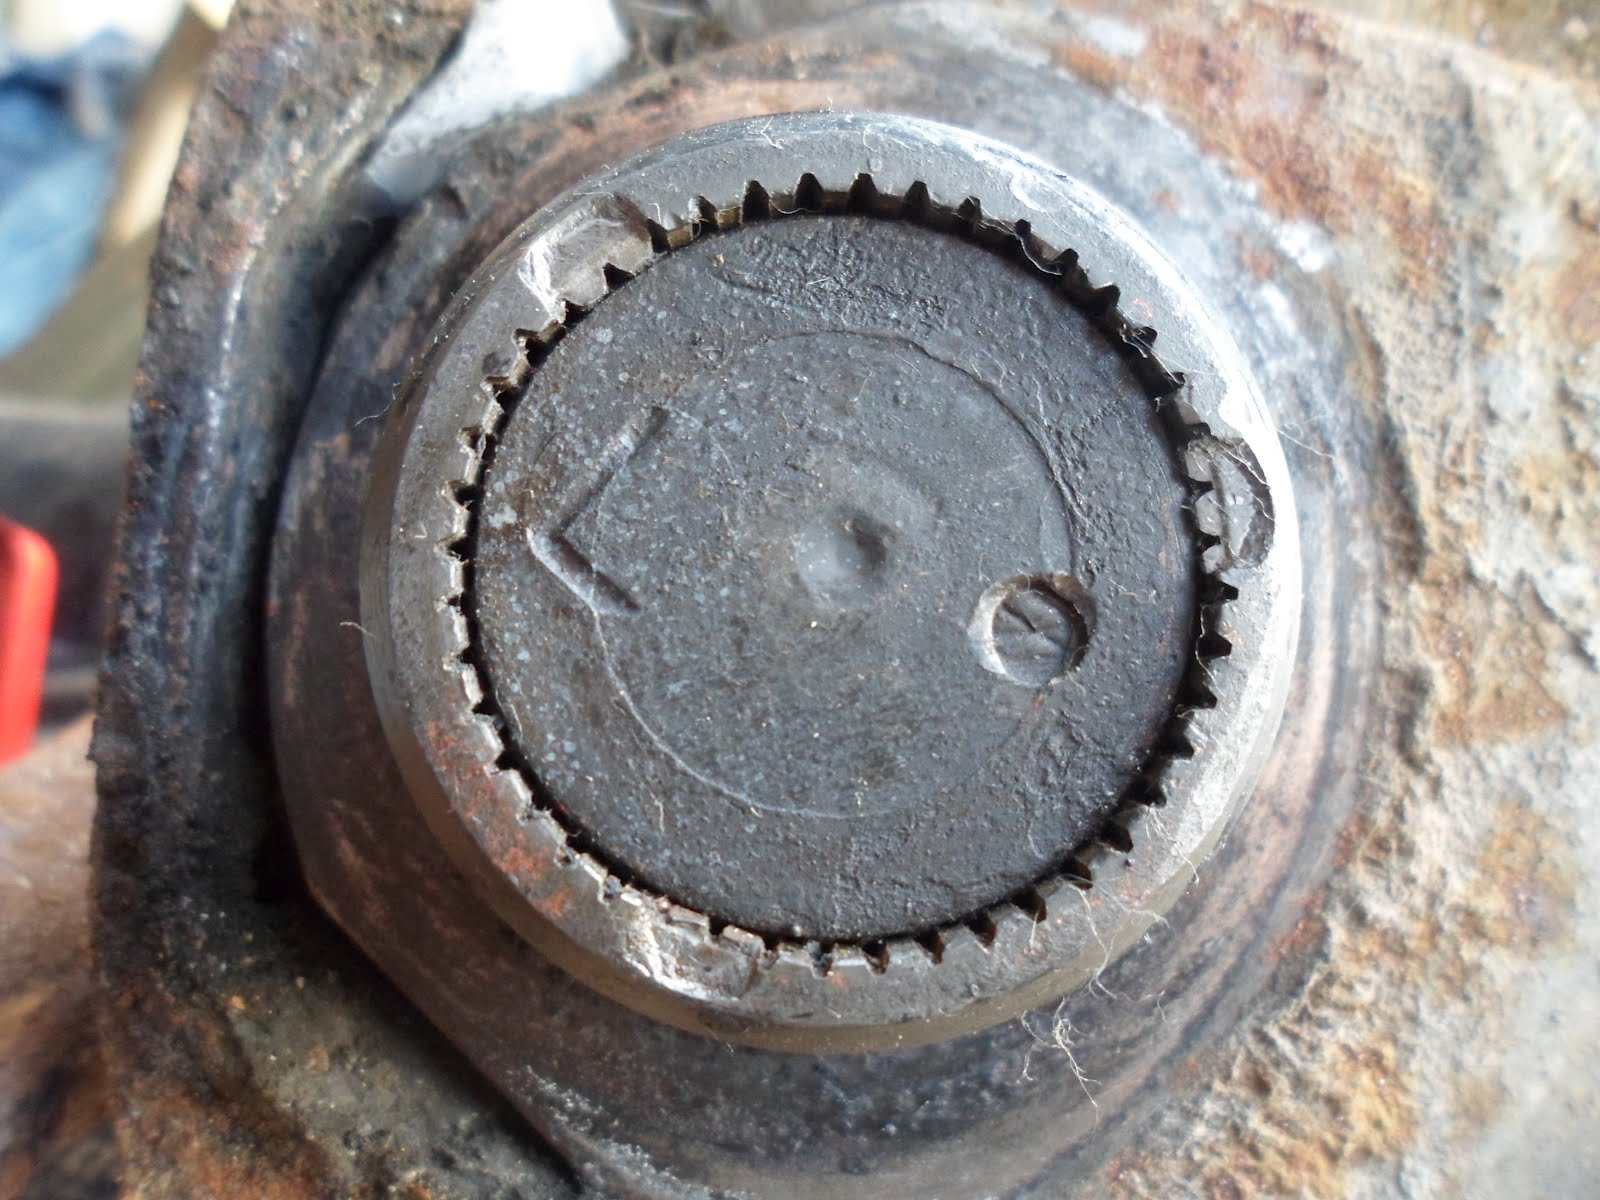
And here is a close up with the rubber bushing removed:
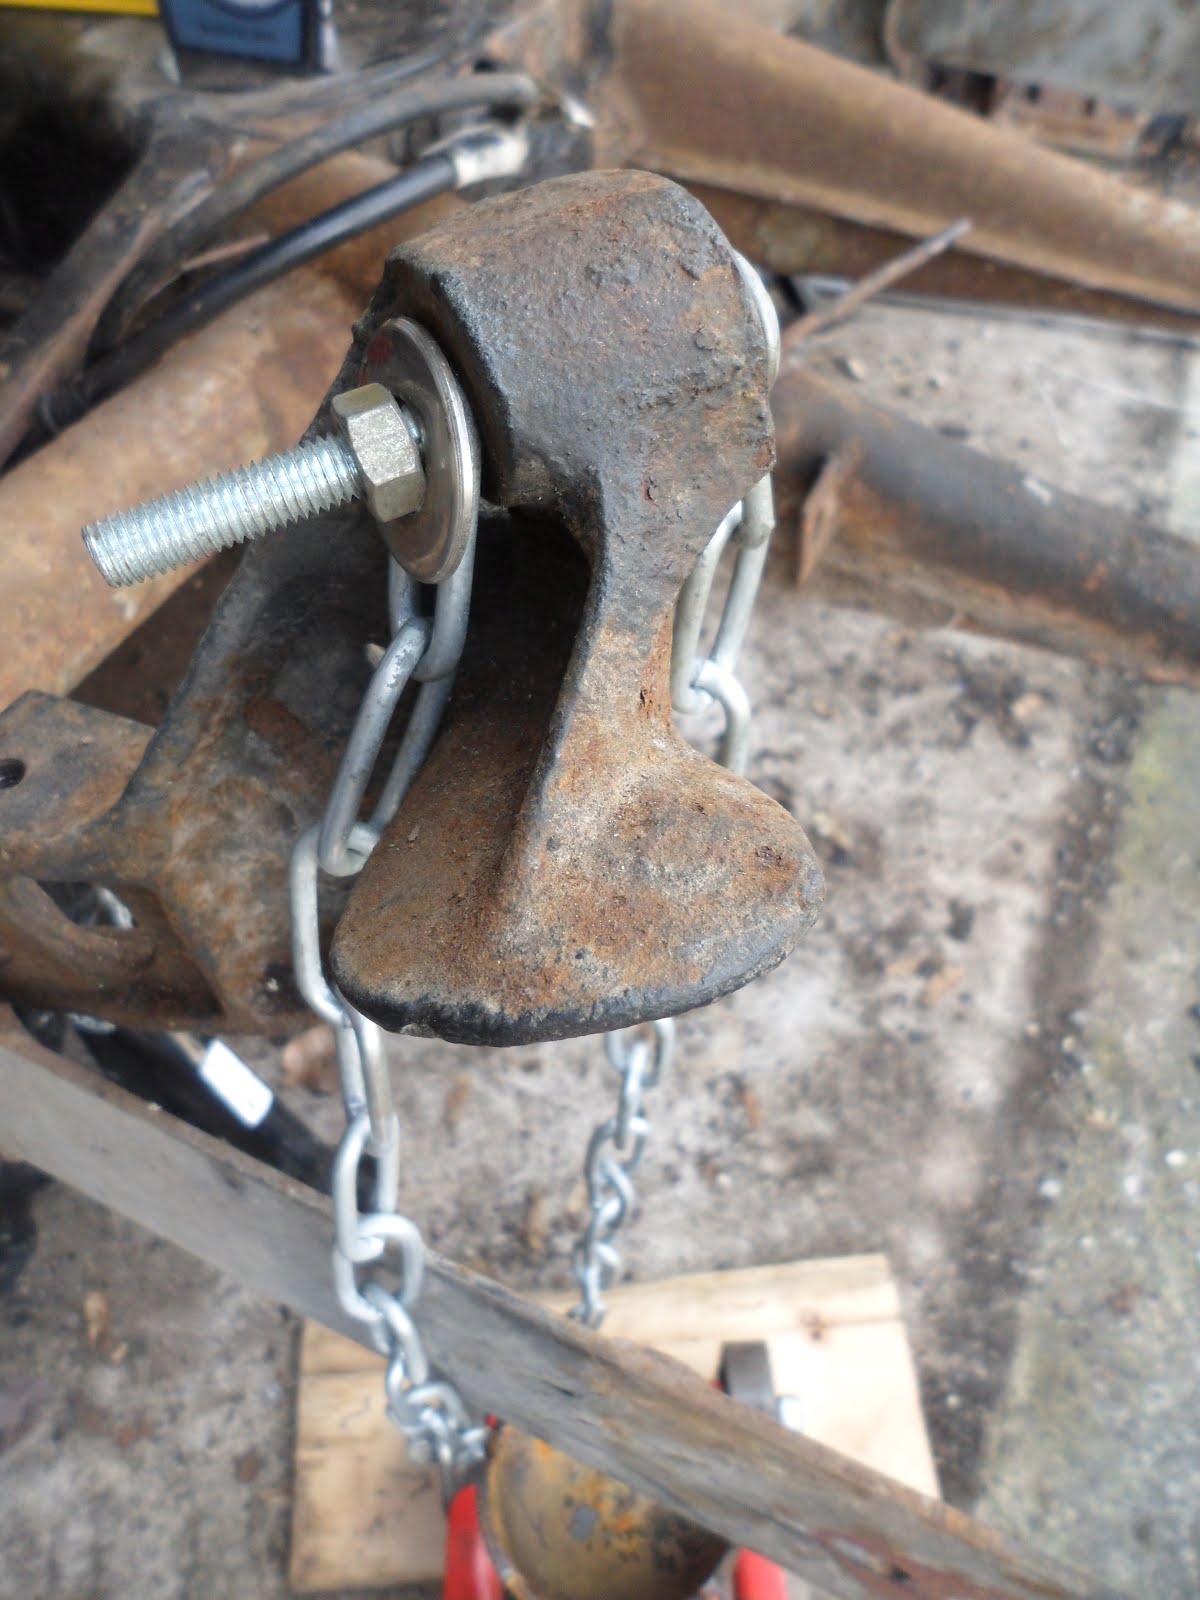
I opted for the ‘jack and chain’ method to control the tension of the spring plate whilst I pried it off the torsion bar. If you are reading this post and considering doing the same; please be careful and always put your safety first! There is a lot of tension in the spring plates, so proceed with caution. O.k, so here is the set-up:

It basically involves looping a length of chain around the axle of a trolley jack:

…..and securing the ends to the top shock absorber mounting point with a sturdy bolt:
The jack can then be raised so that it makes contact with the spring plate and pushes it upwards and thus takes the pressure off of the shelf that it usually rests on. I then got a big flat headed screw driver and started prying. My spring plate did not require too much persuasion and was clear of the shelf within 5 minutes of prying. I slowly lowered the jack and the plate came to rest in this position:

It should be noted that on a stock VW that the spring plate would have dropped to a steeper angle, but my bug was slammed by the previous owner some 13 years ago and so the shallow angle was to be expected – as was the relative ease of getting the thing to come free in the first place. Next I made sure that my chassis was perfectly horizontal by placing a long spirit level on the tunnel and adding shims under the chassis where required:

Once I was assured that the car was level I measured the angle of the spring plate using an inclinometer. This is important to ensure that everything goes back together at the same angle that it came apart:

I then wiggled the spring plate off of the torsion bar being careful not to disengage it from the inner splines. With the spring plate off I located the top point of the torsion bar by balancing a socket piece on top of it and then made a small mark with permanent pen. In theory this should help me find the correct inner spline location during the rebuild:

It was then just a simple case of pulling the bar free from the inner splines and drawing it out:

All done and thankfully without any drama:

One thing that I forgot when I did the previous side was to mark the spring plate and torsion bar before pulling it apart to aid with the reinstallation:

With the spring plates off the chassis was looking very bare. The only bits still to remove were the handbrake and heater levers. So, a couple of spanner turns later they were off and bagged and tagged:

And here is the result at the end of the day. One chassis tunnel ready for sandblasting and minor repairs (I hope)

No comments:
Post a Comment