A quick point of clarification up front; some of the following work was done in the old garage a few years back, but I didn't make significant enough progress to blog about it at the time. However, as I am now picking up where I left off you may notice that the environment changes in a few of the photos.
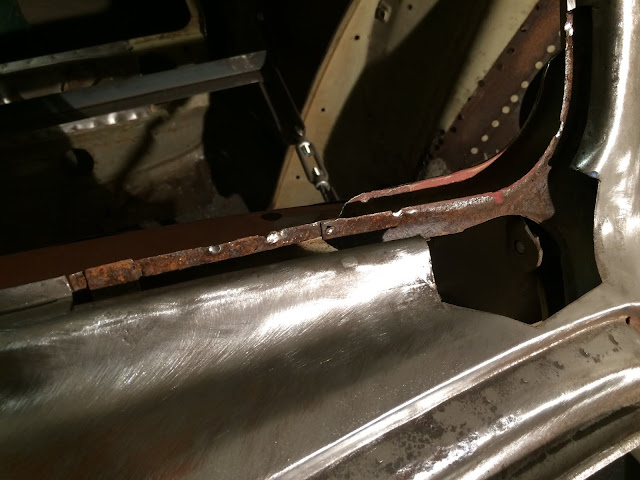
With the front of the car removed I have comfortable access to the rear dash area. There are a bunch of tasks that I need to do at the front end before I am in a possition to reinstall the bulkhead and heater channel assembly. So, I figured I would start with a job that I have already done once before on the drivers side - the demister outlet vent and surrounding rust. The underside revealed the extent of the undesirable mess;
As before, the whole area was pretty crispy and peppered with rust holes. Some of the worst heavy pitting extended downwards onto the cowl (outlined in red sharpie);
Learning from my previous experience, I knew that the best approach was to split the repair into two parts: the front (outside cowl) section and rear (inside dash) section. I marked up the outside cowl section with blue tape and set about removing the bad steel;
Once removed I had a better view of the sandwiched vent outlet section. Although not as bad as I expected it to be, I determined that it was too far gone to save, so opted to use my donor section to repair the entire piece. Once again, I outlined my cuts with blue tape and set about surgically removing the affected section from the inside dash;
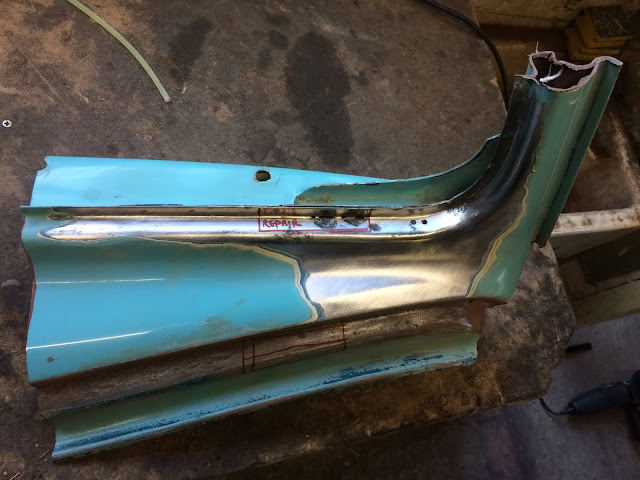
Unfortunately the donor scuttle/dash was not without its faults, so it required a few repairs before I could use it. I split the panel into the two sections as per the above proceedure:
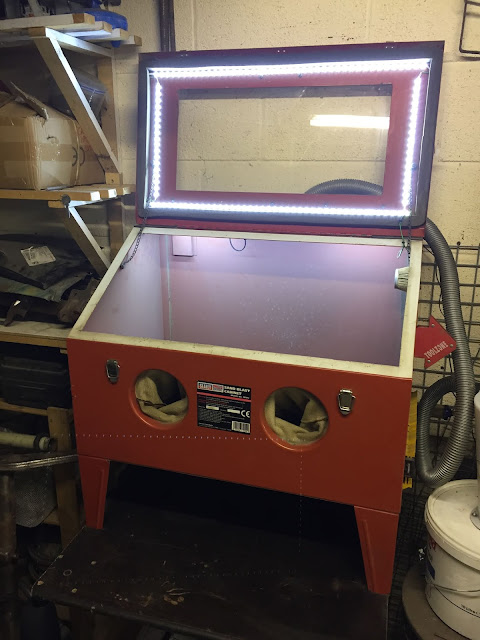
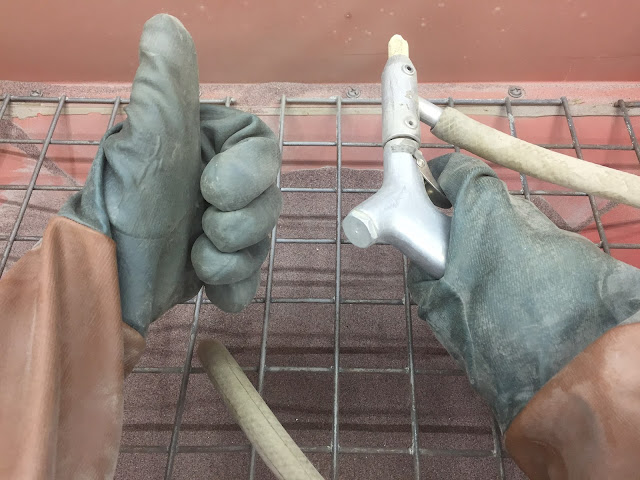
Once I had roughly blasted the vent section it became apparent that the steel had become paper thin on the end piece. I cut out this thinned section and fabricated a small patch:
Welded and smoothed to an invisible finish (a shame this neat work will never be seen);
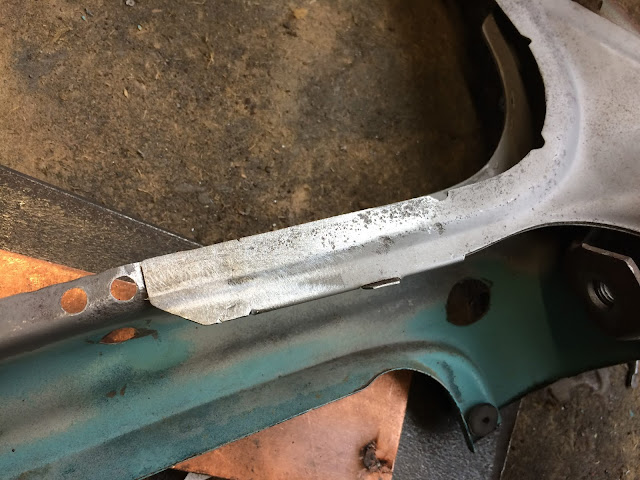
On the flipside I cut the excess from the repair section using a low tech, but very accurate method. Basically I added masking tape to the original cut section and then used a dirty finger to trace the outline of the area. I then peeled this off and positioned on the doner section;
Gave me an accurate result;
The next step was to repair the angle grinder gash, which was the result of whoever cut up the doner car. Oh well, better make it solid again;
Almost there...
All welds ground down and looking like new again;


