

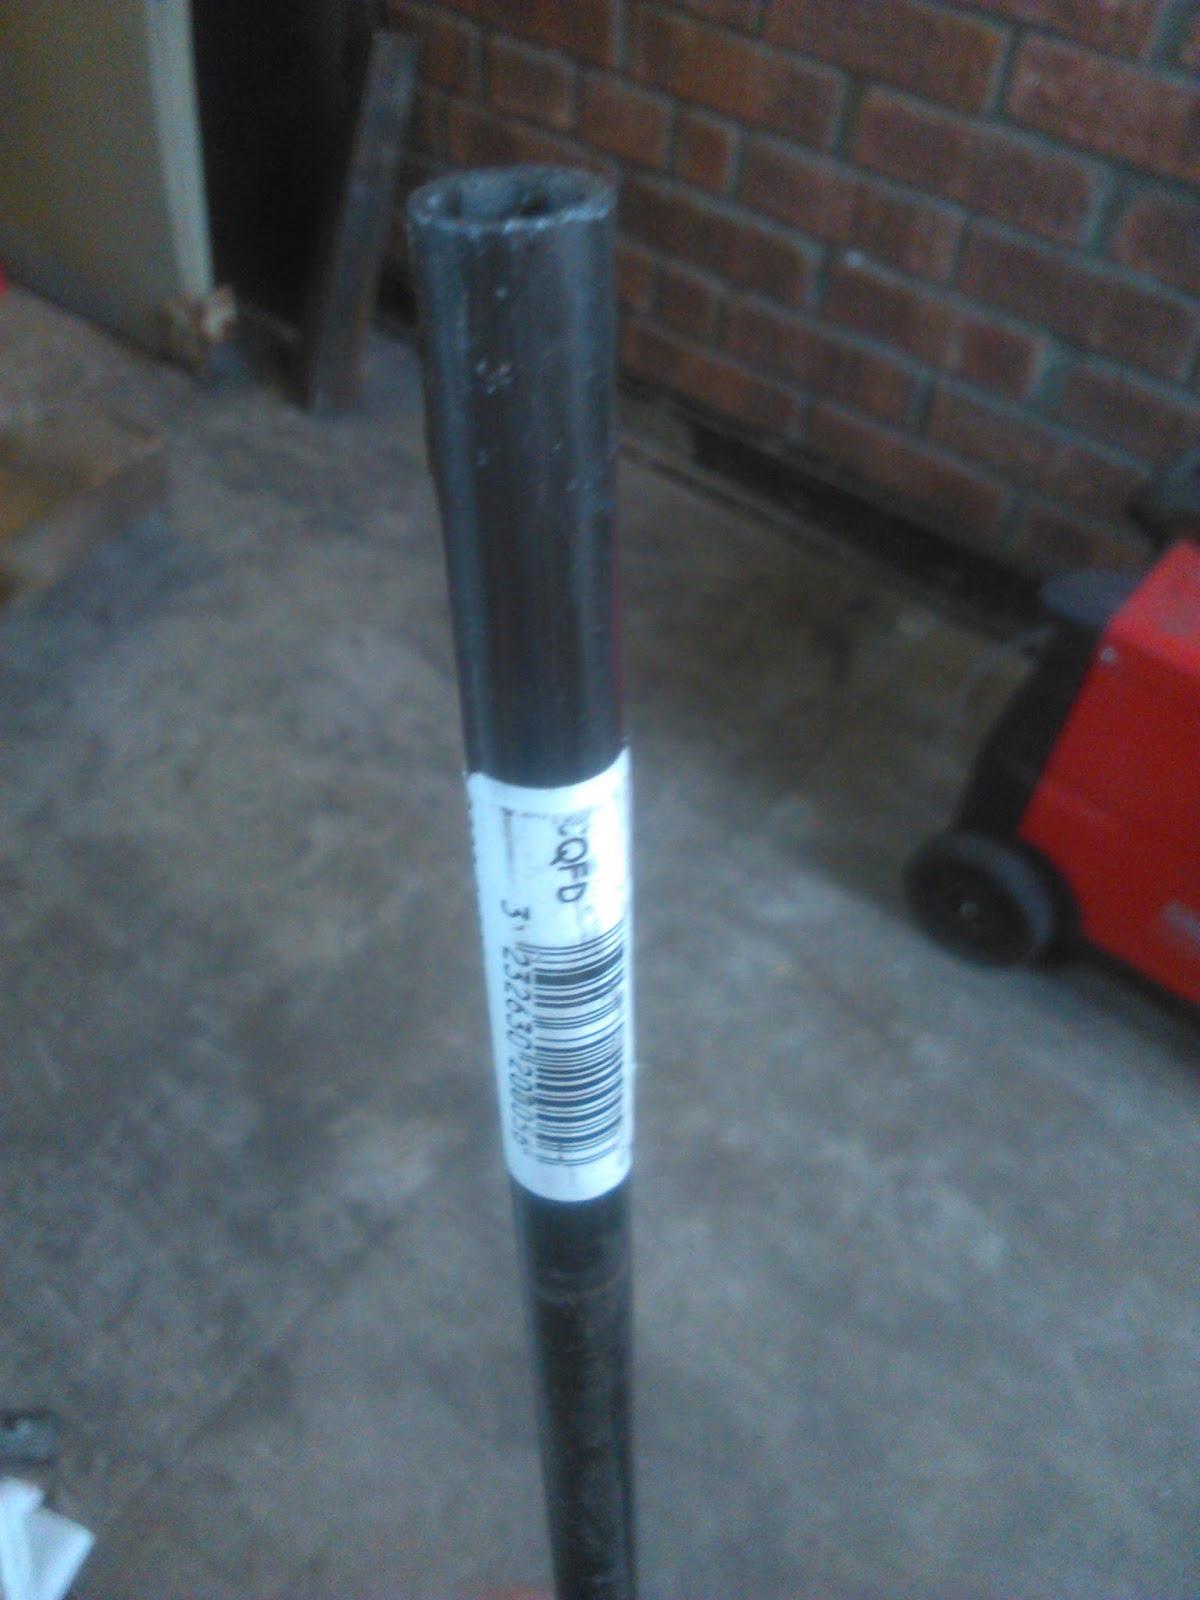
To fabricate suitable replacements I did some extensive internet trawling for suitable images and consulted the VZi forum for stock measurements etc. What I required was 10mm outer diameter steel tube with an inner diameter of 8mm. I hunted around online for a suitable stockist of this particular tube, but couldn't find anything suitable. However, for once I did find what I was after in B&Q of all places (a well known UK diy superstore)! Got a 1 metre length for £3, which I was very chuffed with!
Cut the tube down to size (x2 lengths, 345mm long) using a hacksaw, which left me with a convenitent smaller scrap length to practice bending and welding with:

Had a few thoughts about how to bend the tube to attain the curve I needed. I attempted bending the scrap piece around a small barrel, the runners of a rocking chair, a round garden table ....I was getting close, but not close enough! Now, in a funny turn of events my bicycle picked up a puncture on my way over to the garage and I had taken the back wheel off with the intention of repairing the inner tube after finishing up my resto tasks for the day. As I was staring at the length of tube I happened to gaze up at the detached wheel and had a eureka! moment. I took the tyre off and discovered that I had the perfect jig for this task:

I clamped one end of the tube down under a piece of wood:

Then I gently, yet firmly, bent the tube around the wheel. I used another clamp at the other end to help pull the tube down against its natural tendency to spring back up:

With the tube removed from the wheel it sprung out and rested into the perfect curve. I bent the other piece to shape using the same method and was delighted that they matched:

A quick dry fitting on the car confirmed that my low-tech bike wheel method had nailed it:

To asses the length and position of the factory weld I quickly shotblast the remnants of the old guide tube:

And then proceed to weld my fresh pieces into their final position on the car:

Got a bit carried away and shaped the welds using the Dremel to roughly match the look of the original brazed weld:

The end result:


Very nice work, Rhysos. Keep restoring and documenting. I enjoy following your blog and seeing the top quality results you're achieving.
ReplyDeleteThanks Michael! Always good to hear from you. We will both get there eventually with our rides ;-)
Delete