Wednesday, 18 August 2021

Finish is better than perfect

Got the blasted chassis parts into paint this week:


Wasn't sure if my old half used tins of Mastic 121 would still be usable; haven't touched the paint in almost 5 years. I asked Rustbuster (the manufacturer) and they could only guarantee it would remain good for one year. Although exterior of the tins were scabby, the paint components were still looking alright on the inside upon vigorous stirring. 

Top tip: this miraculous preservation could be down to the fact that I covered the remaining paint with cling film when it was last used. Literally laid it directly on the paint surface inside the tin to create a barrier between the paint and air.

I was a bit frustrated at first as the paint mix and gun settings were off and as a result too much paint was being let through and affecting the finish. Also, although it had been thinned to the recommended 20% the paint was quite 'splattery' on application. It was a passable finish, but not as good as I hoped. I let it cure for a couple of days and then applied a second coat, this time I thinned the paint down to somewhere in the region of 25 - 30% and that really helped with the flow. Also, I took my time dialling in the gun settings that gave me pretty decent control and reduced the amount of paint flowing out of the gun. 


For the most part the second and third coats helped to reduce the sins of the haphazard base coat and left a result that I was satisfied with. It goes to show that a few small adjustments can yield far better results.    

Wednesday, 11 August 2021

Assortment of chassis parts blasted

I have been taking an inventory this week, sorting through boxes of jumbled parts and separating out the chassis related items. I do wish I had a better system of cataloguing and storing parts back in the day when I was dismantling the car, but evidently I lacked the foresight. Anyway, I am now attempting to understand what is original and worthy of restoring vs what is aftermarket and could do with replacing. Revising my task and shopping lists alike, so that I can get a better command of this project. 

Whilst I was at it I also ran a few chassis parts through the blast cabinet. Admittedly some of these parts had been blasted before, but like an utter plum I left them unpainted in a box only for them to inevitably rust over again (Sometimes I want to reach back through time and give my old self a slap!). So, drum brake backing plates, gearbox cradle, Pitman arm, steering box coupler and a bracket are now looking fresh;

I have undoubtedly made this comment before, but I do find it satisfying when through the act of blasting a small factory stamp detail emerges from the grime:

Now to give these items a few coats of black Mastic 121 so they don't rust over yet again...

Wednesday, 4 August 2021

Quickie: Rock tumblin'

I've been thinking about getting a vibratory tumbler for some time, but i've not been able to convince myself that I really needed to purchase yet another tool that would be seldom used. However, they are clearly a great way of cleaning up small parts and can be left to do their thing whilst focusing on other tasks. I attempted to make a rudimentary one myself following some plans I found online. It was not successful as it was too underpowered and so lacked the vibratory action require to gently abrade parts. I shelved the idea and thought no more about it. 

Months later I happened to stumble accross an entry level rock tumbler in a charity shop for a mere £5! At that price it was worth a punt so I snapped it up:


Figured it would do more or less the same job as a vibratory tumbler. For something that is essentially a toy it works pretty well and because it is quiet it can be left to run overnight. Here are some before and after shots of rusty VW fastenings and knick-knacks:

For the media I opted to use blasting grit for the initial pass. This was after around 3 days in the tumbler:

I then followed up by switching to crushed walnut shells for finer cleaning:


Encouraging results for such little cost:

Wednesday, 28 July 2021

Front beam gets some love

Moving on in a non-linear fashion, I turned my focus to stripping and cleaning the front beam (truth be told; most of the sequence below has occurred at random intervals over the last few years and this is my attempt at tying everything together with my current progress)

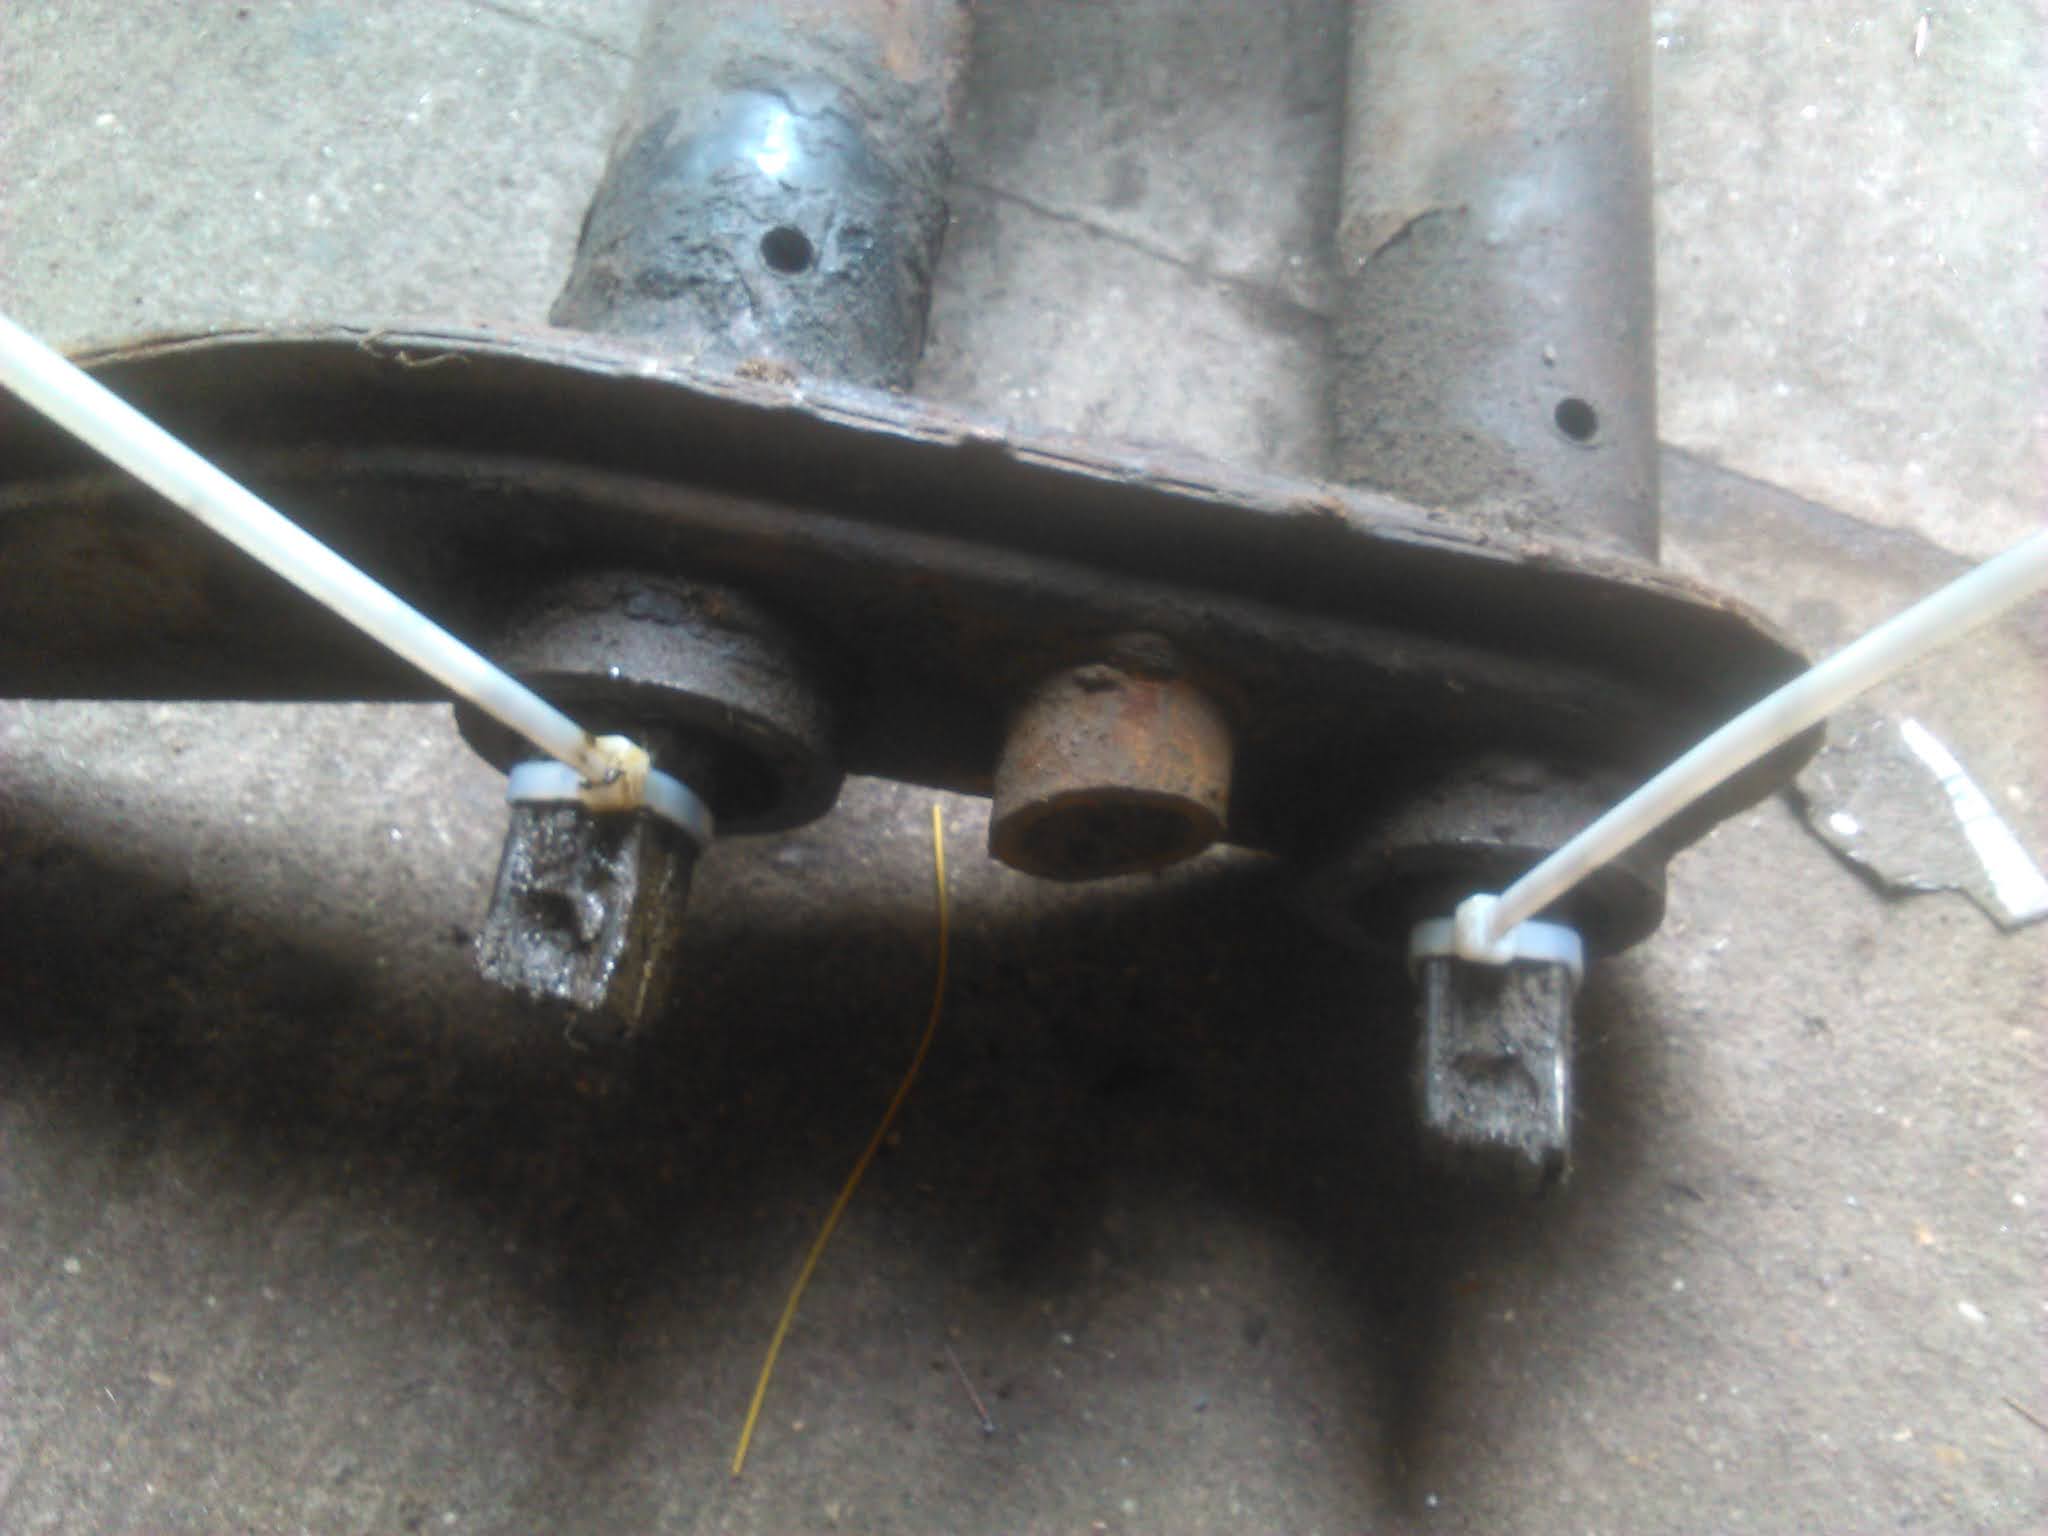
Firsty, I removed the spring leaves from the front beam. The beam has sway away adjusters installed and I had to wind the centre screws back in order to draw the leaves out. Before removal I added a few cable ties to the end to keep everything together:


Then it was just a case of withdrawing them with a suitably sized pair of mole grips:


Rather than cleaning the old grease off at this point, I simply wrapped them in cling film:


I then sealed up the ends of the beam to prevent dirt and crap getting in their as I wire wheeled the outside:


Nothing magical to show here, just takes time. Lots of time:


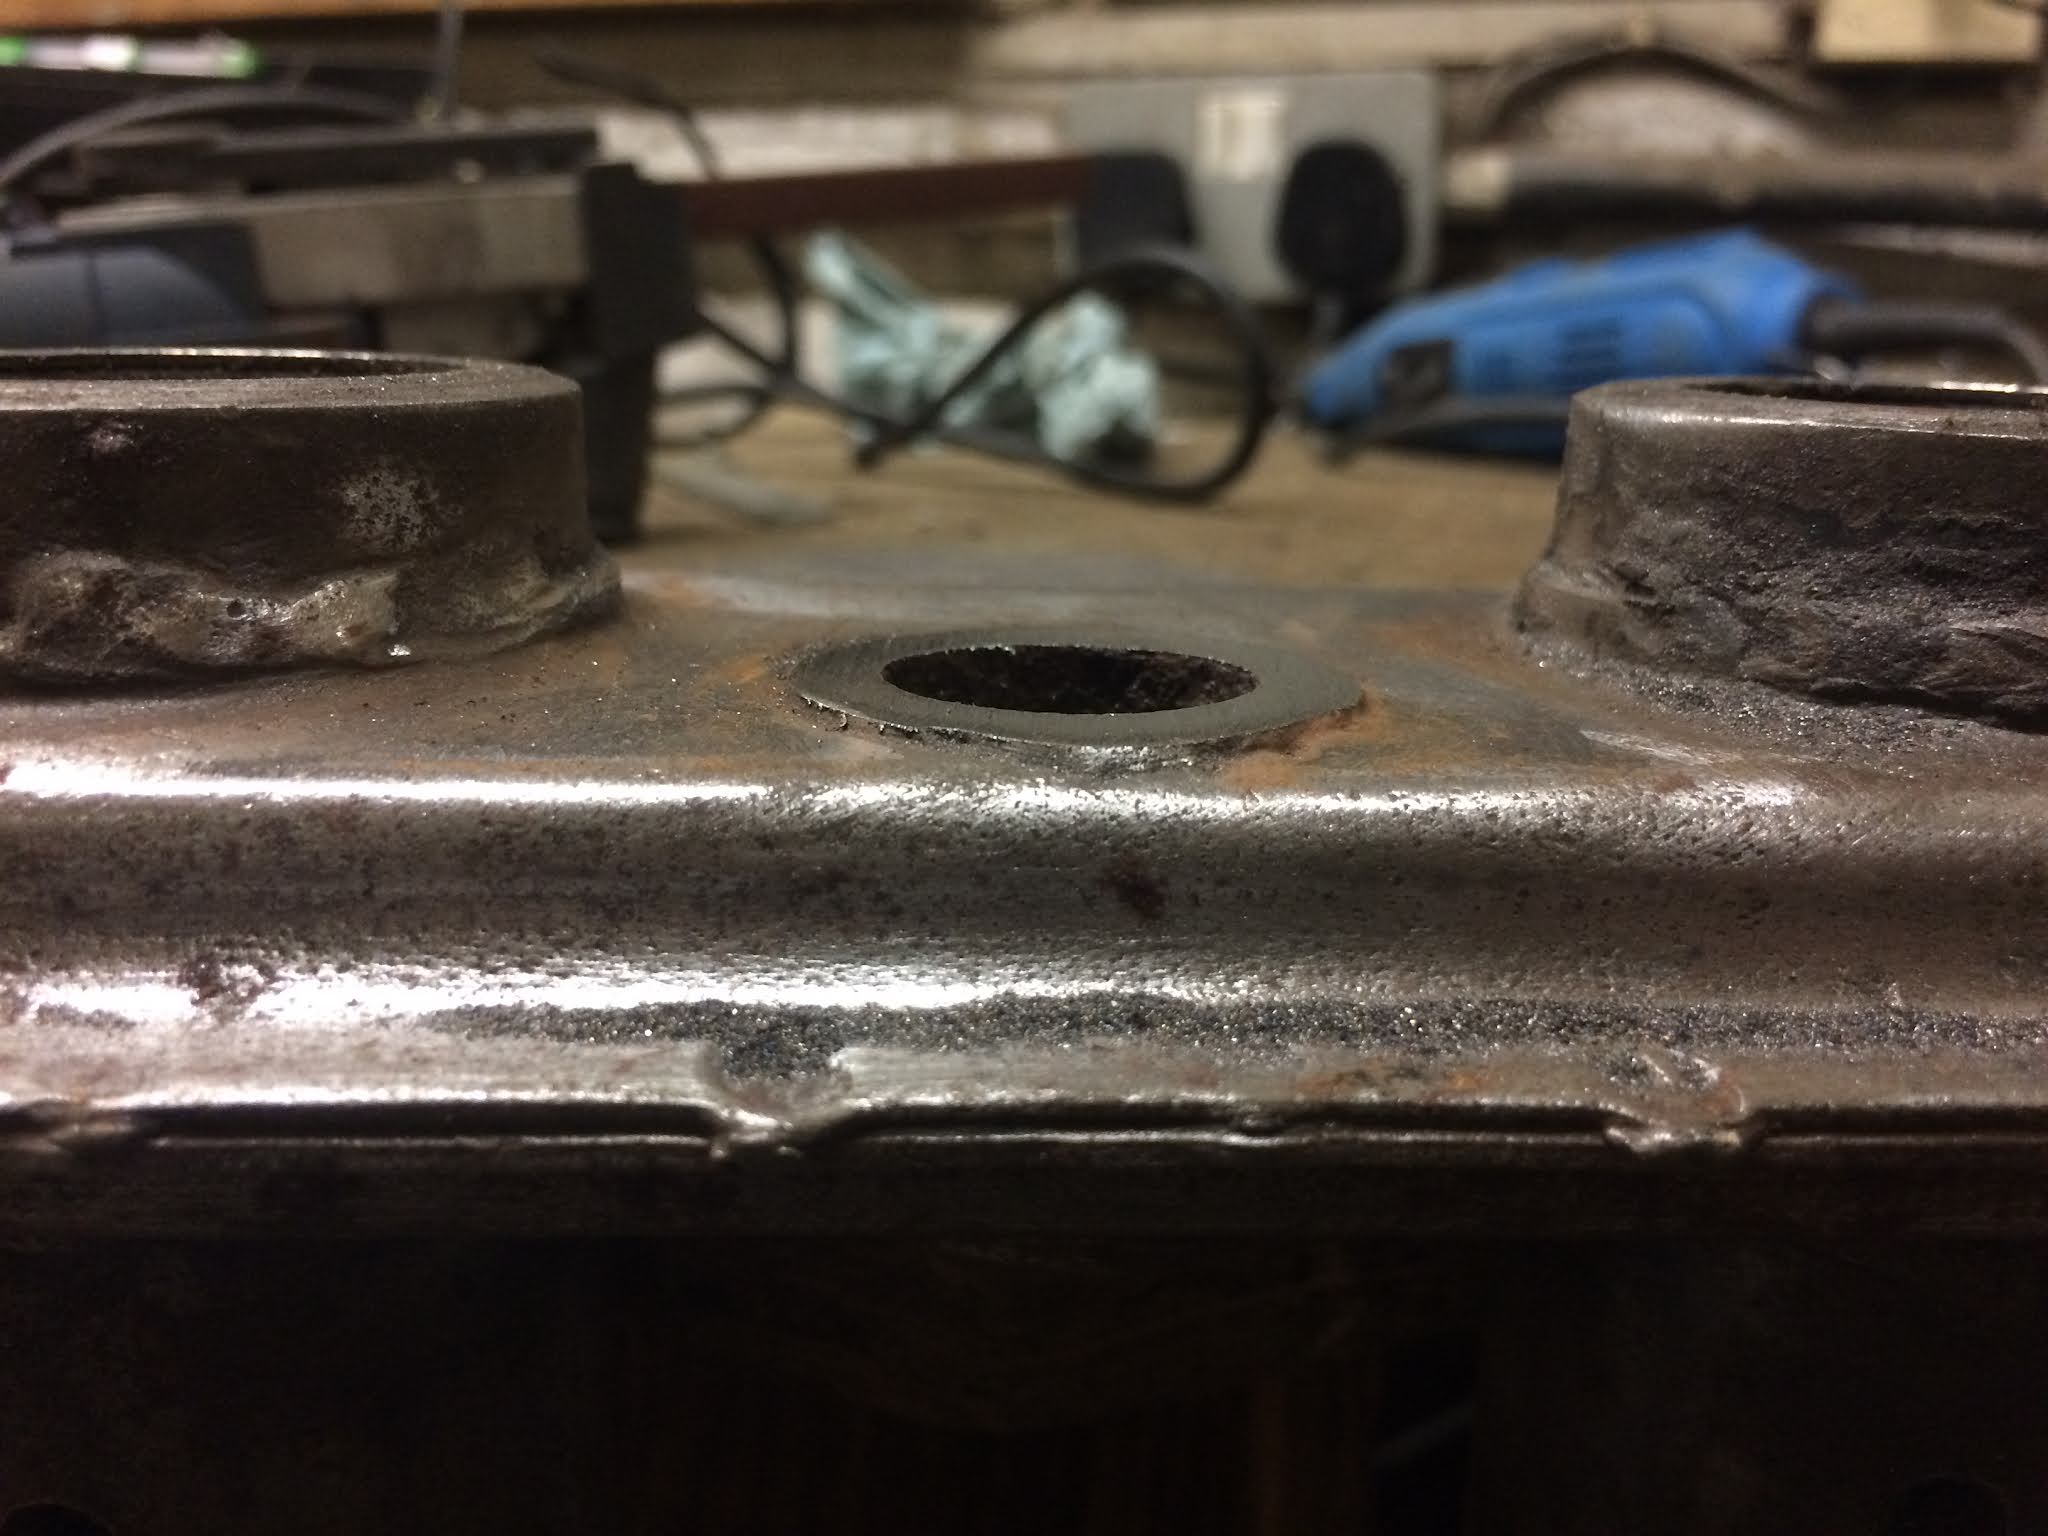
I tidied the sides of the beam by cutting flush the remnants of the old bump stops. These stubs are the result of the bump stops being crudely cut sometime in the car's past when Gretchen was lowered;


Used the power file to smooth things off perfectly level:


Now that the worst of the crud has been removed and those stubs addressed, I can switch to the shot blast gun to ensure the cleanest possible finish and a decent key for laying fresh paint on. Time to fire up the compressor...

Wednesday, 21 July 2021

Scuttle and under-bonnet stripped and primed

Continuing on from last week's blasting endeavour, I spent many hours ensuring that all the hard-to-access nooks were spotlessly clean (NB: I left a couple of sections of original paint where it was in decent enough condition to remain in place for the time being):


Everything recieved several coats of Zinc galvanising spray for protection. It calms my mind to see less rust on the car!  

Wednesday, 14 July 2021

Blastin' the crud away

With the blasting drape making life considerably easier, I have been progressing with the clean-up under the scuttle and on the bonnet. I confess that the surface rust which had established so voraciously under the bonnet area and along the top of the scuttle was as a result of my own negligence. These are areas that I had previously taken back to bare metal and then not treated with any paint to prevent flash rusting. I don't know why, I just seem to make mindless mistakes occasionally (will I ever learn?!): 


I was making steady progress until I dropped my trusty old shot blaster and it snapped at a brittle weak point where the grit hopper attaches to the bottom of the gun. Damn it! Unfortunately It cracked off part of the casting that had an internal thread, which rendered it beyond repair:

I picked up a replacement gun that operates slightly differently:

It utilises a pick-up tube and syphon hose that can pull the blast media from a bucket. The main advantage being that I don't need to constantly stop to refill a hopper anymore. Assuming a big enough bucket of media is used, then the limiting factor is really just the duty cycle of the compressor:

As soon as I started using it I kinda wished that my old spot blaster had broken sooner as by comparison it was starkly apparent that it had become rather inefficient over time. In summary, I am happy with what has turned out to be an unplanned upgrade. The gun is far superior and faster to blast with:


Wednesday, 7 July 2021

DIY Blasting Drape

Whilst browsing the resto threads over on The Samba, I came across a DIY idea so simple and effective that I was compelled to steal the concept and make one for myself. All credit to Jeremy G for this stroke of genius! Basically, he created an adaptable blasting booth out of a tarpaulin that can be draped over whatever large item might need blasting. This significantly reduces the spread of the pervasive grit media that would otherwise colonise every inch of the workshop.

So, I grabbed some scrap plywood and set about copying his idea. The internal framework is as simple as you can get with a couple of hinges connecting the sections to allow for adaptability:

I stretched out an old tarp and marked up the centre:

Cut out the necessary apertures for the window and gauntlet couplers in the middle of the tarp and secured the flaps back with gaffer tape. Didn't realise at the time, but I inadvertently created a face expressing shock astonishment (check out those luscious lashes!):


Mounted the perspex window between hardwood gaskets that I cut from scrap (actually found the hardwood fly tipped by the side road and as luck would have it, it was exactly what I needed when I needed it!). Between the perspex and tarp edge I sandwiched some rubber foam tape to help seal things up when bolted up tight:


Mounted the gauntlets:


...with everything fastened up, it was finally ready for a test run:

 
First impressions are very encouraging and this should make the tedious and filthy task of blasting discrete parts of the body shell a little less loathsome: