

This was heavily corroded towards the bottom as expected. There was also a deep horizontal gouge that was clearly inflicted by a stray angle grinder during the past hasty repair (just visible about midway down this photo):


Cut the bottom portion of the reinforcement panel off with a hacksaw (yep, sometimes it feels right to revert back to handtools as they are less aggressive and offer more control):


Drilled out the spot welds of the Hookys repair panel to separate the inner and outer sections:


Using the Hookys Door Alignment Tool (DAT) I lined up the repair section and scribed a cut line:

trimmed it down to size:

I then spent a long time finessing the alignment of the repair panel. Filing small amounts here and there until I was happy with the fit. The profile of the repair panel doesn't line up exactly right, but it is close enough and will never be seen once the outer skin is on, so I am not too bothered:

Started welding one tack at a time to keep the heat build-up down:

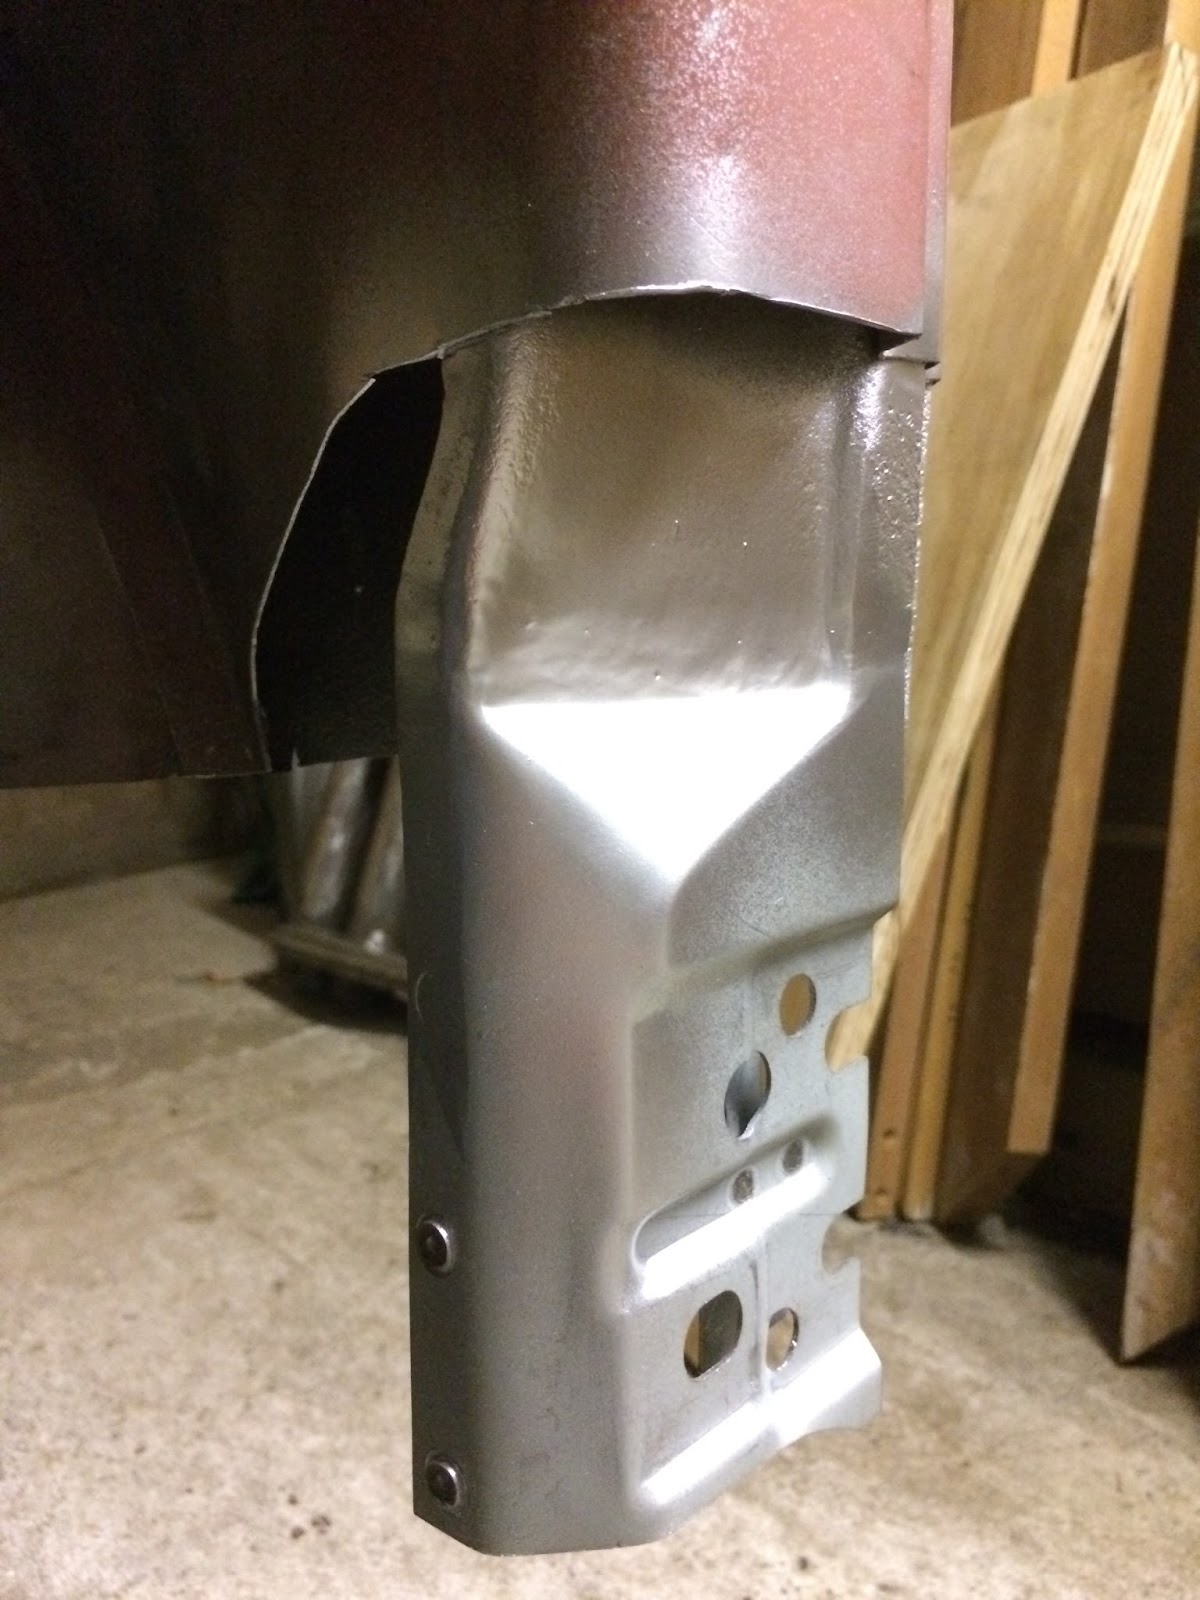
Ground the welds back and linished smooth. Finally sprayed with the obligatory lick of zinc primer:

No comments:
Post a Comment