
I used a scribe to trace round the shape of the old piece (on the other side) and locate the position of the main nut hole (10mm). I then drilled out 4 smaller holes that I would plug weld through:

As you have probably gathered, for this method I welded from the front side into the captive nut, rather than from the back through the nut.
M8 captive nut (Hooky's) camped into position and perfectly aligned ready for plug welding through the four holes:

Welded and ground flush to a tidy finish:


Now that I was content with the outcome I took my time carefully shaping the patch:

Positioned on the wheel arch:


The next captive nut, complete with the partial remains of an old seized bolt, was completely shot and promptly chopped out :


This revealed quite a bit of surface rust behind it on the inner (soon to be inaccessible) panel. I shotblast the area the best I could to get it back to clean steel:

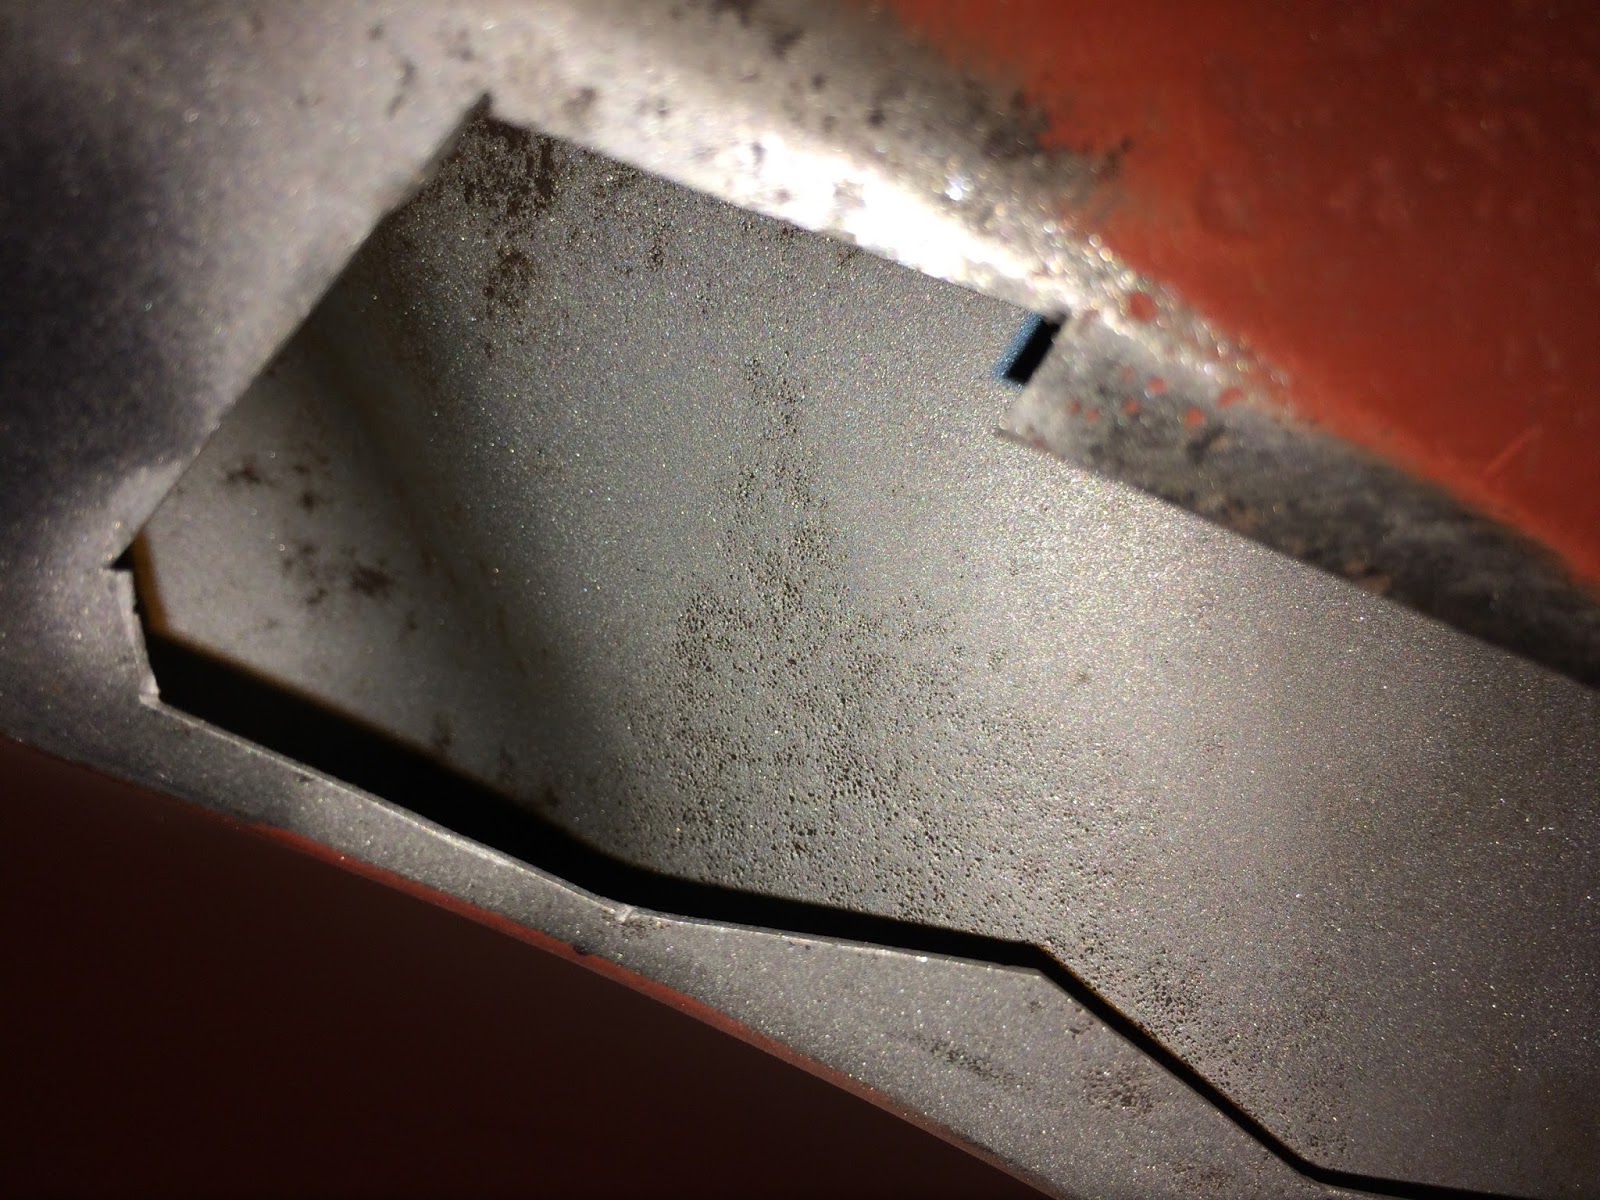
Then sprayed a couple of coats of zinc primer to keep it protected:

Whilst that was drying I knocked up another repair patch using the above approach. Fabricated this one in literally half the time now that I know what I am doing:


Couple of tacks to hold it in place:

After waving the magic wand:

This wing mounting area is becoming a lot more solid now. A lot of work has gone into it (with more to come!), but I think the results are worth it:

No comments:
Post a Comment