I thought that repairing the passengers side of the Naps Hat
would be a walk in the park. Well, that turned out not to be true! Here’s a quick
review up to the point of the imploding headache...
This side of the Naps Hat was in a better condition than the
driver’s side and so more original steel could be retained. With this in mind,
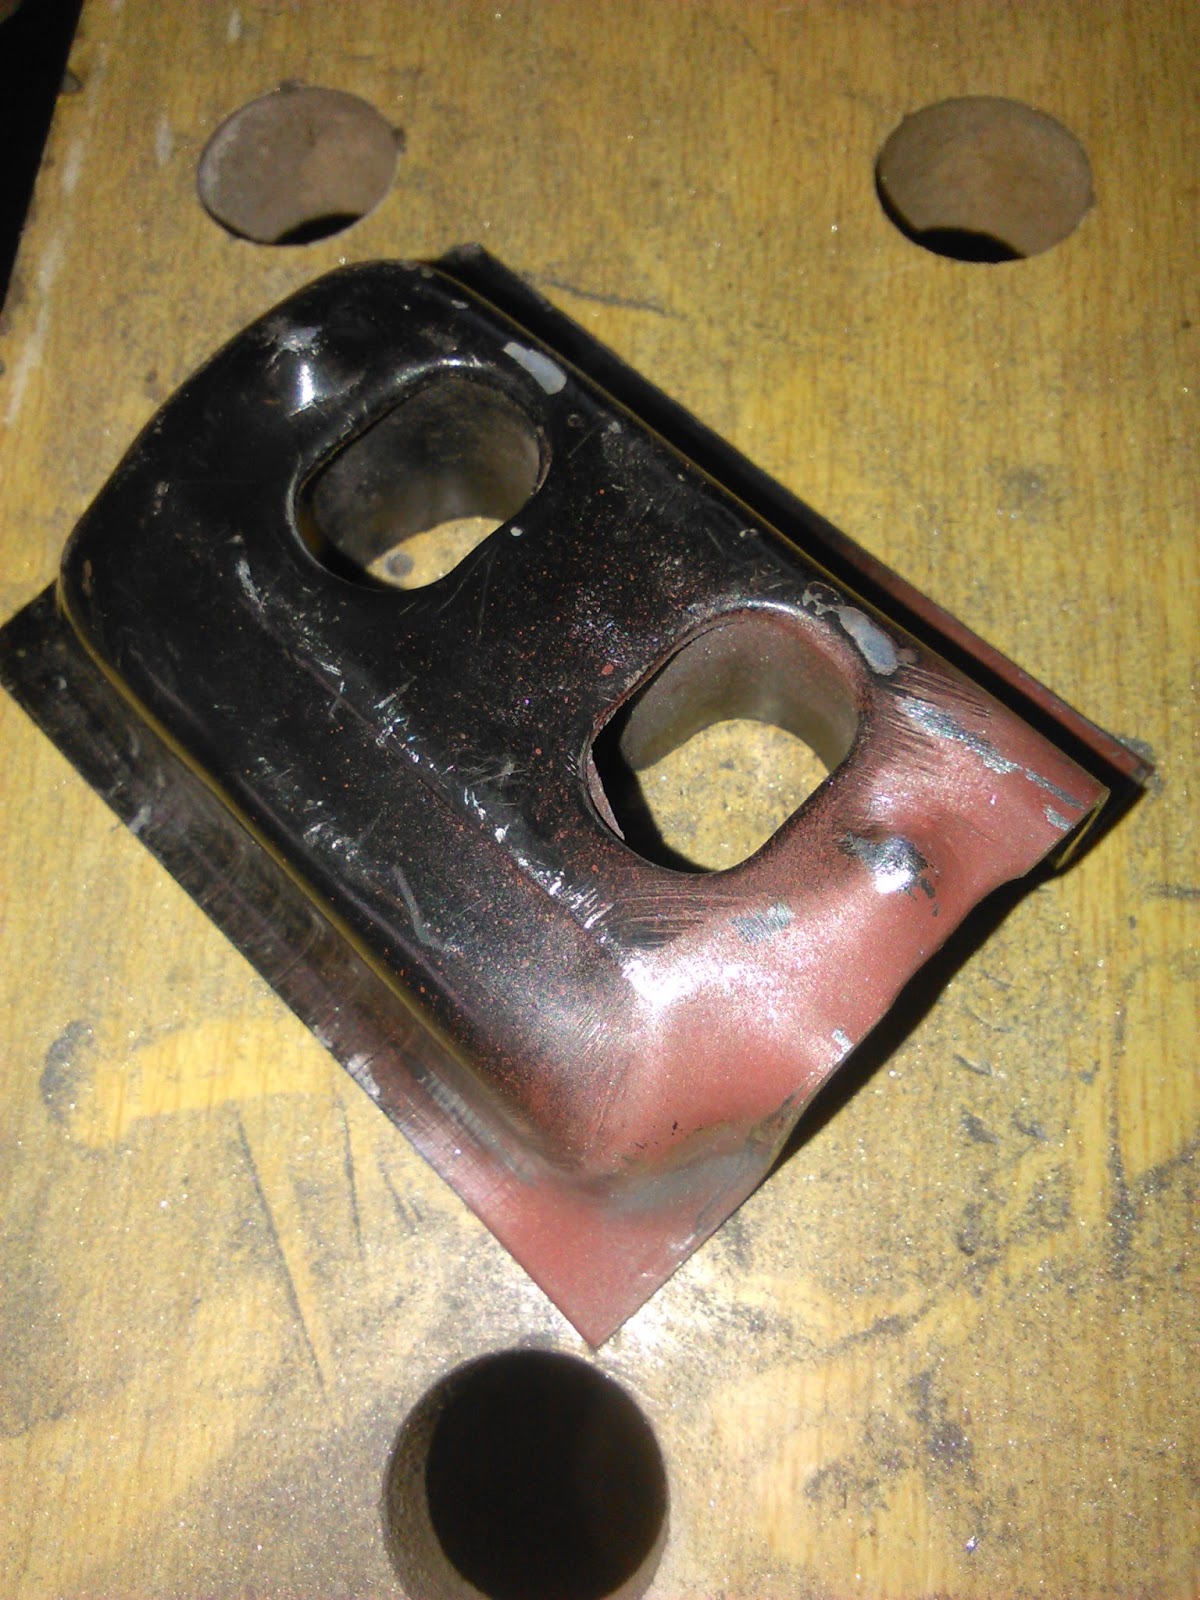
I choose to make my cut just before the end tip starts to angle upwards and marked it up:
I cut out the pitted metal from one of the flanges (the
other was solid so could be left):
I measured up and cut the corresponding section from the
repair section and got everything trimmed flush. At this point I was thinking
that everything was coming together perfectly and that I could have this done in no time:
However, as soon as I placed the repair piece onto the jig
and moved it flush against the original steel my heart sank when it became
apparent that there was a height difference of about 1.5mm:

I sanded the bottom of the repair section as there was a
slight lip around the perimeter that was standing proud, but the overall
difference this made was minimal. Looking at the cross-section of the repair section it was apparent
that things were rather misshapen and I hoped that some bashing and manipulation
I would be able to lower the profile and true-up the cross section. Two birds with one stone! Sadly, this just ended
up making things worse. At this point the width was out by about 3mm and there was a visible
taper when viewed from above! Damn these Klokker-shite aftermarket panels! Feeling deflated
and frustrated I decided to sleep on the problem. With a rested mind and fresh perspective my solution was to add a little
bridging section to replace the now distorted area. I trimmed the repro piece even shorter, to eliminate the dodgy section:
Then clamped it in place on the jig and made my measurements for the missing bridge section:
I bent this into shape using my former:
Here is the piece aligned against the jig with the first few welds in place. I think you can tell
where I am going with this:
Ground and dressed:
With everything layed out on the jig, things were looking
promising:
All welded in and the welds ground flush:
As with the drivers side, the last thing to do was to add a flange. I had to do this in two sections as my former was not quite long enough:
Used my self devised gaffer tape and spray paint method to mark up the flanges and trimmed them to size:
On a positive note, there was a
silver lining to all this faffing. Because this repair procedure omitted the 3rd hole on the Klokker-shite piece,
I was able to drill a factory correct 8mm hole in the correct position. Nobody
will ever see it, but it makes me feel good to know that it is there:
For symmetry's sake, I patched up the 3rd hole on the drivers side and also added the factory correct 8mm hole:
I am delighted to announce that this concludes the Napoleon's Hat saga. Looking good as new: