Remember a couple of posts back when I was patching the stud line and had made a replacement captive nut section but opted not to weld it in for some vague reason? I didn't admit it at the time, but the truth is that I made a complete mess of the rear of that patch panel whilst attempting to weld the captive nut into position. Originally I drilled the 4 corners of the weld nut and tried to plug weld through them. However, the intense heat actually melted away edges of the nut and left a less than desirable outcome. It looked like crap, so forgive me for not sharing a photo of that abomination! After some contemplation, I decided to remake that patch taking a different approach to affix the nut. Essentially, I would start out with an oversized off-cut of steel and plug weld the captive nut in place neatly before spending the time trimming it down to the exact shape required. Less time wasted if I happened to balls it up again...
I used a scribe to trace round the shape of the old piece (on the other side) and locate the position of the main nut hole (10mm). I then drilled out 4 smaller holes that I would plug weld through:
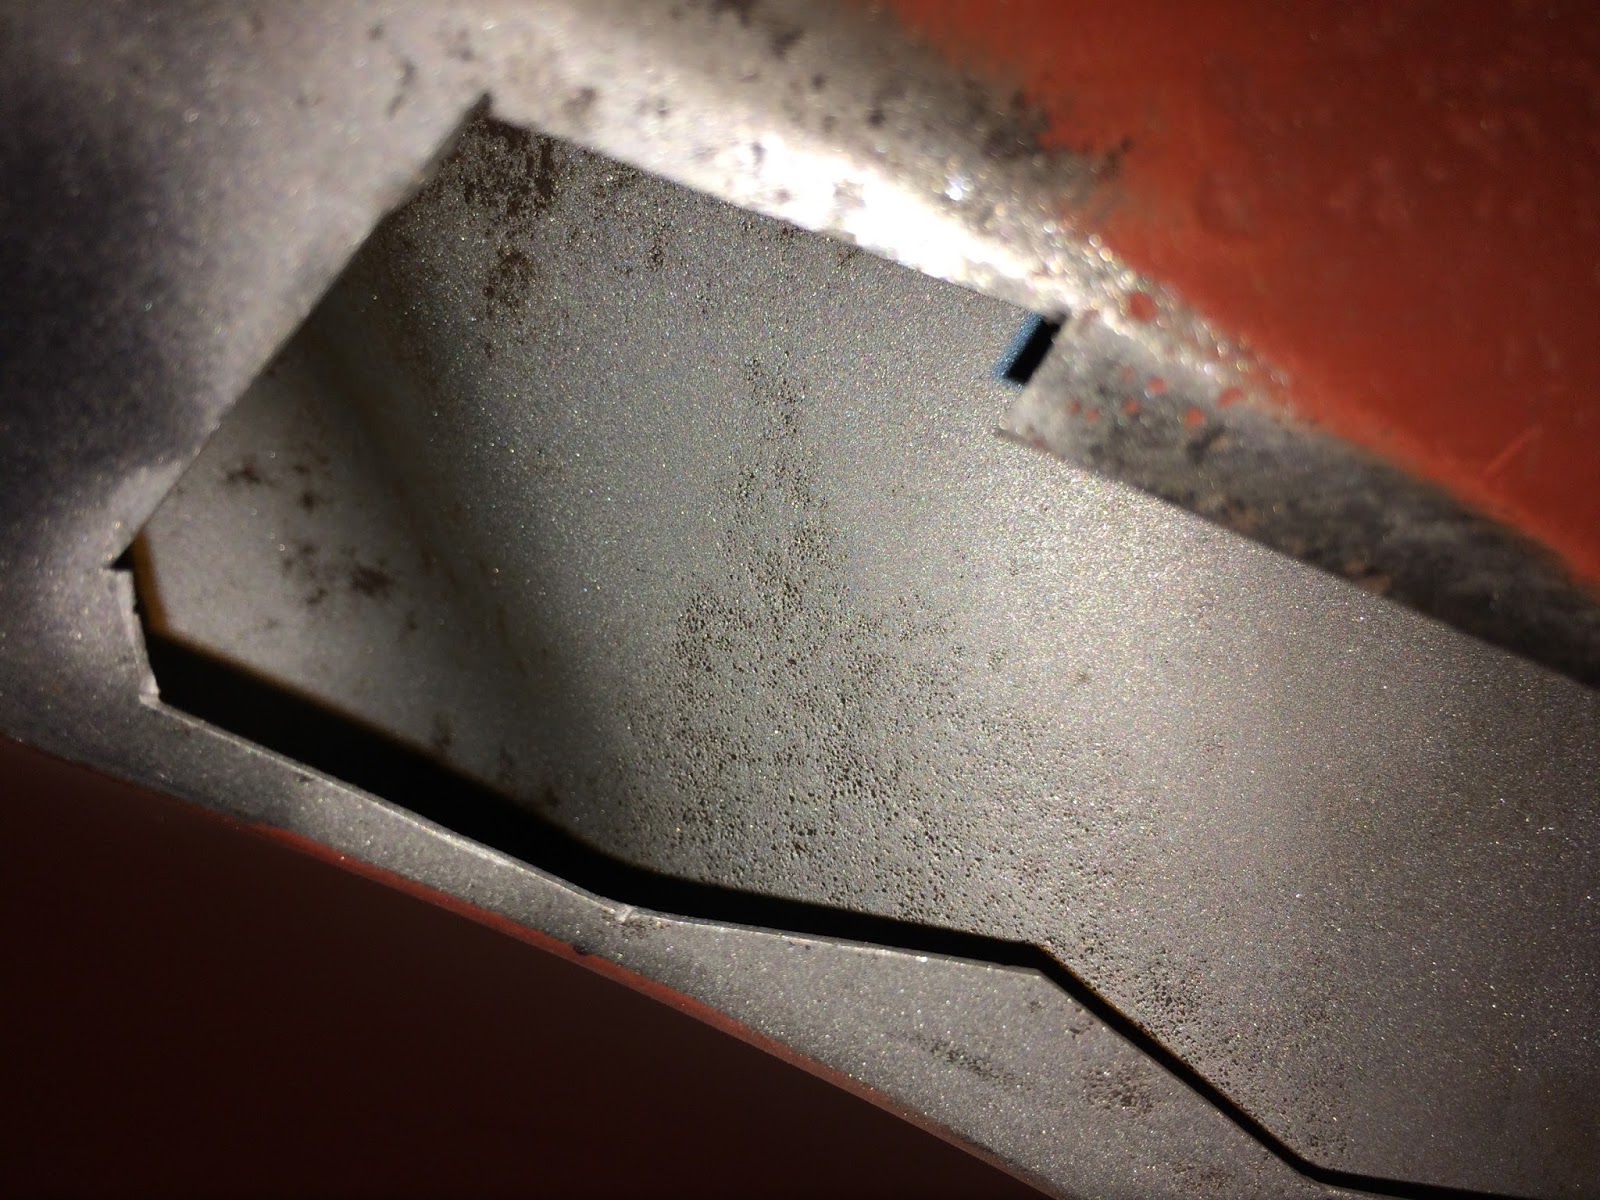
As you have probably gathered, for this method I welded from the front side into the captive nut, rather than from the back through the nut.
M8 captive nut (Hooky's) camped into position and perfectly aligned ready for plug welding through the four holes:
Welded and ground flush to a tidy finish:
Good penetration on the underside and most importantly, no edges burnt away:
Now that I was content with the outcome I took my time carefully shaping the patch:
Positioned on the wheel arch:
Welded, finished n' linished:
Moving on around the arch I deemed that the next captive nut was saveable as the steel still appeared thick and the surrounding area was not sunken or protruding. So, I welded up the slits (left over from my previous patch repairs) and smoothed everything back:
The next captive nut, complete with the partial remains of an old seized bolt, was completely shot and promptly chopped out :
This revealed quite a bit of surface rust behind it on the inner (soon to be inaccessible) panel. I shotblast the area the best I could to get it back to clean steel:
Then sprayed a couple of coats of zinc primer to keep it protected:
Whilst that was drying I knocked up another repair patch using the above approach. Fabricated this one in literally half the time now that I know what I am doing:
Couple of tacks to hold it in place:
After waving the magic wand:
This wing mounting area is becoming a lot more solid now. A lot of work has gone into it (with more to come!), but I think the results are worth it:
Came across this old email communication recently from exactly 10 years ago (dated 18/06/2007). It is from a local classic car restoration company who I had previously contacted about getting some 'economic' repairs done to the heater channels and body mounts with a view to keep Gretchen on the road. No doubt that this concise reply was a huge contributing factor for me ultimately deciding that I had to tackle this resto myself or part ways with her. The reality was that keeping her running was no longer viable:
"thanks for the pics. sorry to say but i am not willing to do a simple
weld it up for the mot job due to how bad the whole area around the rot
is. if that was just plated up it would be a night mare to get it back
to being a nice car again due to having to weld he floor and body together."
The decision to fully restore the car myself was a tough and intimidating choice to make, especially being totally unskilled in the area of automotive restoration. I am really pleased I stuck with it (I think) and still have my fingers crossed that I can actually pull this off!
My eye is now back to normal and garage sessions have resumed!
During my recovery period I got lucky on a front passenger side quarter panel. It was listed on eBay, but the title was brief and the description somewhat vague. The listing made no mention of the manufacturer, but my intuition told me that it was likely a genuine VW Mexi panel. After several attempts to establish contact I finally managed to speak with the seller literally minutes before the end of the auction. He couldn't tell me if it was a genuine or not as it had been collecting dust in his garage for years and he couldn't recall much about it. He lived too far for me to collect in person, but was happy for me to arrange my own courier. The price was low with just one other bidder, so I took a punt on it and hoped it was what I suspected it to be. Got the panel for a mere £72 and found a courier who transported it across the country for under £10 (super bargain!). The following week I took delivery of the bulky parcel and eagerly unwrapped the panel:
Got a little tingle when I saw the manufactures label:
It was indeed a genuine VW panel 'Assembled in Mexico'. An excellent result considering that these are rapidly becoming scarce and now command a high price tag from the usual parts vendors (£250 currently).
Delighted that I now have matching Mexi panels for the front end: