
As you probably know, this blog is all about
documenting the true story of this restoration project and to allow others to
learn from my successes as well as my mistakes. Well, in the spirit of the latter I wanted
to share this week’s tale of failure – but it’s not as downbeat as it sounds
because I have learnt a lot by cocking up!
For some time I had been thinking about the Napoleons Hat section and how I was going to go about repairing it. The reproduction panel that I bought just doesn't feel substantial and also looks uneven because it has been poorly pressed. So, I decided that I would only use what I needed from the repro panel and retain most of the original section. After extensive research I came across other restorers that have replaced just the end tip sections, but the corrosion on mine extended further than just the tips! So, I cleaned up the inside of the old naps hat and assessed the areas of pitting and the thickness of survivng metal. After a lot of measuring I made an educated guess and marked up the section to be cut out off:

I made a diagonal cut with the angle grinder and was confident that the remaining metal was sound:

Next came the tricky task of cutting off the corresponding piece from the new panel. I spent a long time checking and double checking my measurements and then carefully cut the piece using a hacksaw:


I used the belt sander to clean up the edges:

I then gave it a test fit and was delighted with the fit:
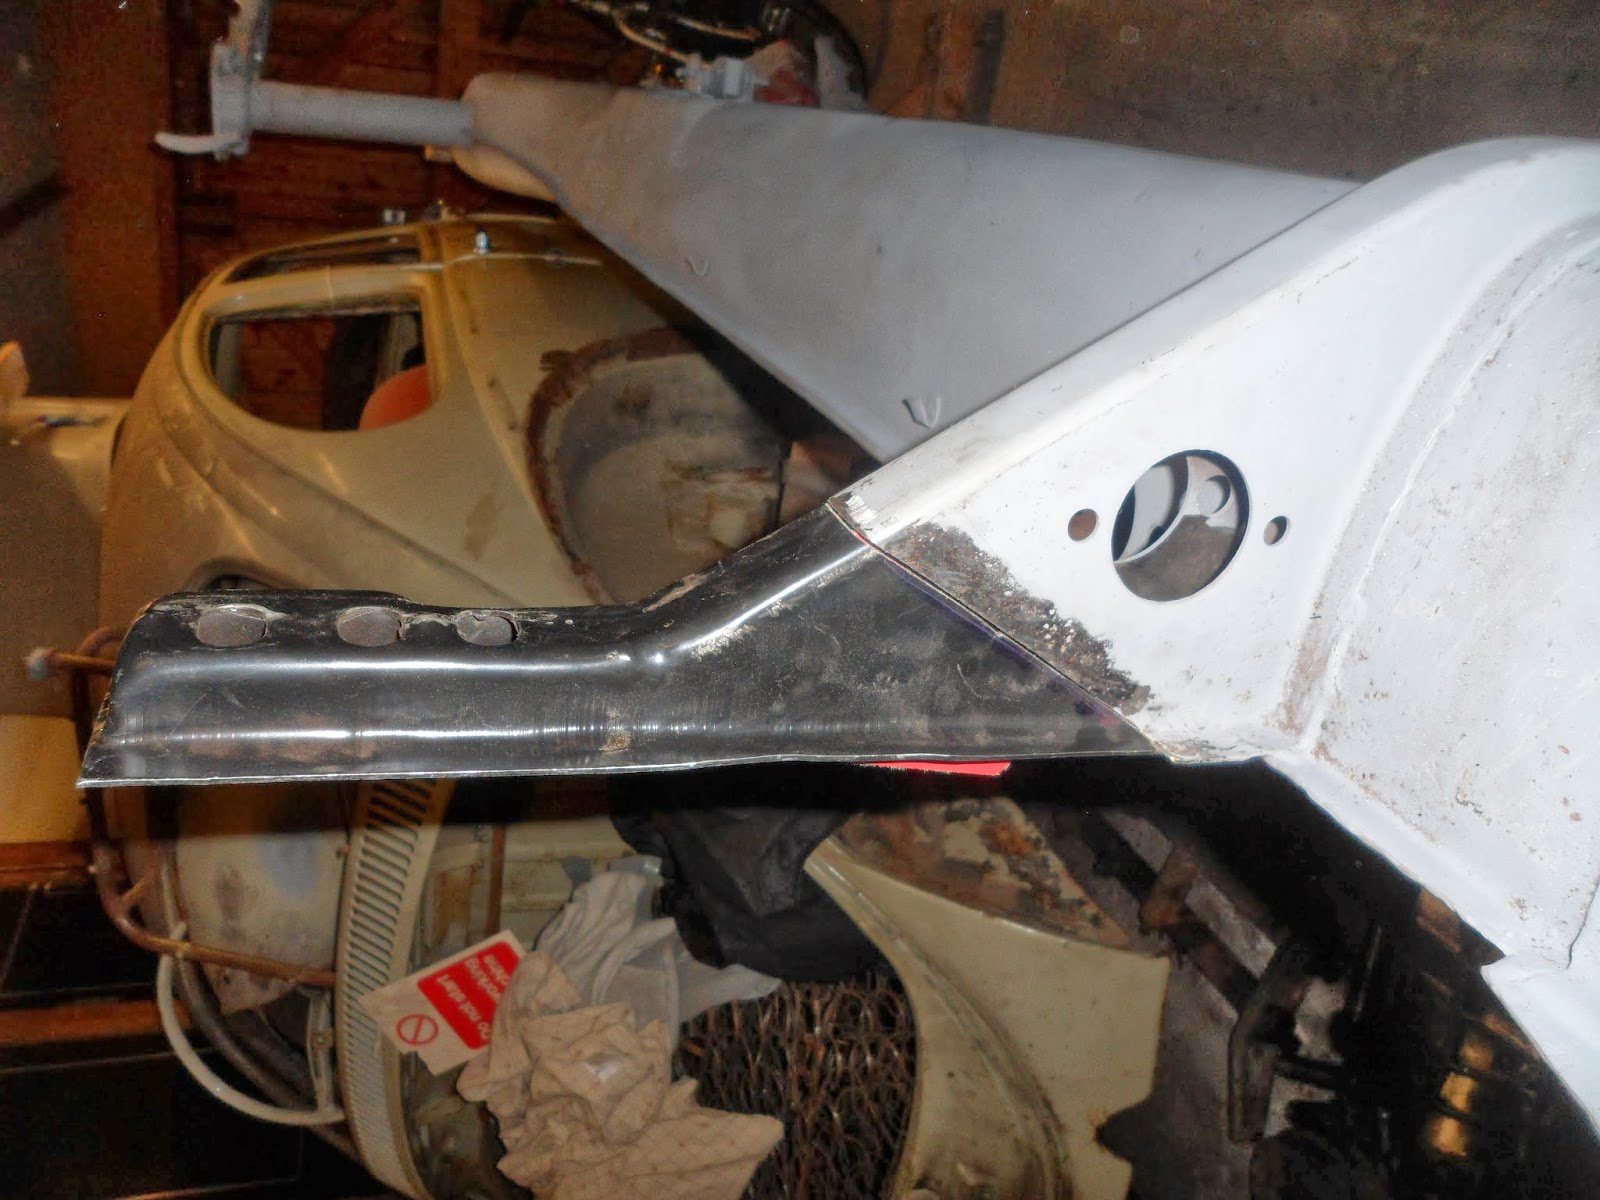
......Until I placed a straight edge up against it and released that the diagonal angle was slightly out and as a result the whole replacement piece was angled upwards by about 10%! Bugger!
I tried to grind the correct angle back into it, but the drawback to this was that it removed more material than required and so when I had finally got the angle right I was left with a whopping 5mm gap!

I now need to have a think on how to proceed. I am tempted to buy another naps hat and start from scratch rather than trying to find a way to fix my mistake. We will see. I need to scratch my head for a while!
So, what will I do differently next time? Well, I think in future I am always going to cut wider than what I am aiming for and then grind the section down until it fits perfectly. This will enable me to test fit and fine tune 'on the fly'. You live and learn!


