Exciting times! Got myself a brand spanking new welder! After a lot of research and agonising I finally opted for a Clarke 151te:
Just need to get a few bits to adapt the welder to accept the big bottles of Argon/Co2 I will be using. All being well, I should be up and running next week. Now the real fun can begin!
Sunday, 31 May 2015
Sunday, 17 May 2015
Shot blasting the frame head
Ordered myself some affordable fine abrasive called ‘J Blast’
from Frosts to use on areas of this restoration where a wire wheel is ineffective. It
was quite amusing when I answered the door to a flustered postman who had just lugged the thing from his van. He asked
something like “what on earth is in this package, sand?” to which I replied “errm... actually yes!”.
In typical unorganised fashion, I am switching my attention back to the chassis. I am sure you are all getting used to my unconventional approach by now! Anyway, I hope to get the entire floorpan in paint by the end of the summer. First up is to properly clean up inside the frame head area. Introducing my siphon fed blast gun
that came with my compressor;
The grit is disposable and only really intended for one time use, but with creative use of a decorators dust sheet I was able to capture and reuse the stuff a few times;
Getting inside the end of the tunnel was difficult with the shot blast gun because of the limited angles at which I could blast. I was keen to clean up the first section of the base plate as that seemed to be where rust had set in the most. Fortunately the tunnel was in remarkably good health further back and did not require any stripping. I also switched to a drill mounted wire brush to get in where I could. Having really assessed the condition of the front of the spine base I was not happy to leave such heavy pitting in place and the years of corrosion had really thinned the metal work down. So out came the spot weld cutter and angle grinder;
I will make a repair patch for this section soon, but for now I was grateful to have improved access, so I sandblasted what I could inside;
That strange pink stripy thing in the upper left of the tunnel is actually an old pair of boxer shorts. I basically stuffed a load of old fabric back there to prevent all of the grit being lost down the back of the tunnel - it stopped most of it, but there was still a lot that made it passed the formidable underwear barrier;
Once I had blasted to the best of my ability (trust me, DIY blasting takes a long time!), I used FE-123 rust convertor to ensure that any hidden or small pitted areas of rust were eradicated;
Just applied neat with an old brush over the whole area;
Should soon dry into a hard black permanent barrier. I'll let you all know next week how it turns out....
The grit is disposable and only really intended for one time use, but with creative use of a decorators dust sheet I was able to capture and reuse the stuff a few times;
Getting inside the end of the tunnel was difficult with the shot blast gun because of the limited angles at which I could blast. I was keen to clean up the first section of the base plate as that seemed to be where rust had set in the most. Fortunately the tunnel was in remarkably good health further back and did not require any stripping. I also switched to a drill mounted wire brush to get in where I could. Having really assessed the condition of the front of the spine base I was not happy to leave such heavy pitting in place and the years of corrosion had really thinned the metal work down. So out came the spot weld cutter and angle grinder;
With the small section removed it is clear to see the extent of the corrosion;
That strange pink stripy thing in the upper left of the tunnel is actually an old pair of boxer shorts. I basically stuffed a load of old fabric back there to prevent all of the grit being lost down the back of the tunnel - it stopped most of it, but there was still a lot that made it passed the formidable underwear barrier;
Once I had blasted to the best of my ability (trust me, DIY blasting takes a long time!), I used FE-123 rust convertor to ensure that any hidden or small pitted areas of rust were eradicated;
Just applied neat with an old brush over the whole area;
Should soon dry into a hard black permanent barrier. I'll let you all know next week how it turns out....
Sunday, 3 May 2015
Mirror image of last week's work
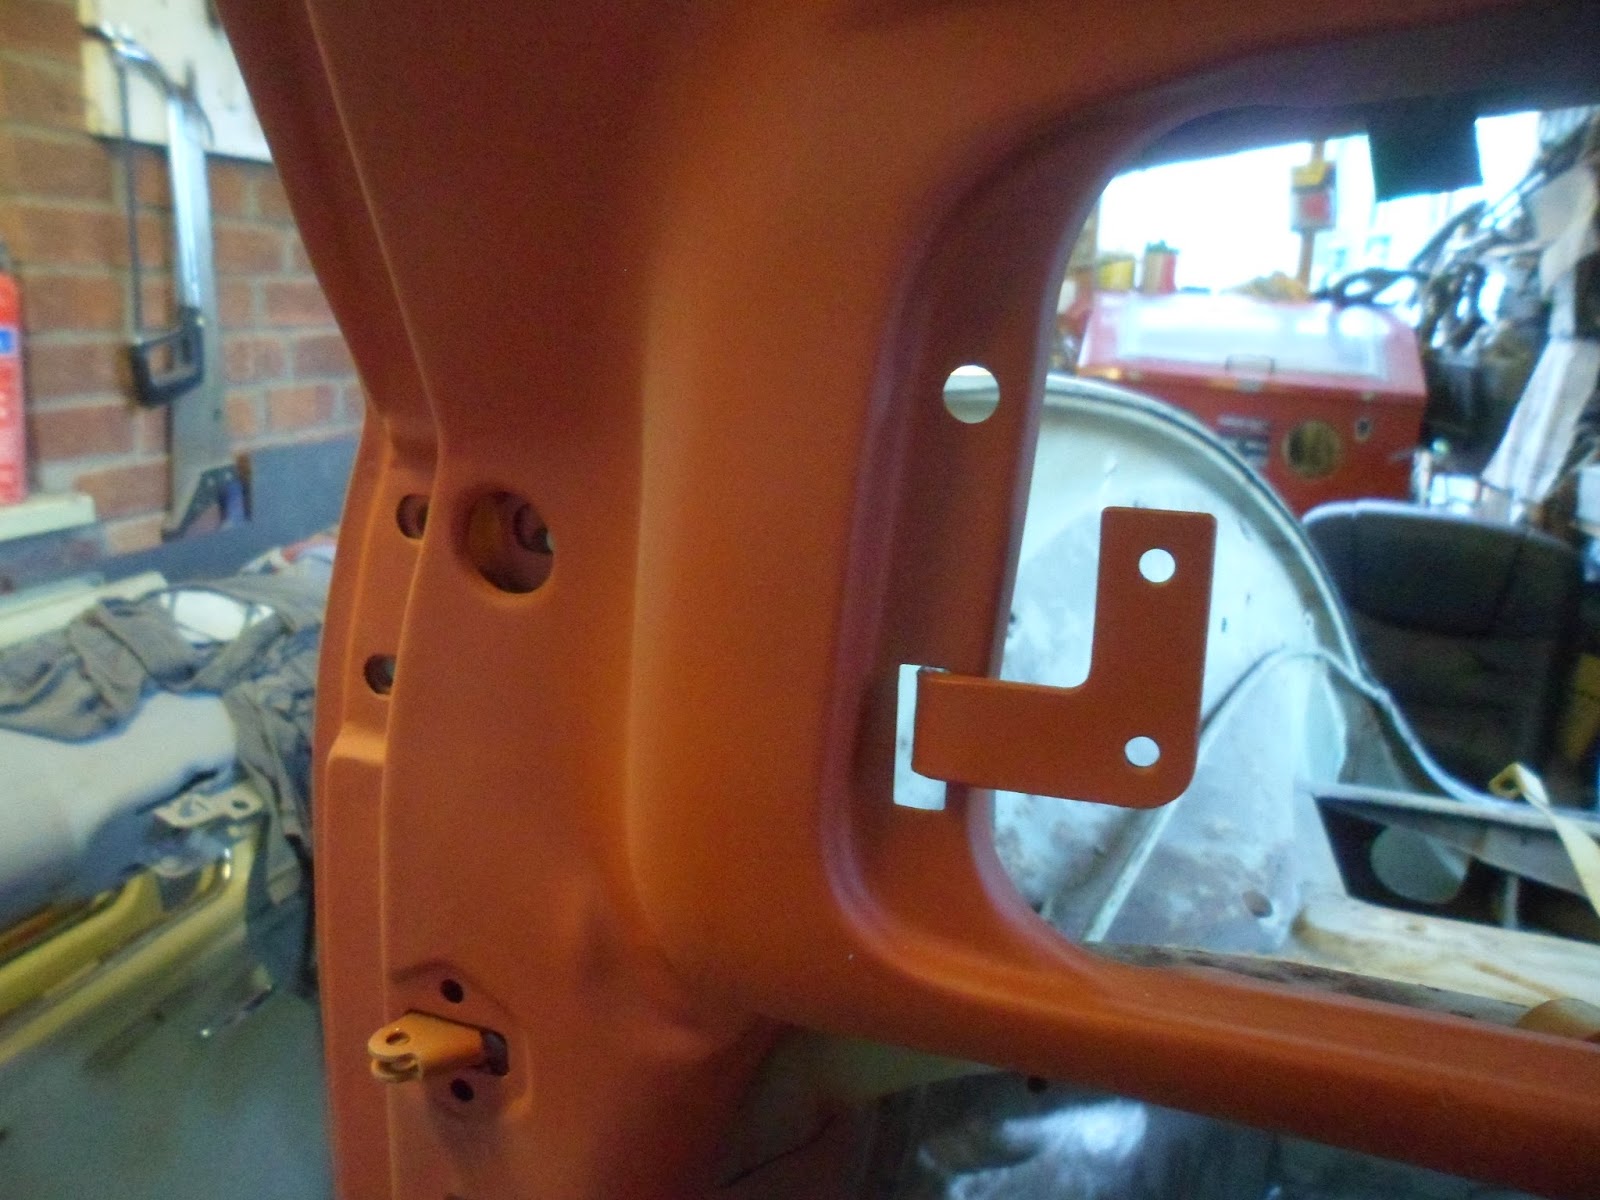
This week I focused my efforts on the right side of the car. I stripped the paint and rust off of the drivers side dash area, doorway and around the windscreen:
Then everything was given the standard 'once over' with the now ubiquitous red primer:
Labels:
bare metal,
primer,
Shell,
Volkswagen,
vw,
wire wheel
Sunday, 26 April 2015
Just Another Victim
That is the 4th cheap-o drill destroyed thus far...
In other news, I have been progressing with the stripping and priming of the shell:
Labels:
bare metal,
primer,
Shell,
Volkswagen,
vw,
wire wheel
Sunday, 19 April 2015
Tuesday, 24 February 2015
That is one rusty rear quarter!
Started stripping the passenger’s side rear quarter panel to
find out what was going on with all that rust and filler back there:
It didn’t take long before I excavated evidence of, yet another, dubious repair job. Using a drill-mounted wire brush I followed the path ofdestruction the former repair around the edge of the rear panel to understand how much was original metal and what was thin-gauge aftermarket stuff:
It didn’t take long before I excavated evidence of, yet another, dubious repair job. Using a drill-mounted wire brush I followed the path of
So, it appears that all the metal below the swage line and up to the wheel arch will need to go and possibly the wheel arch itself. Thankfully everything above the swage line appears solid and
in good order, so this will be a case of chopping out the large aftermarket quarter panel and
the other key areas where the pervasive rust has crept. On the plus side, this will give me enough access to treat the inner door metal work, which is notoriously tough to reach. These inner areas came from the factory with next to nothing in the way of rust protection, so it will be reassuring to give it some rust prevention.
It all sounds easy when written in a concise paragraph like that! Now to source a replacement panel and fire up the reciprocation saw....
Monday, 2 February 2015
You were only supposed to blow the bloody doors off!
I have about half a dozen partially written blog posts sitting in draft form almost ready to publish, which pretty much mirrors the current state of the restoration; lots of partly finished things that I am slowly progressing without any big note-worthy leaps forward. Things are still cooking, but not in an easily definable way! There are a few factors that have slowed the pace down and these are my lame excuses in a nutshell:
So to ease myself back into regular and structured emails I have decided to be a bit more 'bitesized' with my offerings. Basically, shorter posts more frequently. To kick off the New Year here is a little overview on door removal:
First up I removed the pin and detached the bump-stop-hinge-arm (for lack of technical name):
This can then be withdrawn through the cavity between the door skins:
To detach the door hinges an impact driver is obviously pretty handy. However, there were some bolts that just would not budge (something that I have become accustomed throughout this project!). For the tough ones resorted to my old friend LEVERAGE! I fitted the impact driver attachment onto my breaker bar and slowly applied pressure. This got the stubborn buggers moving without any trouble:
With the six screw bolts out the door can be lifted off:
I then withdrew the door glass and disassembled the winder mechanism, handle unit and quarter light:
Both doors are now ready to be stripped of paint (and probably hidden filler!), repaired and panel beat back into shape.
More updates to come. Soon. Promise!
- No access to MIG welder - since my garage neighbour has moved out I have been on the hunt for a suitable (and affordable) replacement machine. Unfortunately the old beast I was using has relocated with him!
- Too cold for paint - at the moment I cannot bare metal my components as the Mastic paint cannot properly cure in winter temperatures. Frustratingly I had a bunch of parts that I had already shot-blasted, but not put into paint and they have already started to rust again ....you live and learn!
- Life outside the garage - the past few months have been a blur of other conflicting activities demanding my attention.
This can then be withdrawn through the cavity between the door skins:
To detach the door hinges an impact driver is obviously pretty handy. However, there were some bolts that just would not budge (something that I have become accustomed throughout this project!). For the tough ones resorted to my old friend LEVERAGE! I fitted the impact driver attachment onto my breaker bar and slowly applied pressure. This got the stubborn buggers moving without any trouble:
With the six screw bolts out the door can be lifted off:
I then withdrew the door glass and disassembled the winder mechanism, handle unit and quarter light:
Both doors are now ready to be stripped of paint (and probably hidden filler!), repaired and panel beat back into shape.
More updates to come. Soon. Promise!
Subscribe to:
Posts (Atom)